where did the idea come from
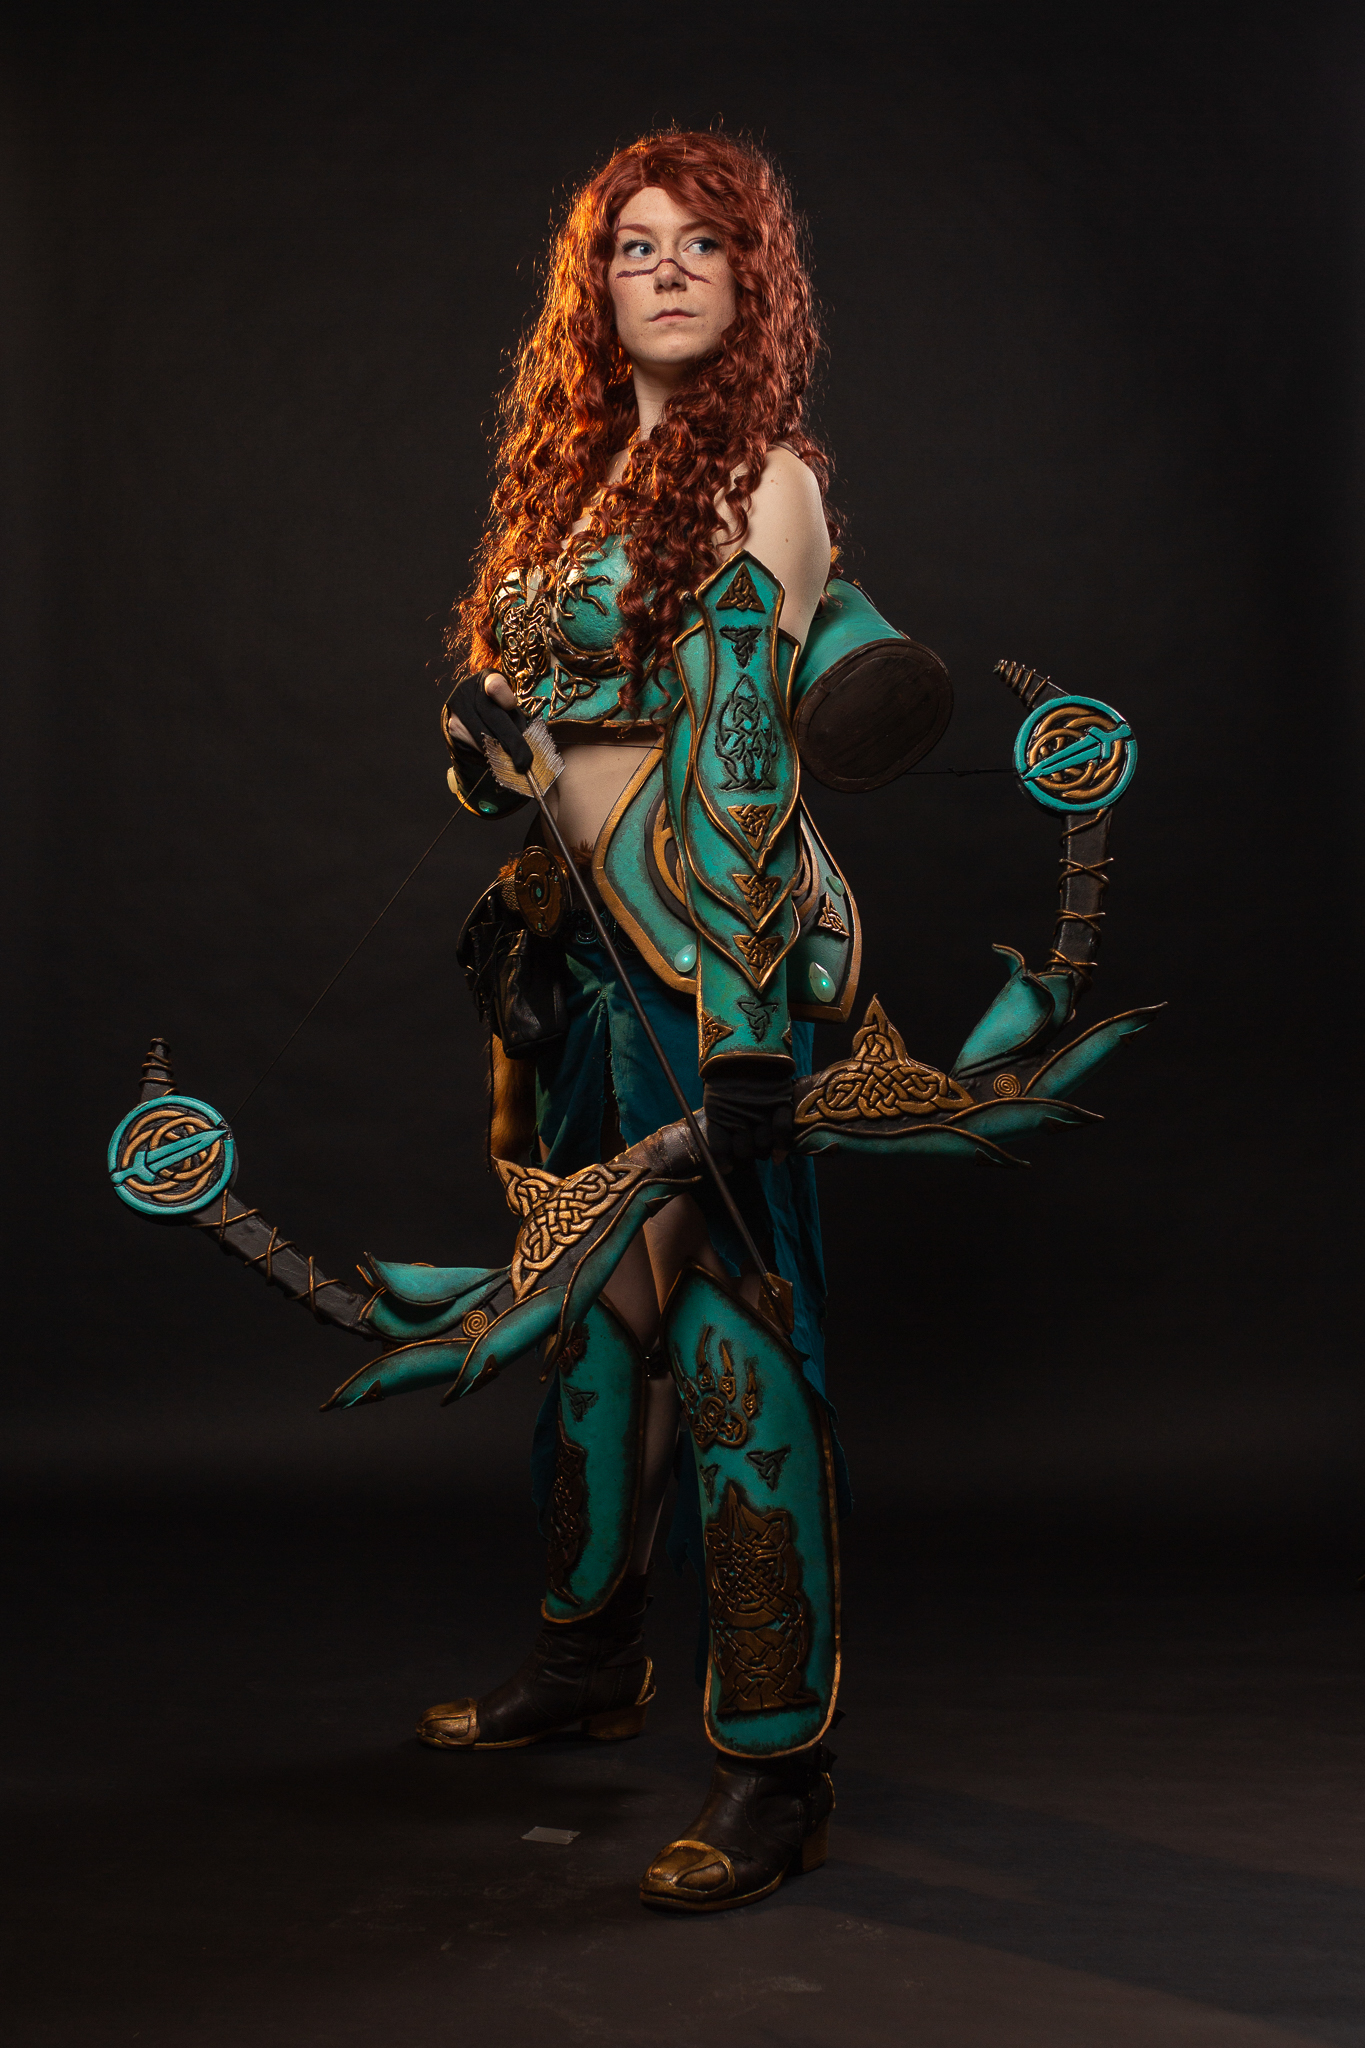
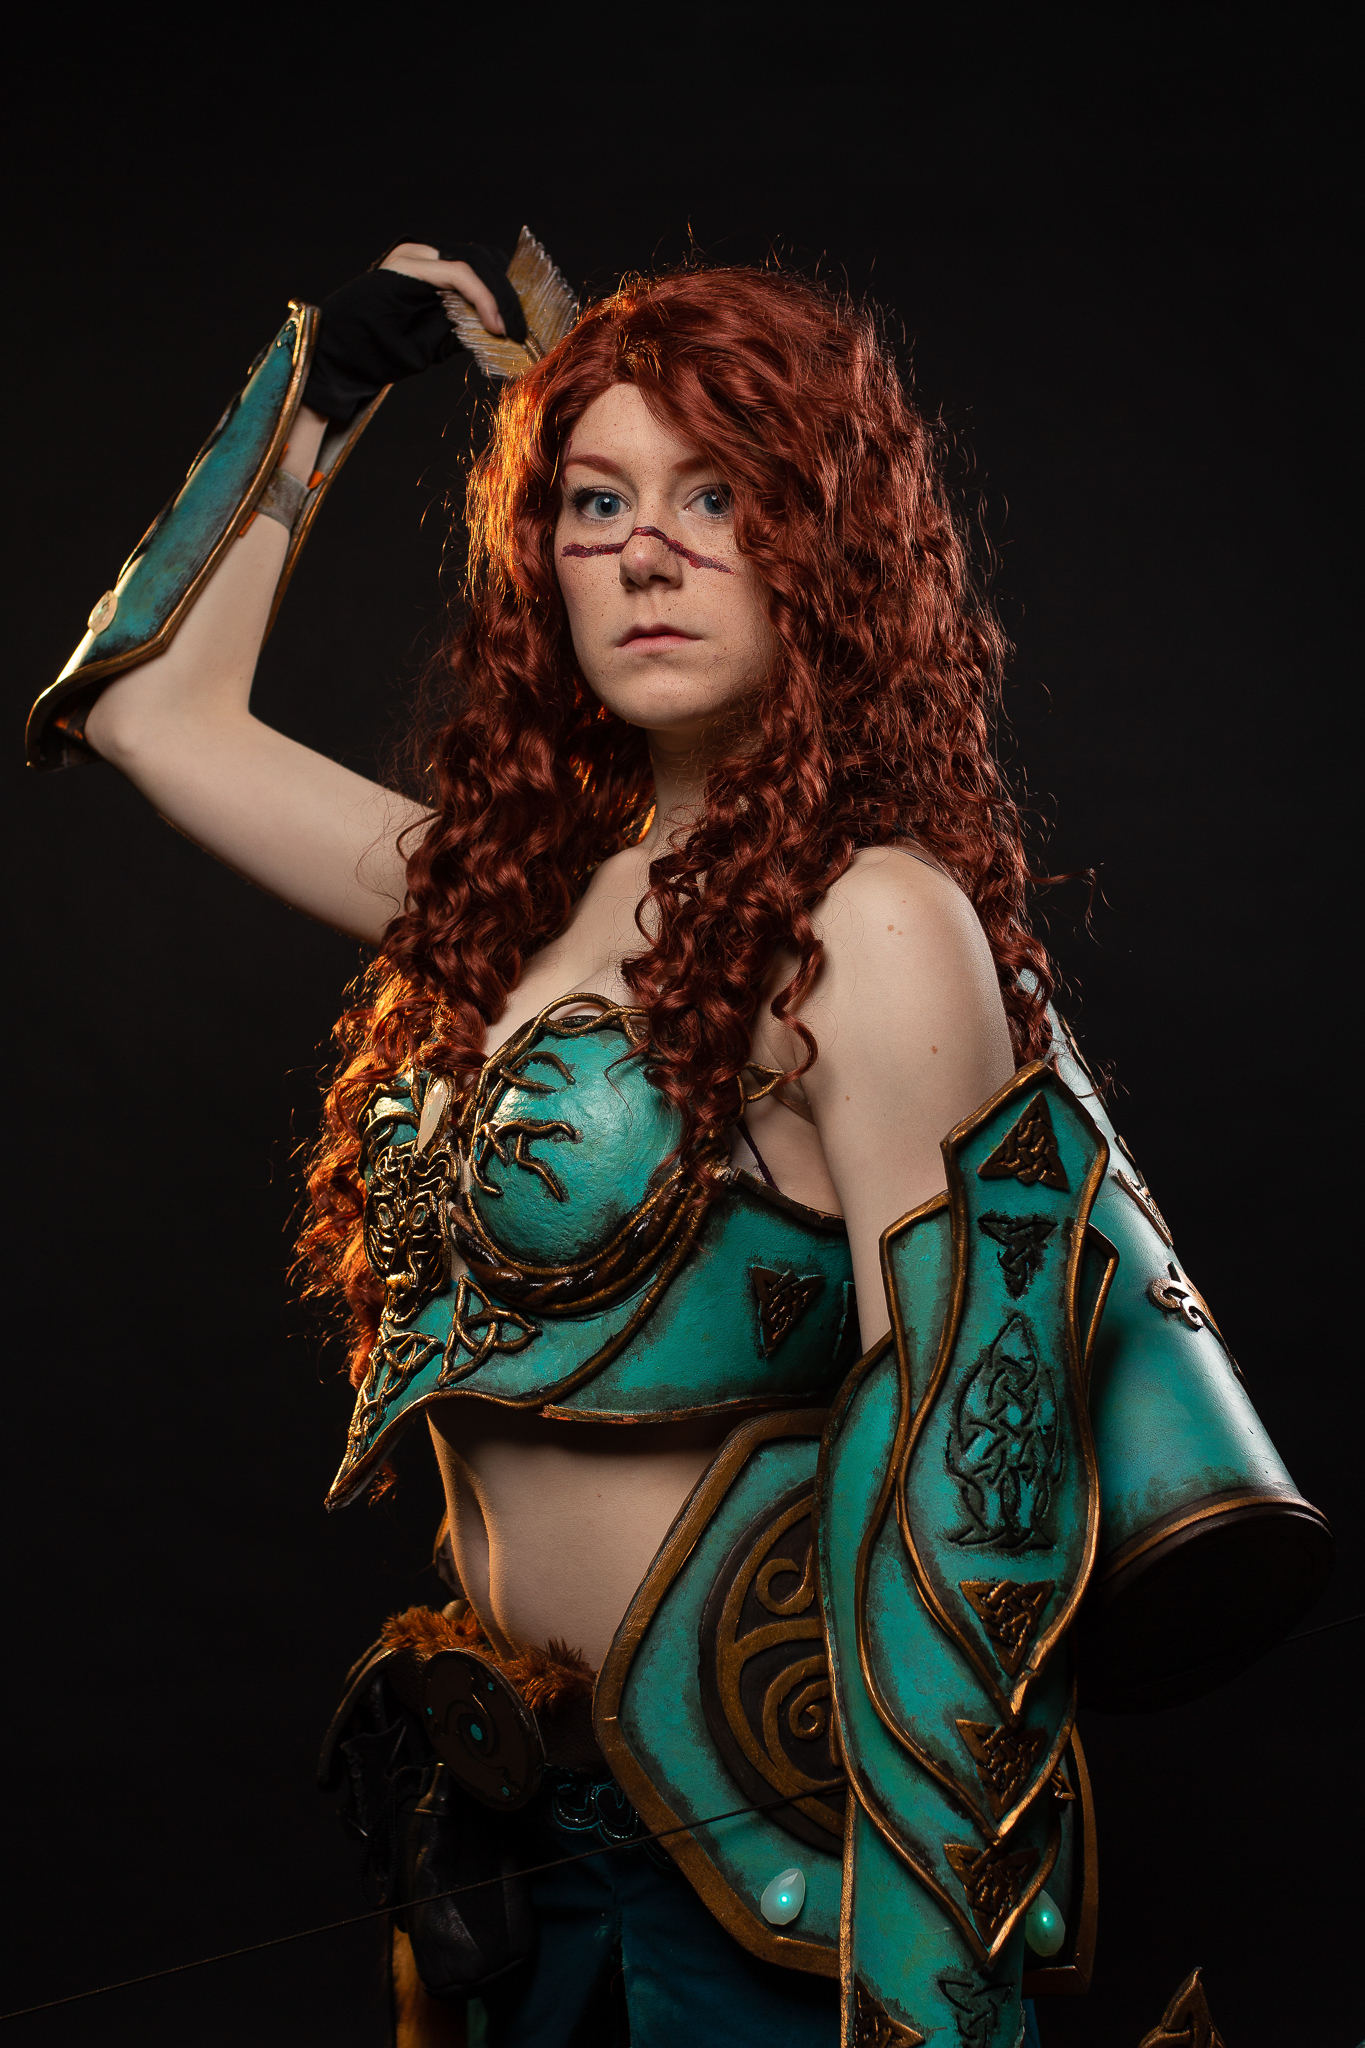
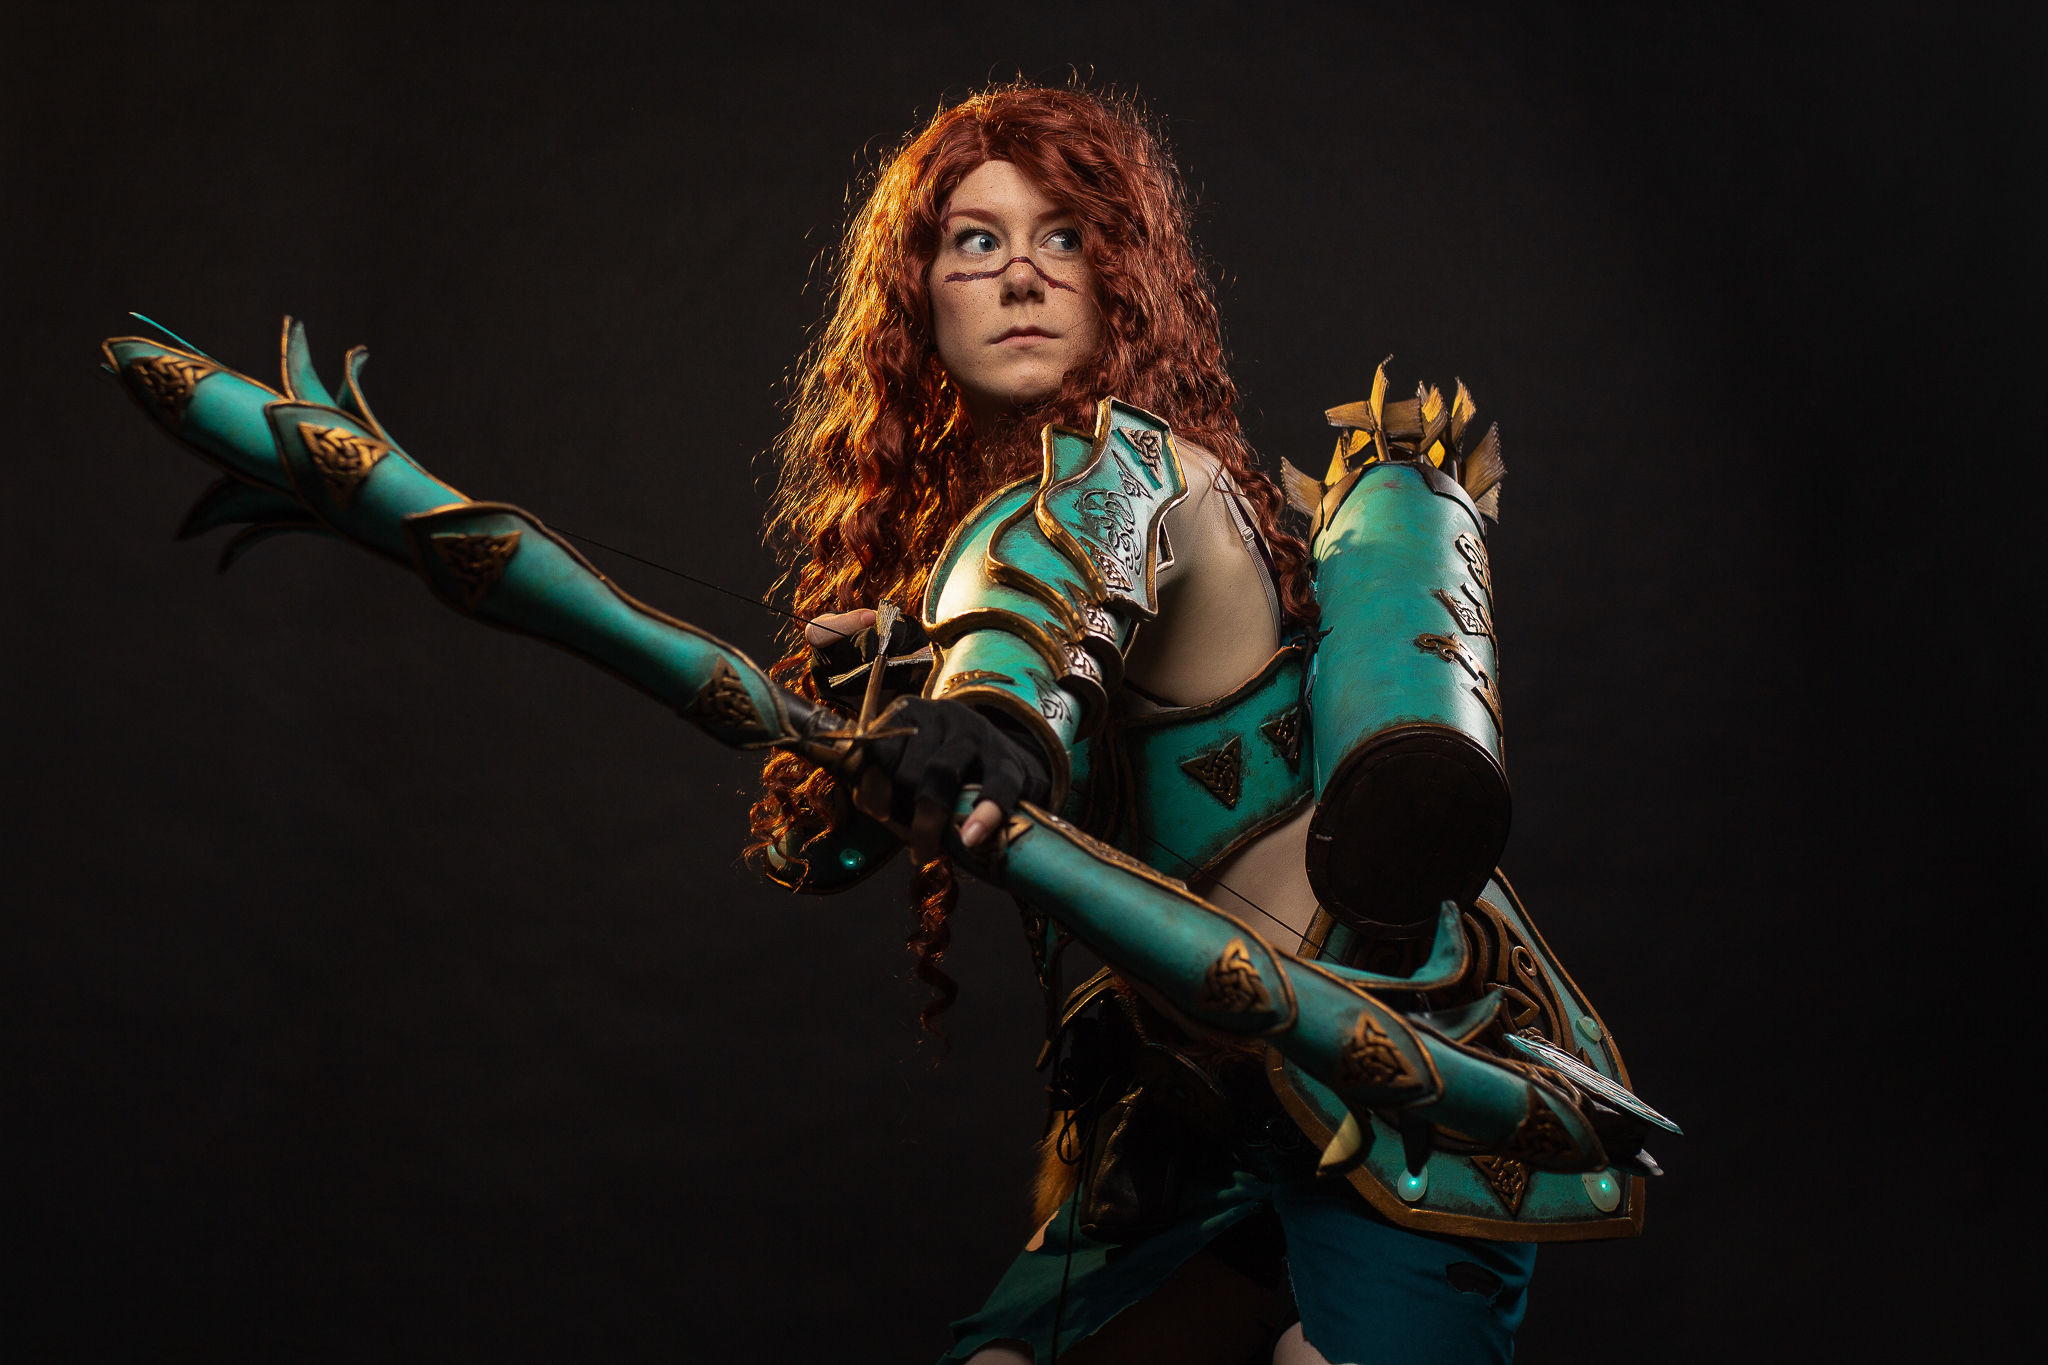
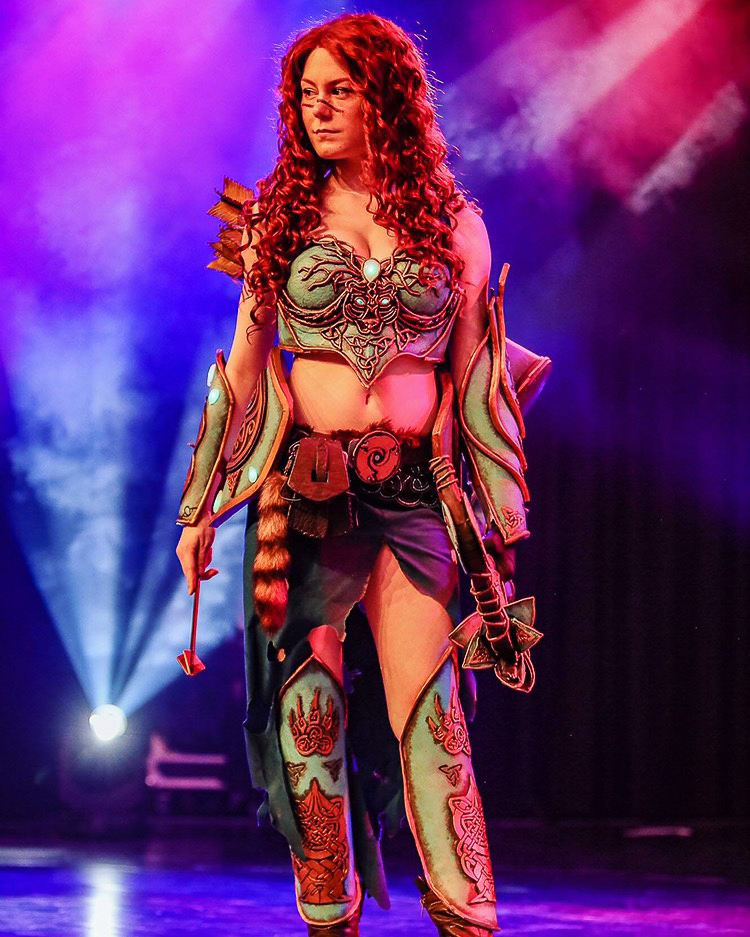
The Merida Armor was for sure one of my more challenging builds. Not just because this was the first time I wanted to build a full armor, but also because there was no design. So I had to sit down, study the details and come up with a design.
So for me, a big inspiration was @gladzykei with her Disney armor design to the point where I actually purchased her book. And it helped a lot it showed me how to design things. Being me I first sketched my idea out, just to not stick to the idea at all. Instead, I gathered a lot of pictures and ideas on Pinterest and decided to go bit by bit.
The only thing I knew is that I wanted to tell the important movie parts in the armor. Meaning I listed down the important things I needed to be showcased.
- The three brothers
- Three brothers as bears
- Mother and daughter hug as human
- The dark Bear
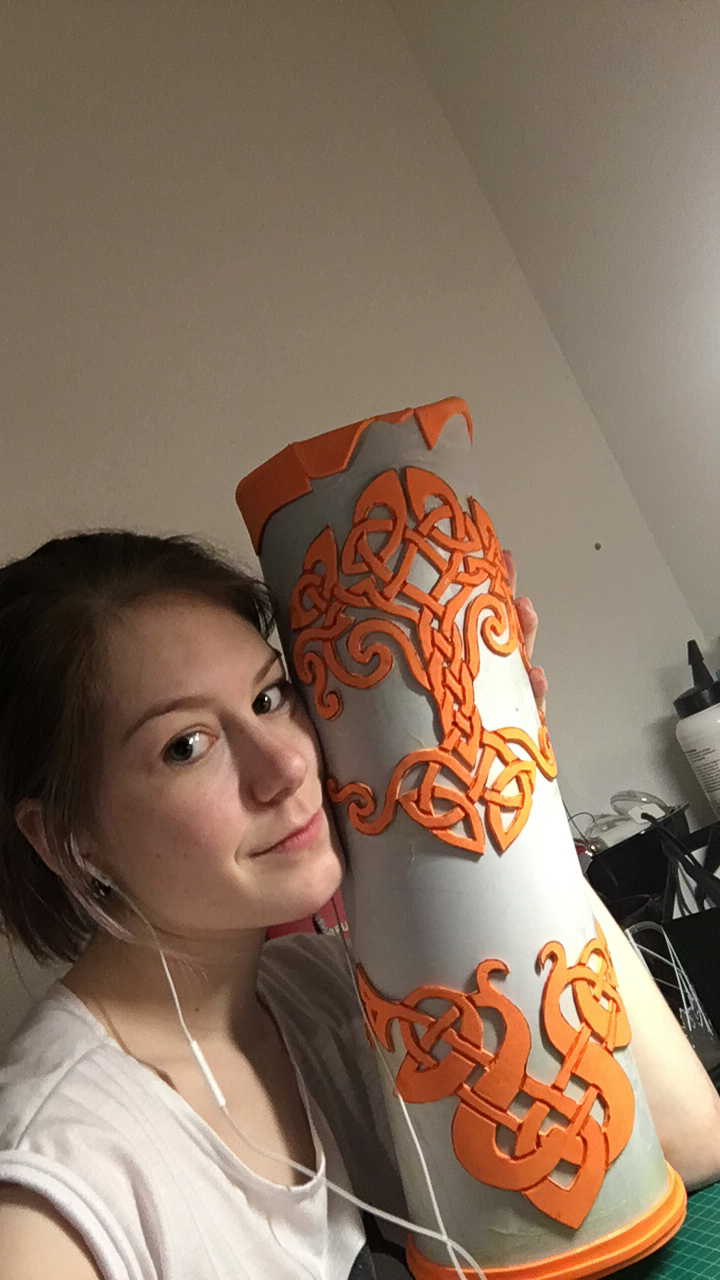
- Family tree
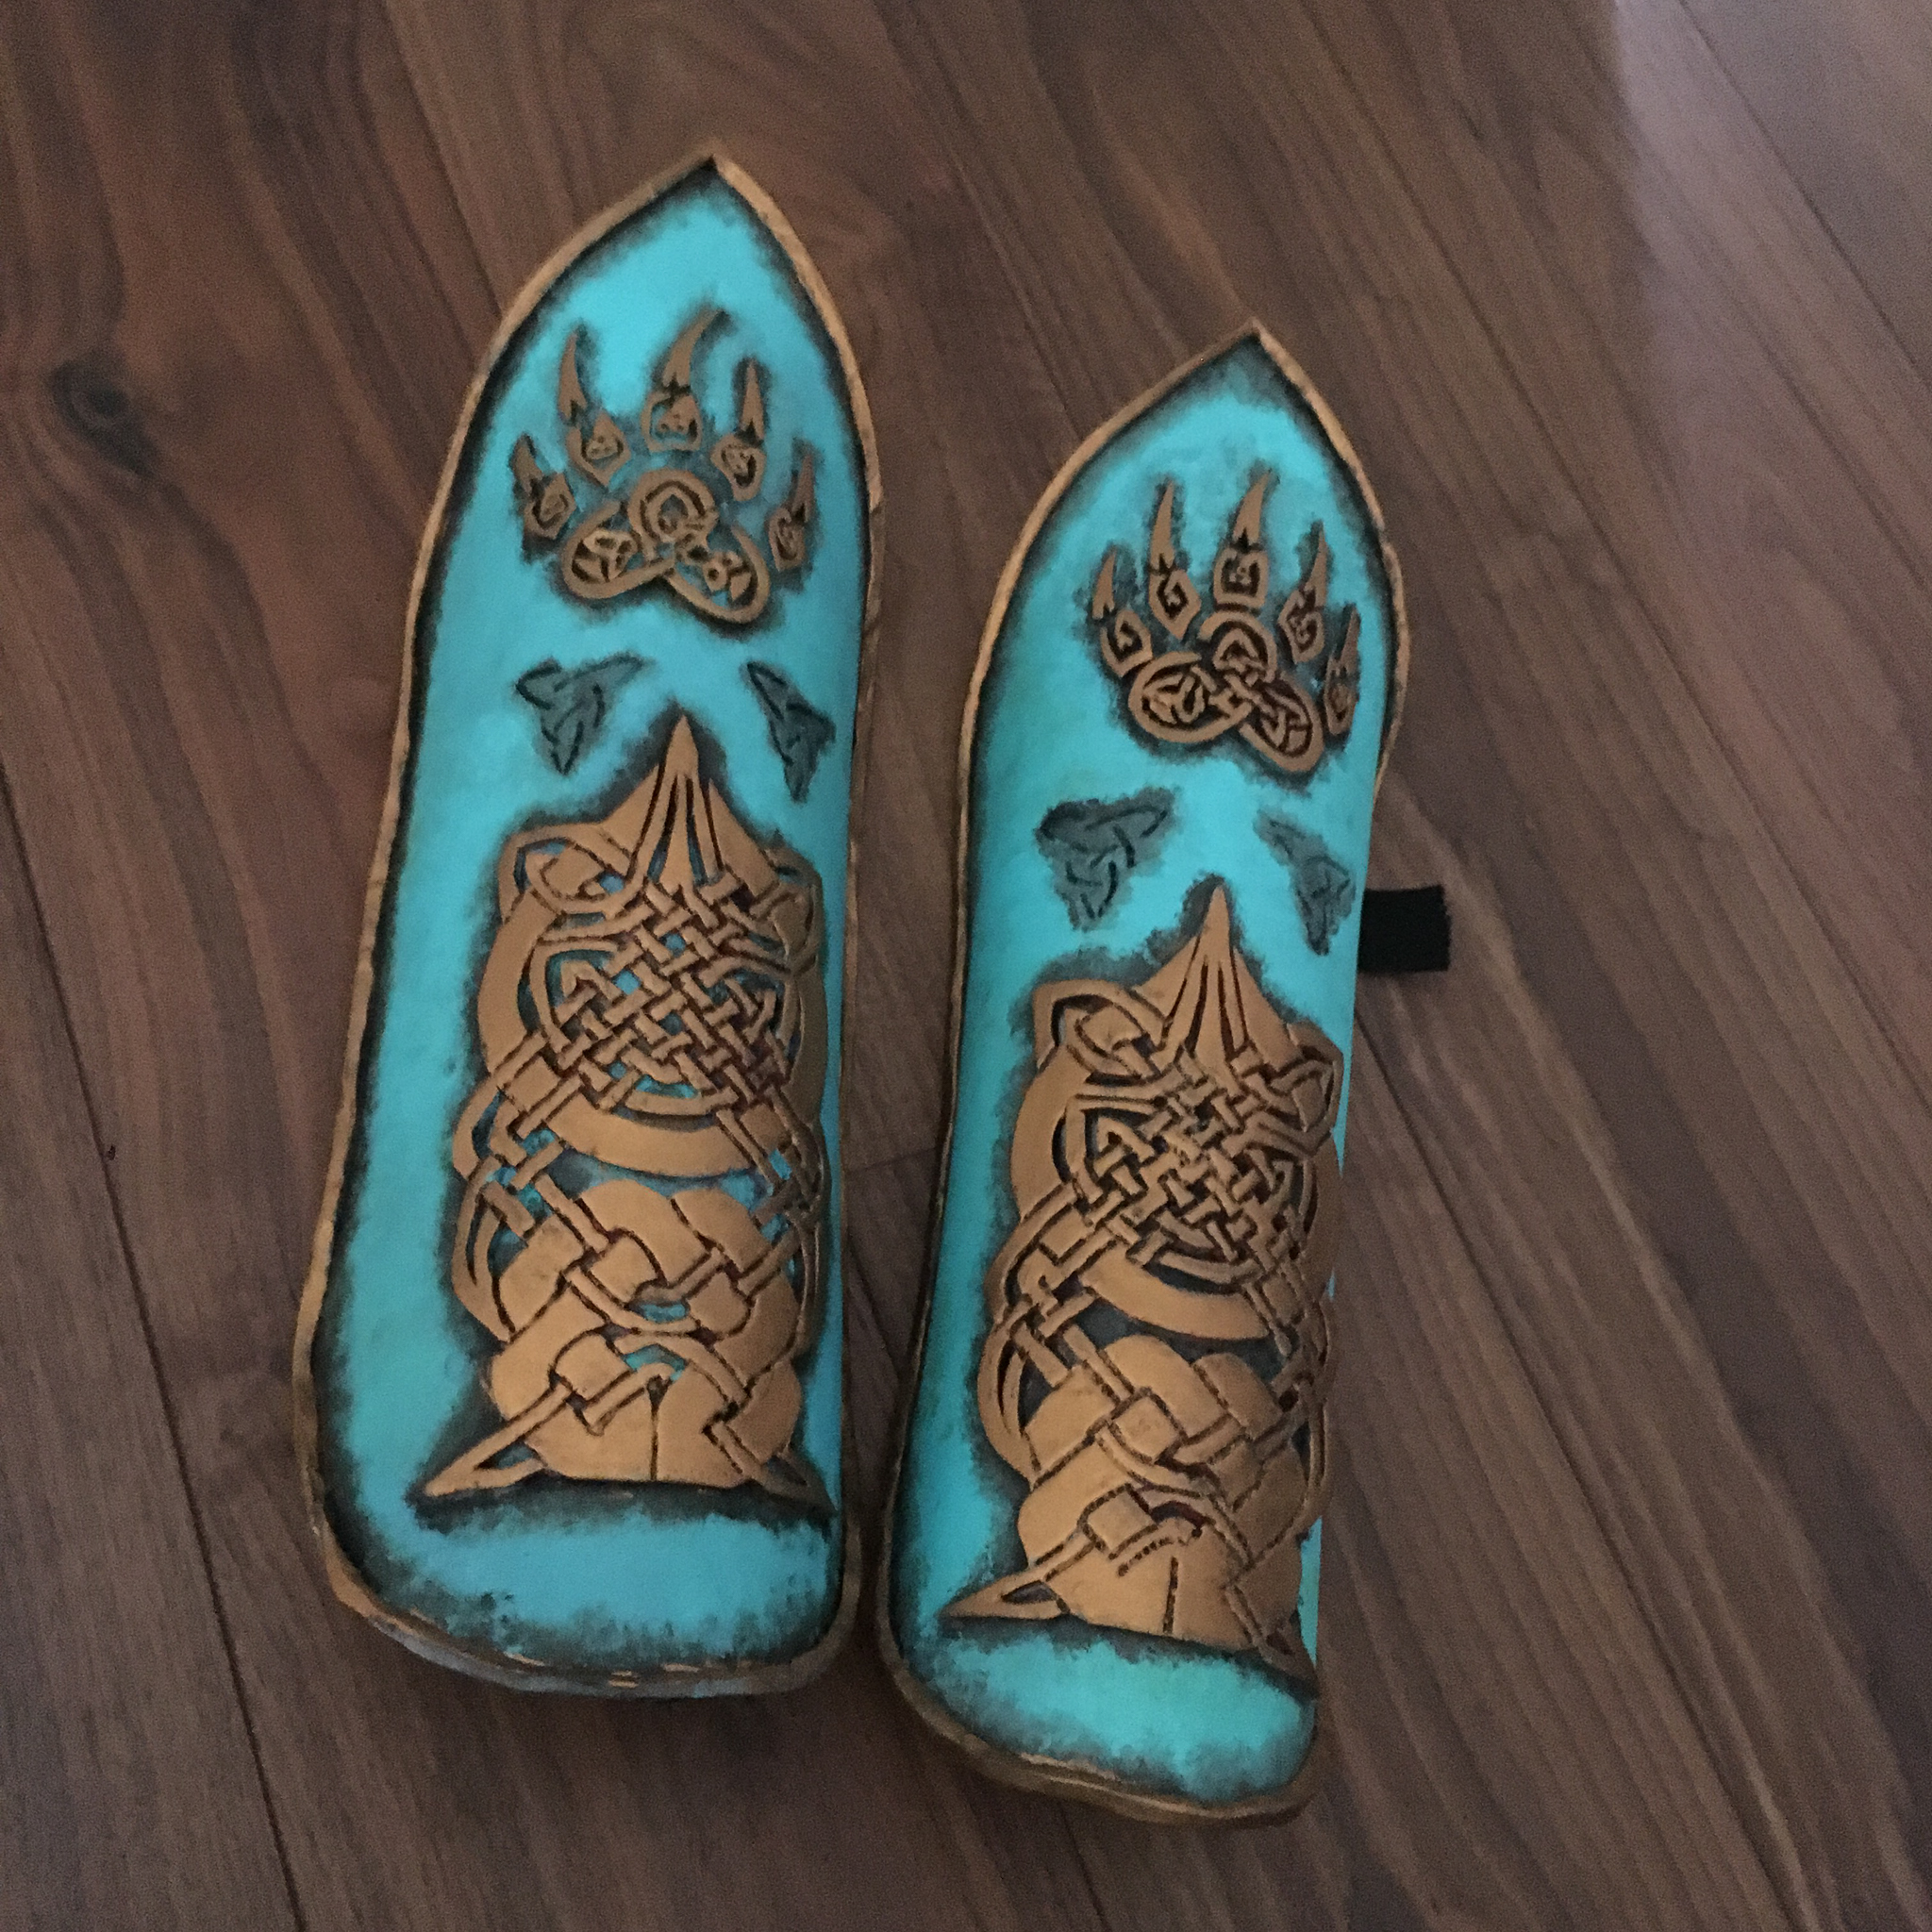
- Bear paws
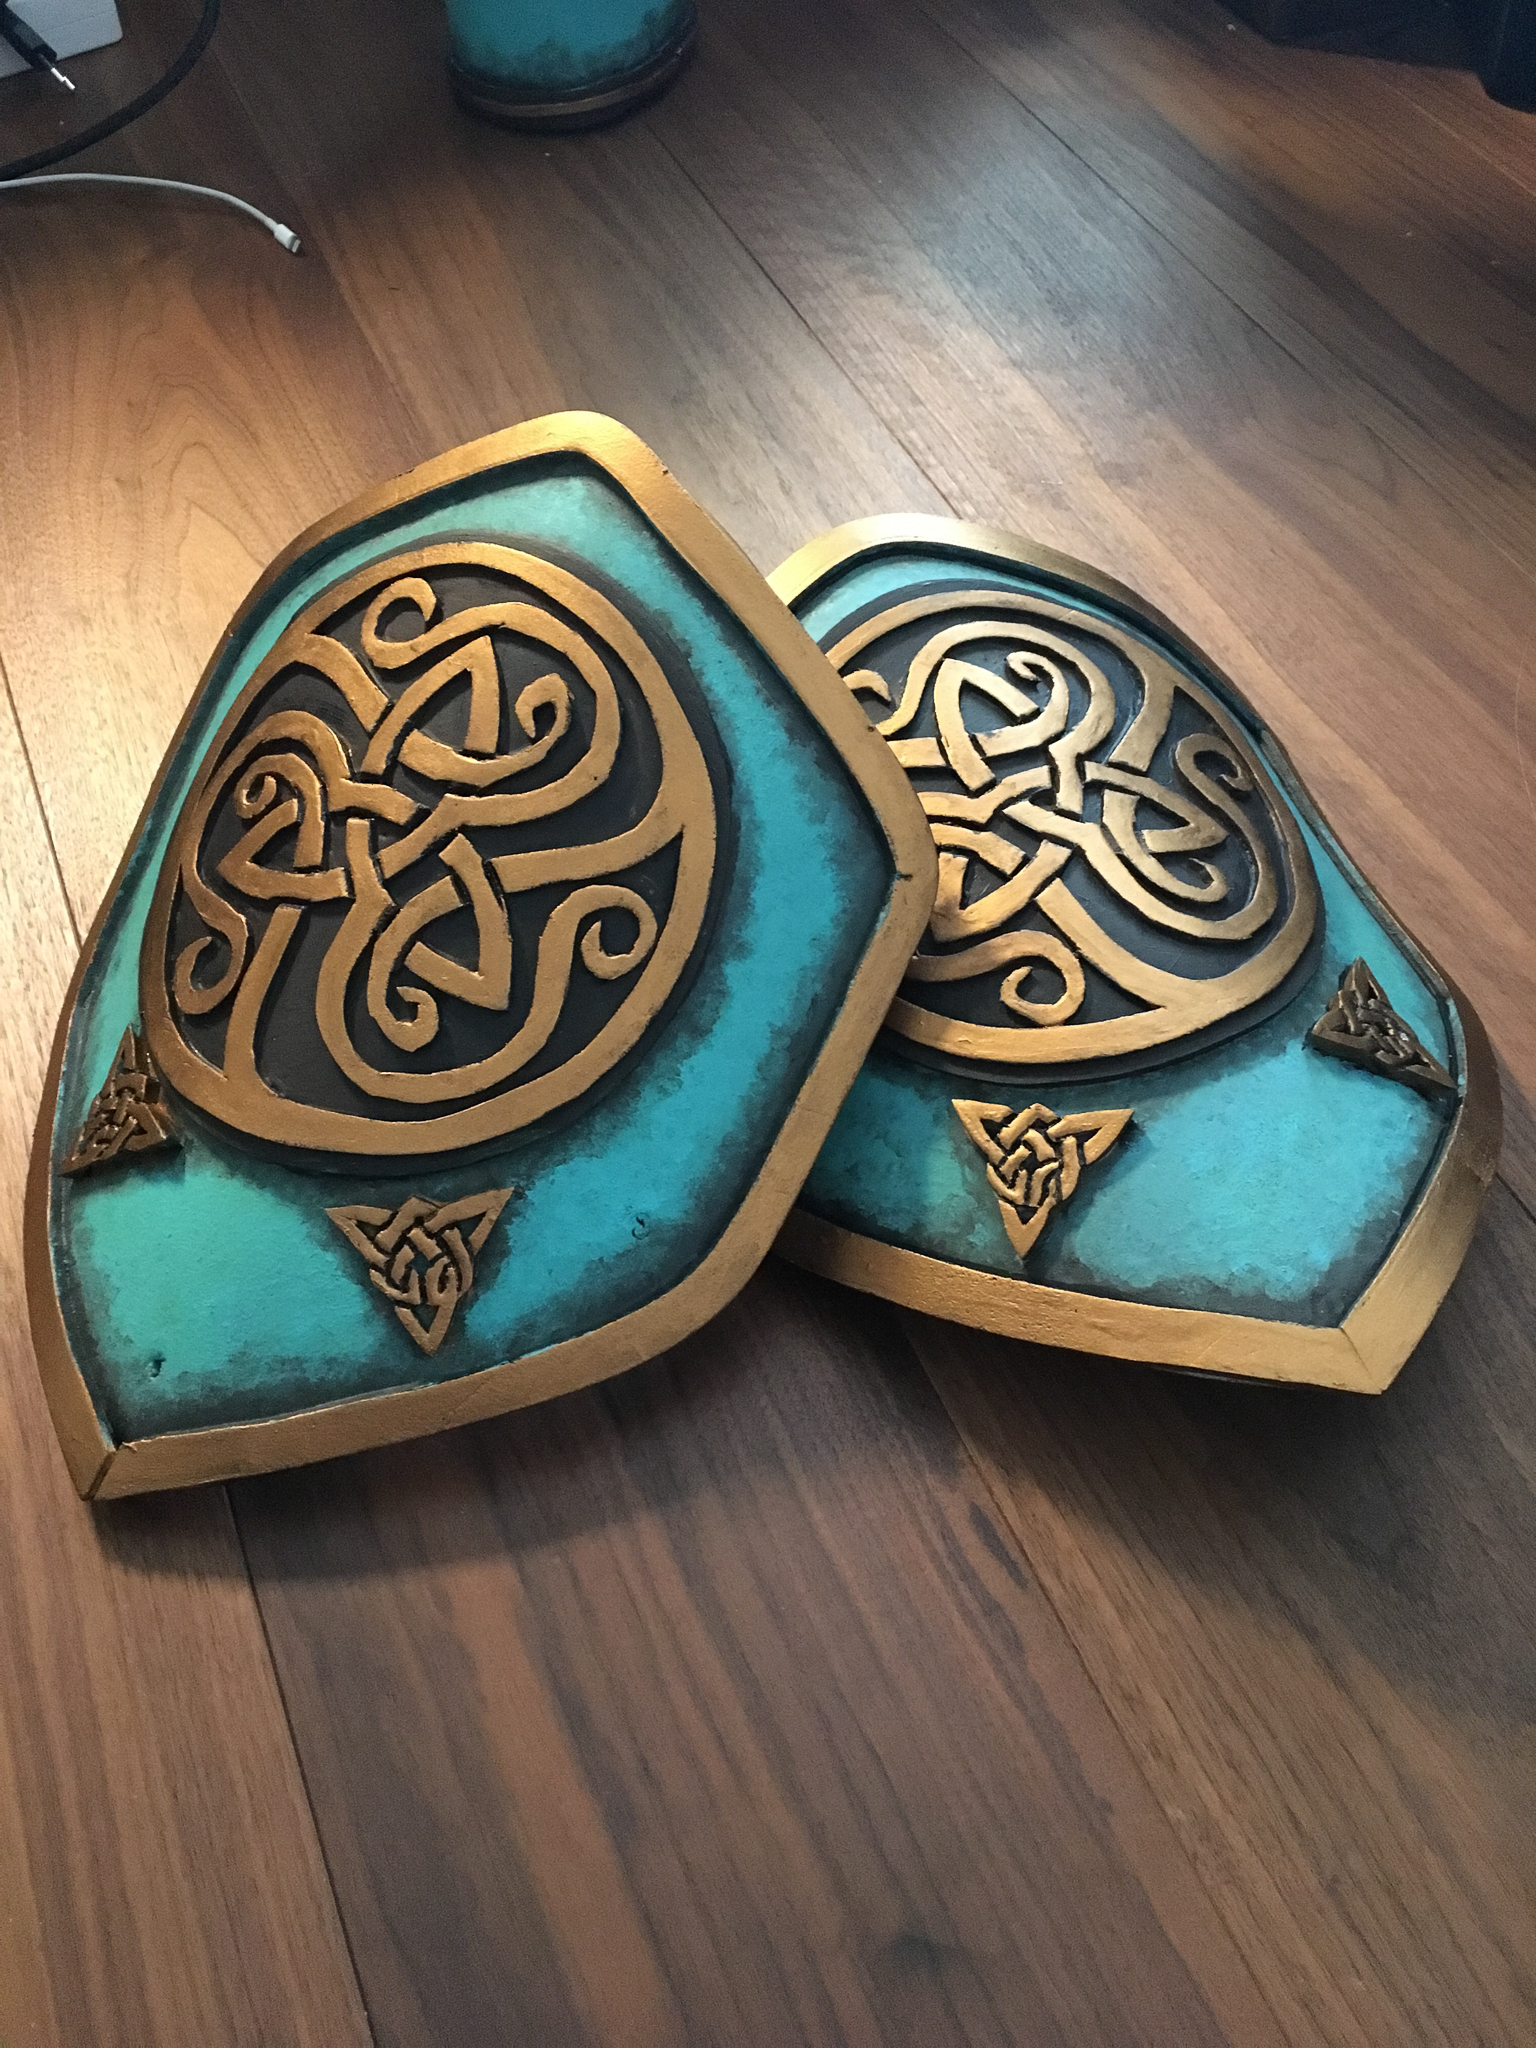
- The family crest
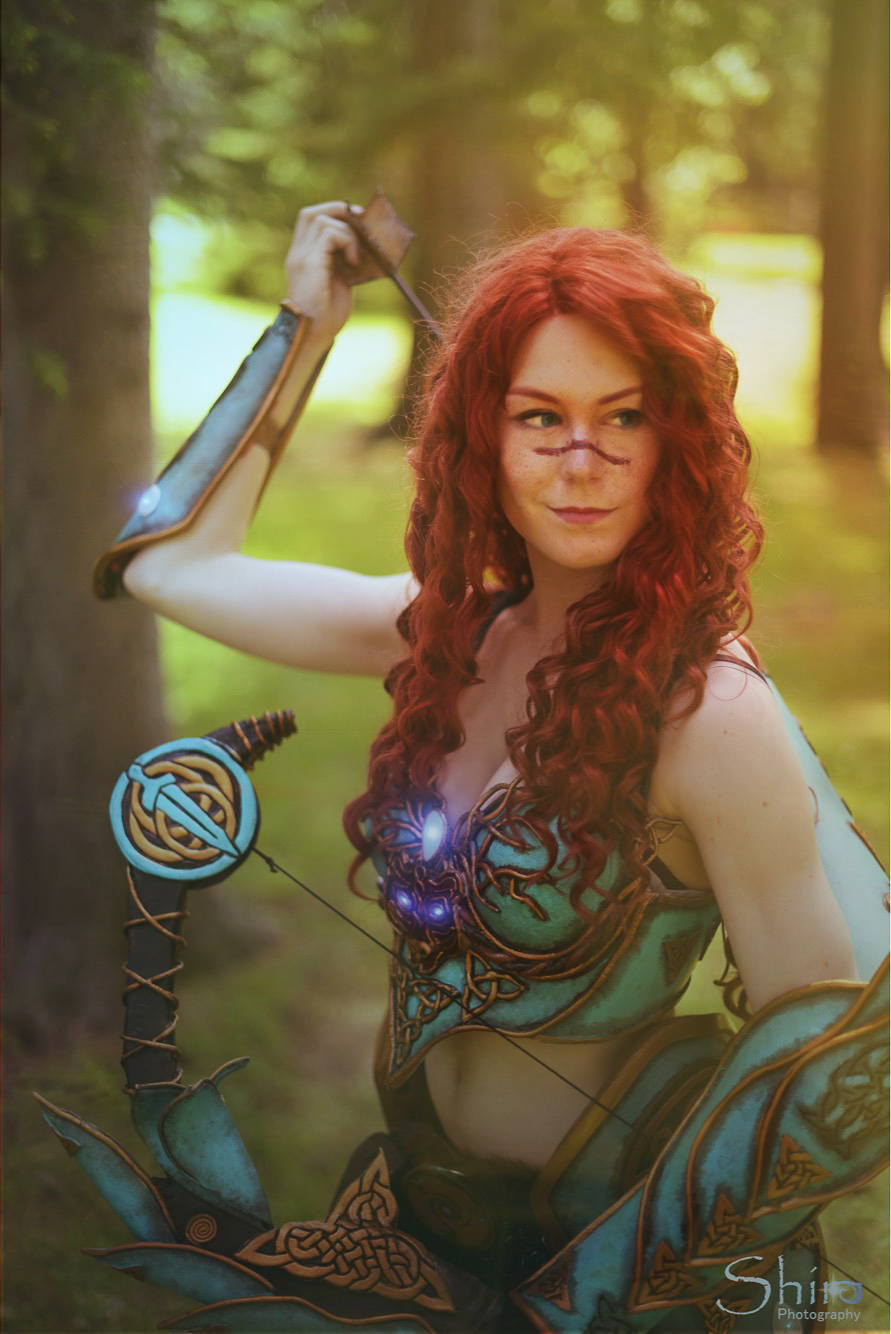
And if you look closely you’ll find all those details.
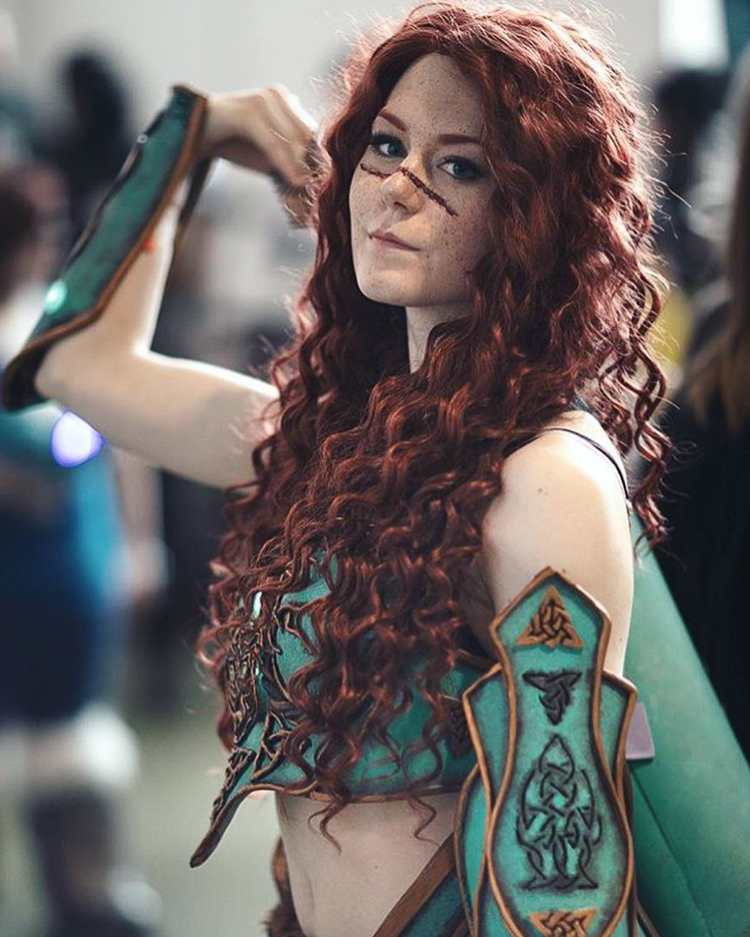
Next was to decide what kind of materials I wanted to work with. Having experience with Worbla because of my Diablo 3 Monk cosplay I knew if I would do my whole armor with that material it would be expensive and also very heavy. So I wanted to try out a different material which was foam. I didn’t know what kind I needed so I asked a friend who I knew worked with foam and she gave me the website she ordered it from. For the wig I knew I didn’t wanted to go with the bright orange like in the series. It looks fantastic on the animation but with an armor I wanted something more subtle so I looked up a reddish-brown wig. But since I couldn’t find a long curly wig in my colour I bought a straight one and curled it myself.
WINNING PERFOMANCE HEROFEST 2018
The Armor Build
Base Idea
Base Idea
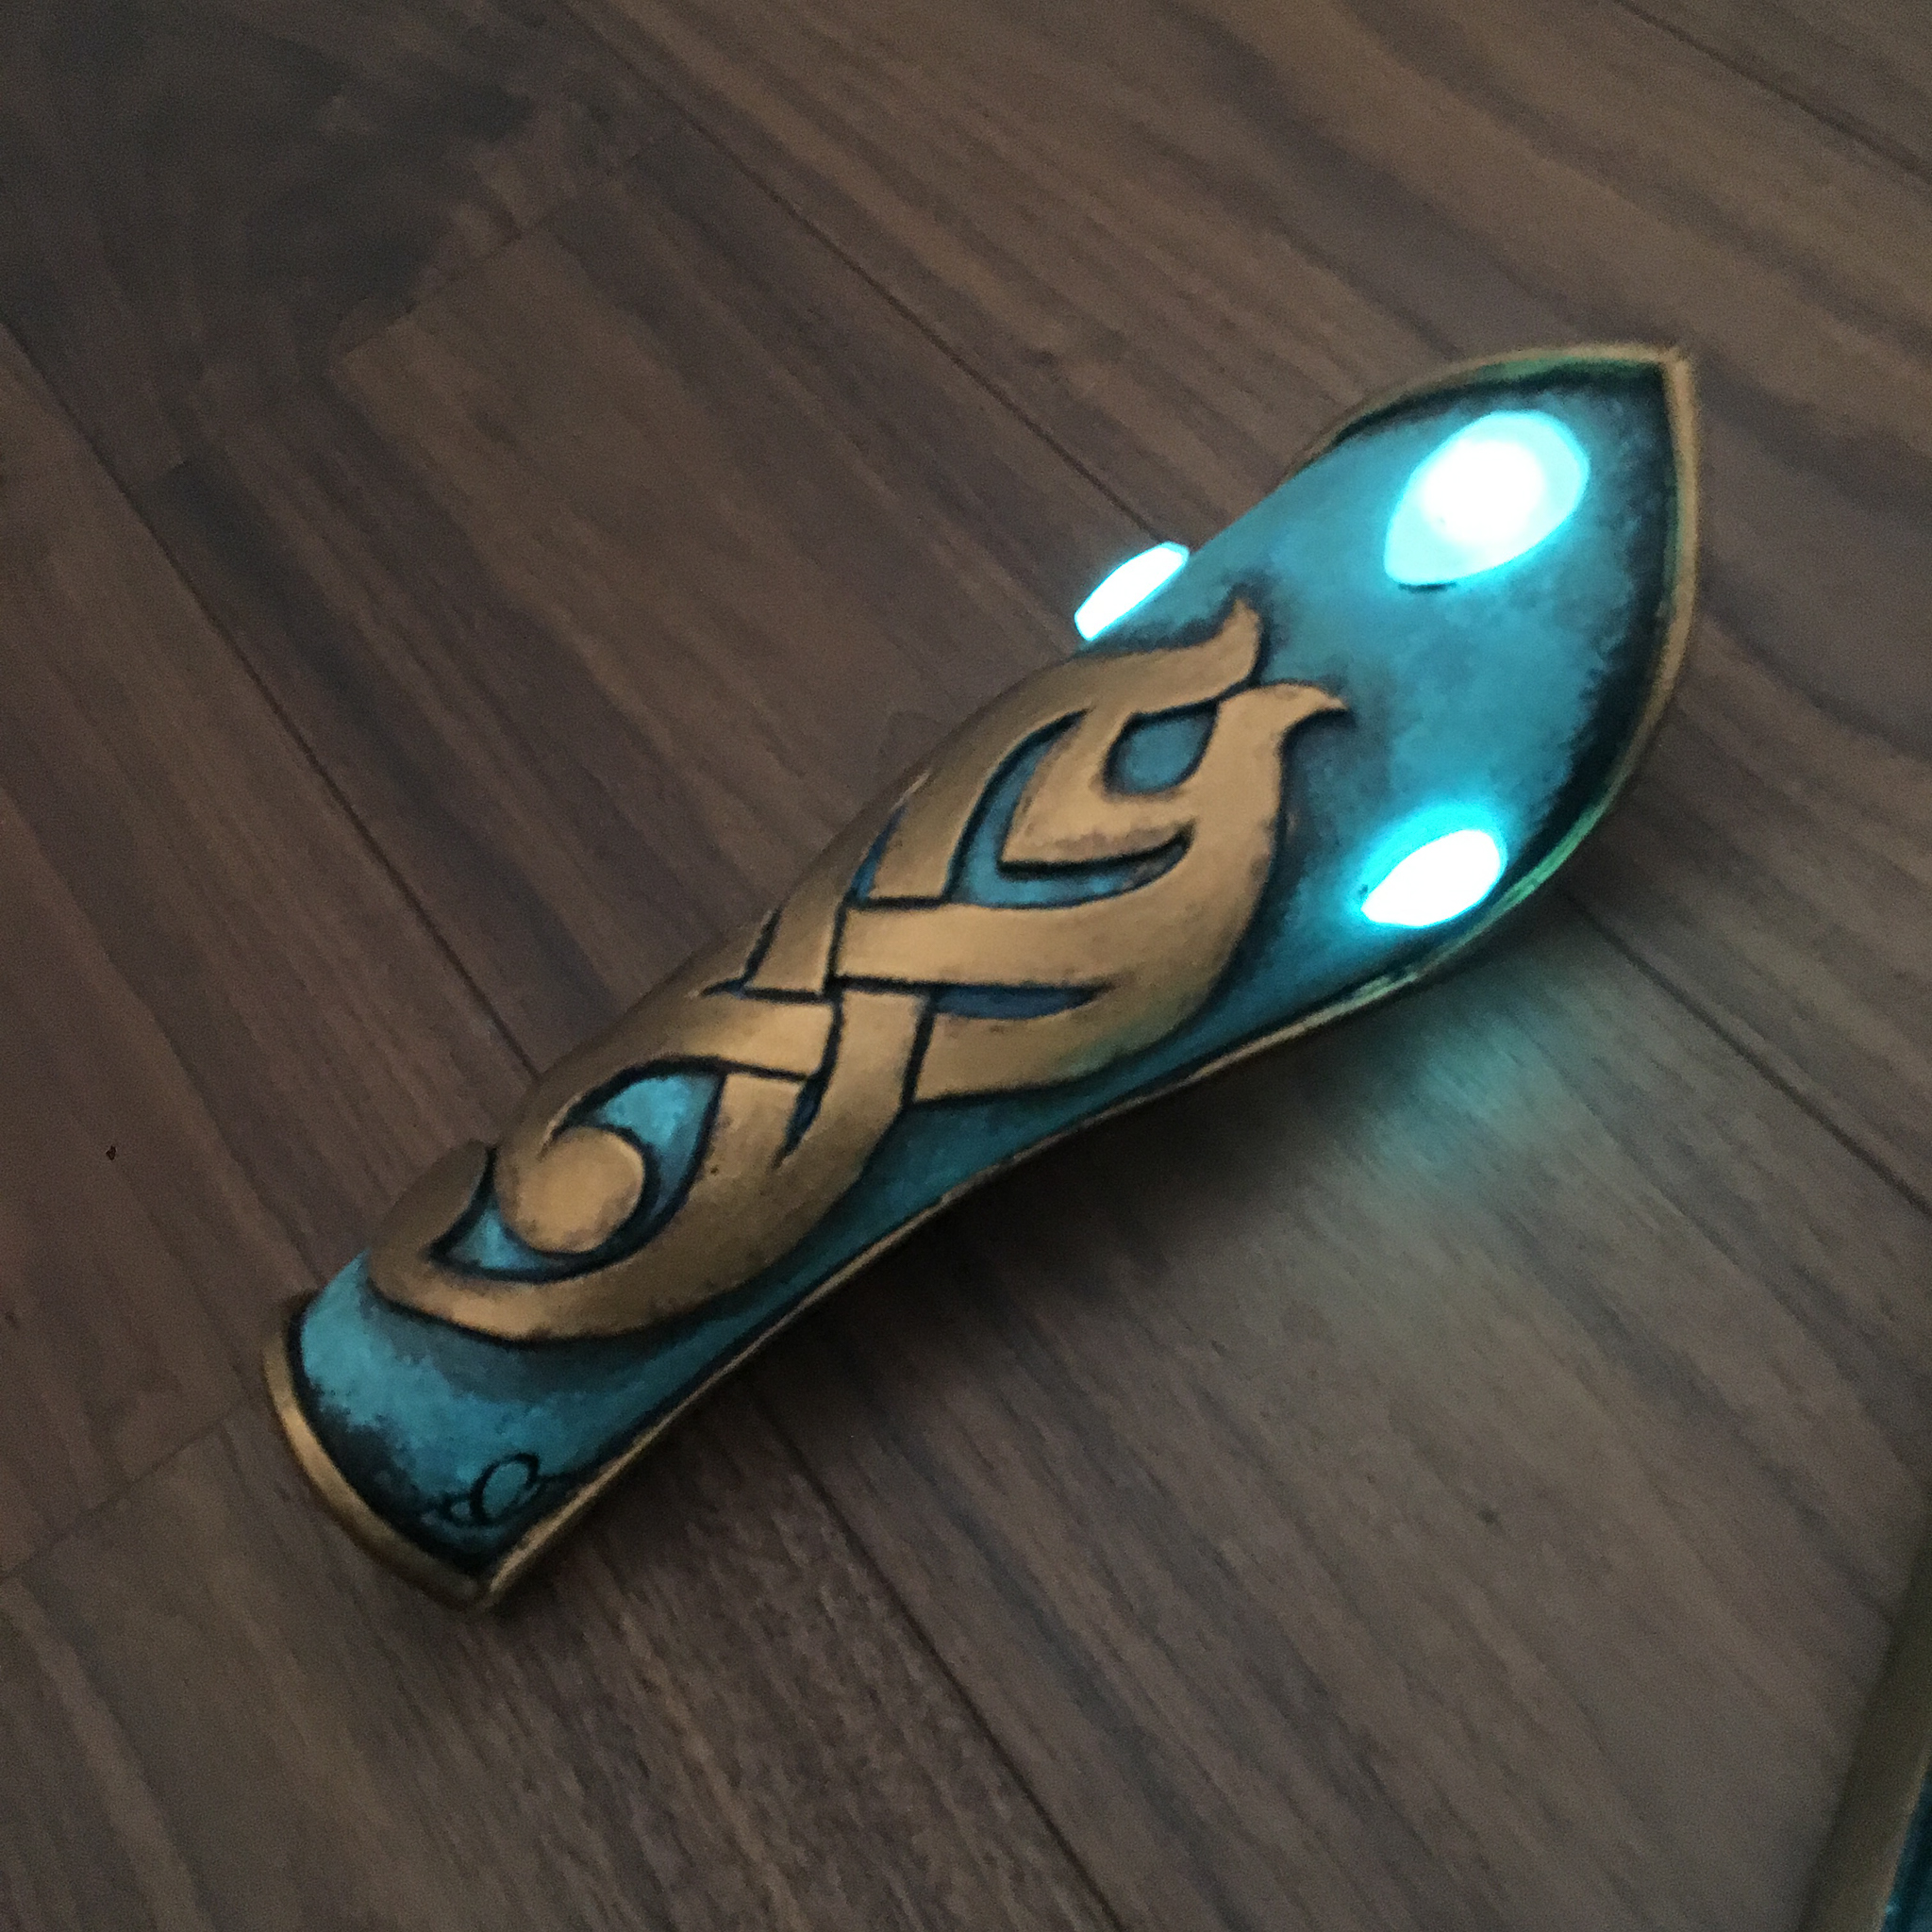
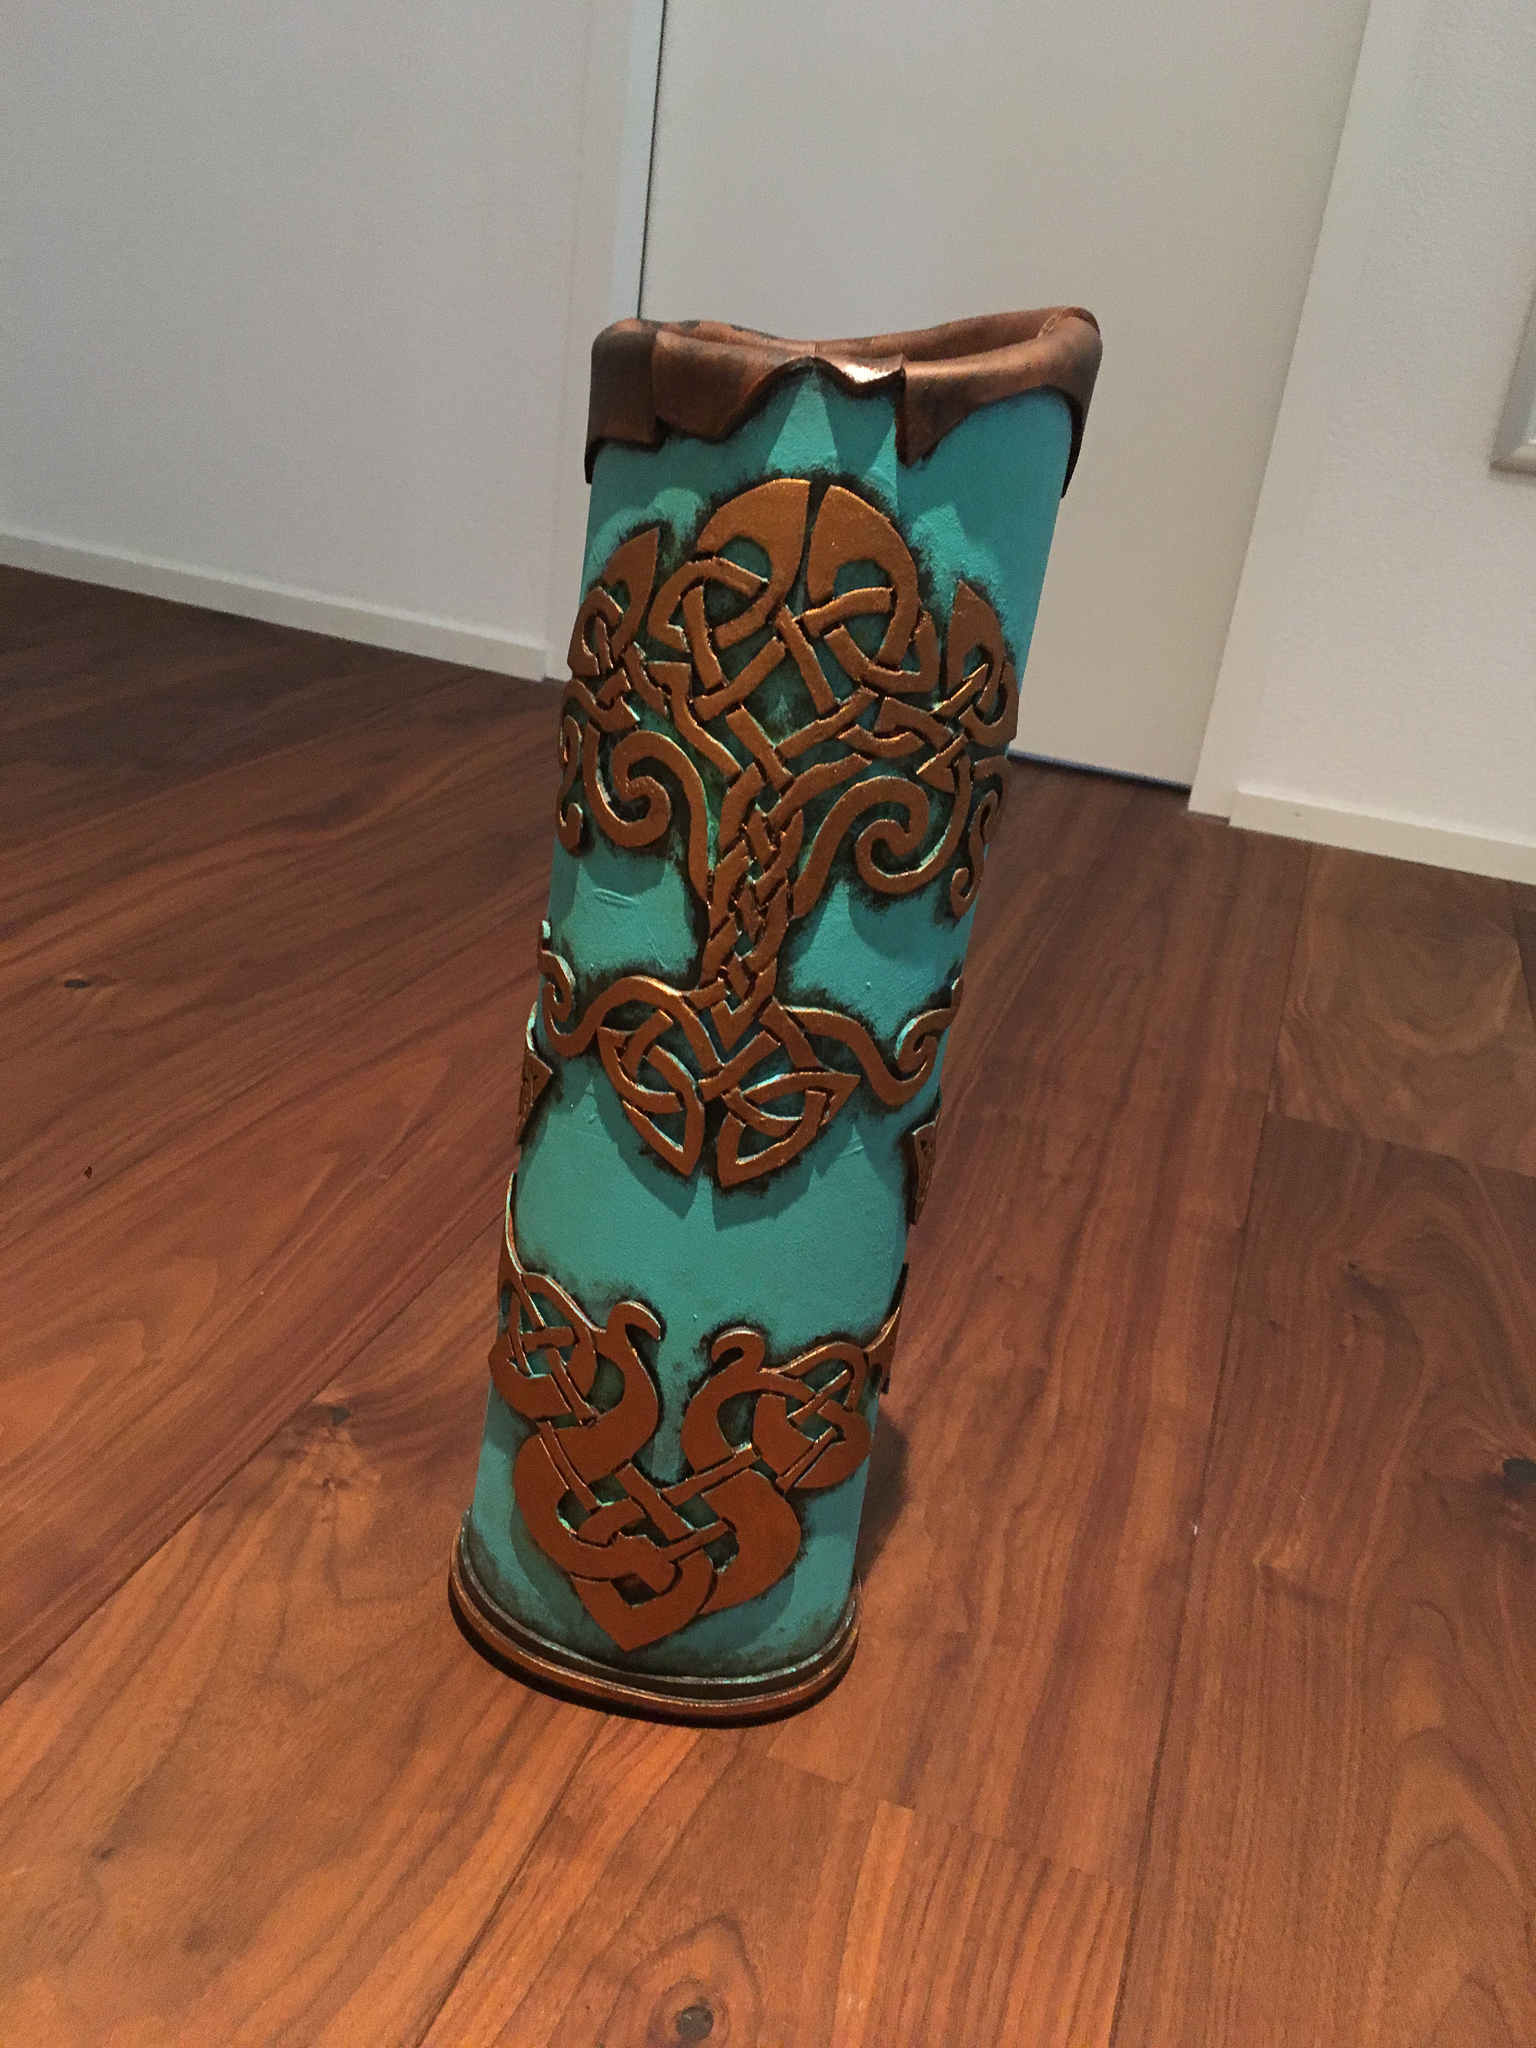
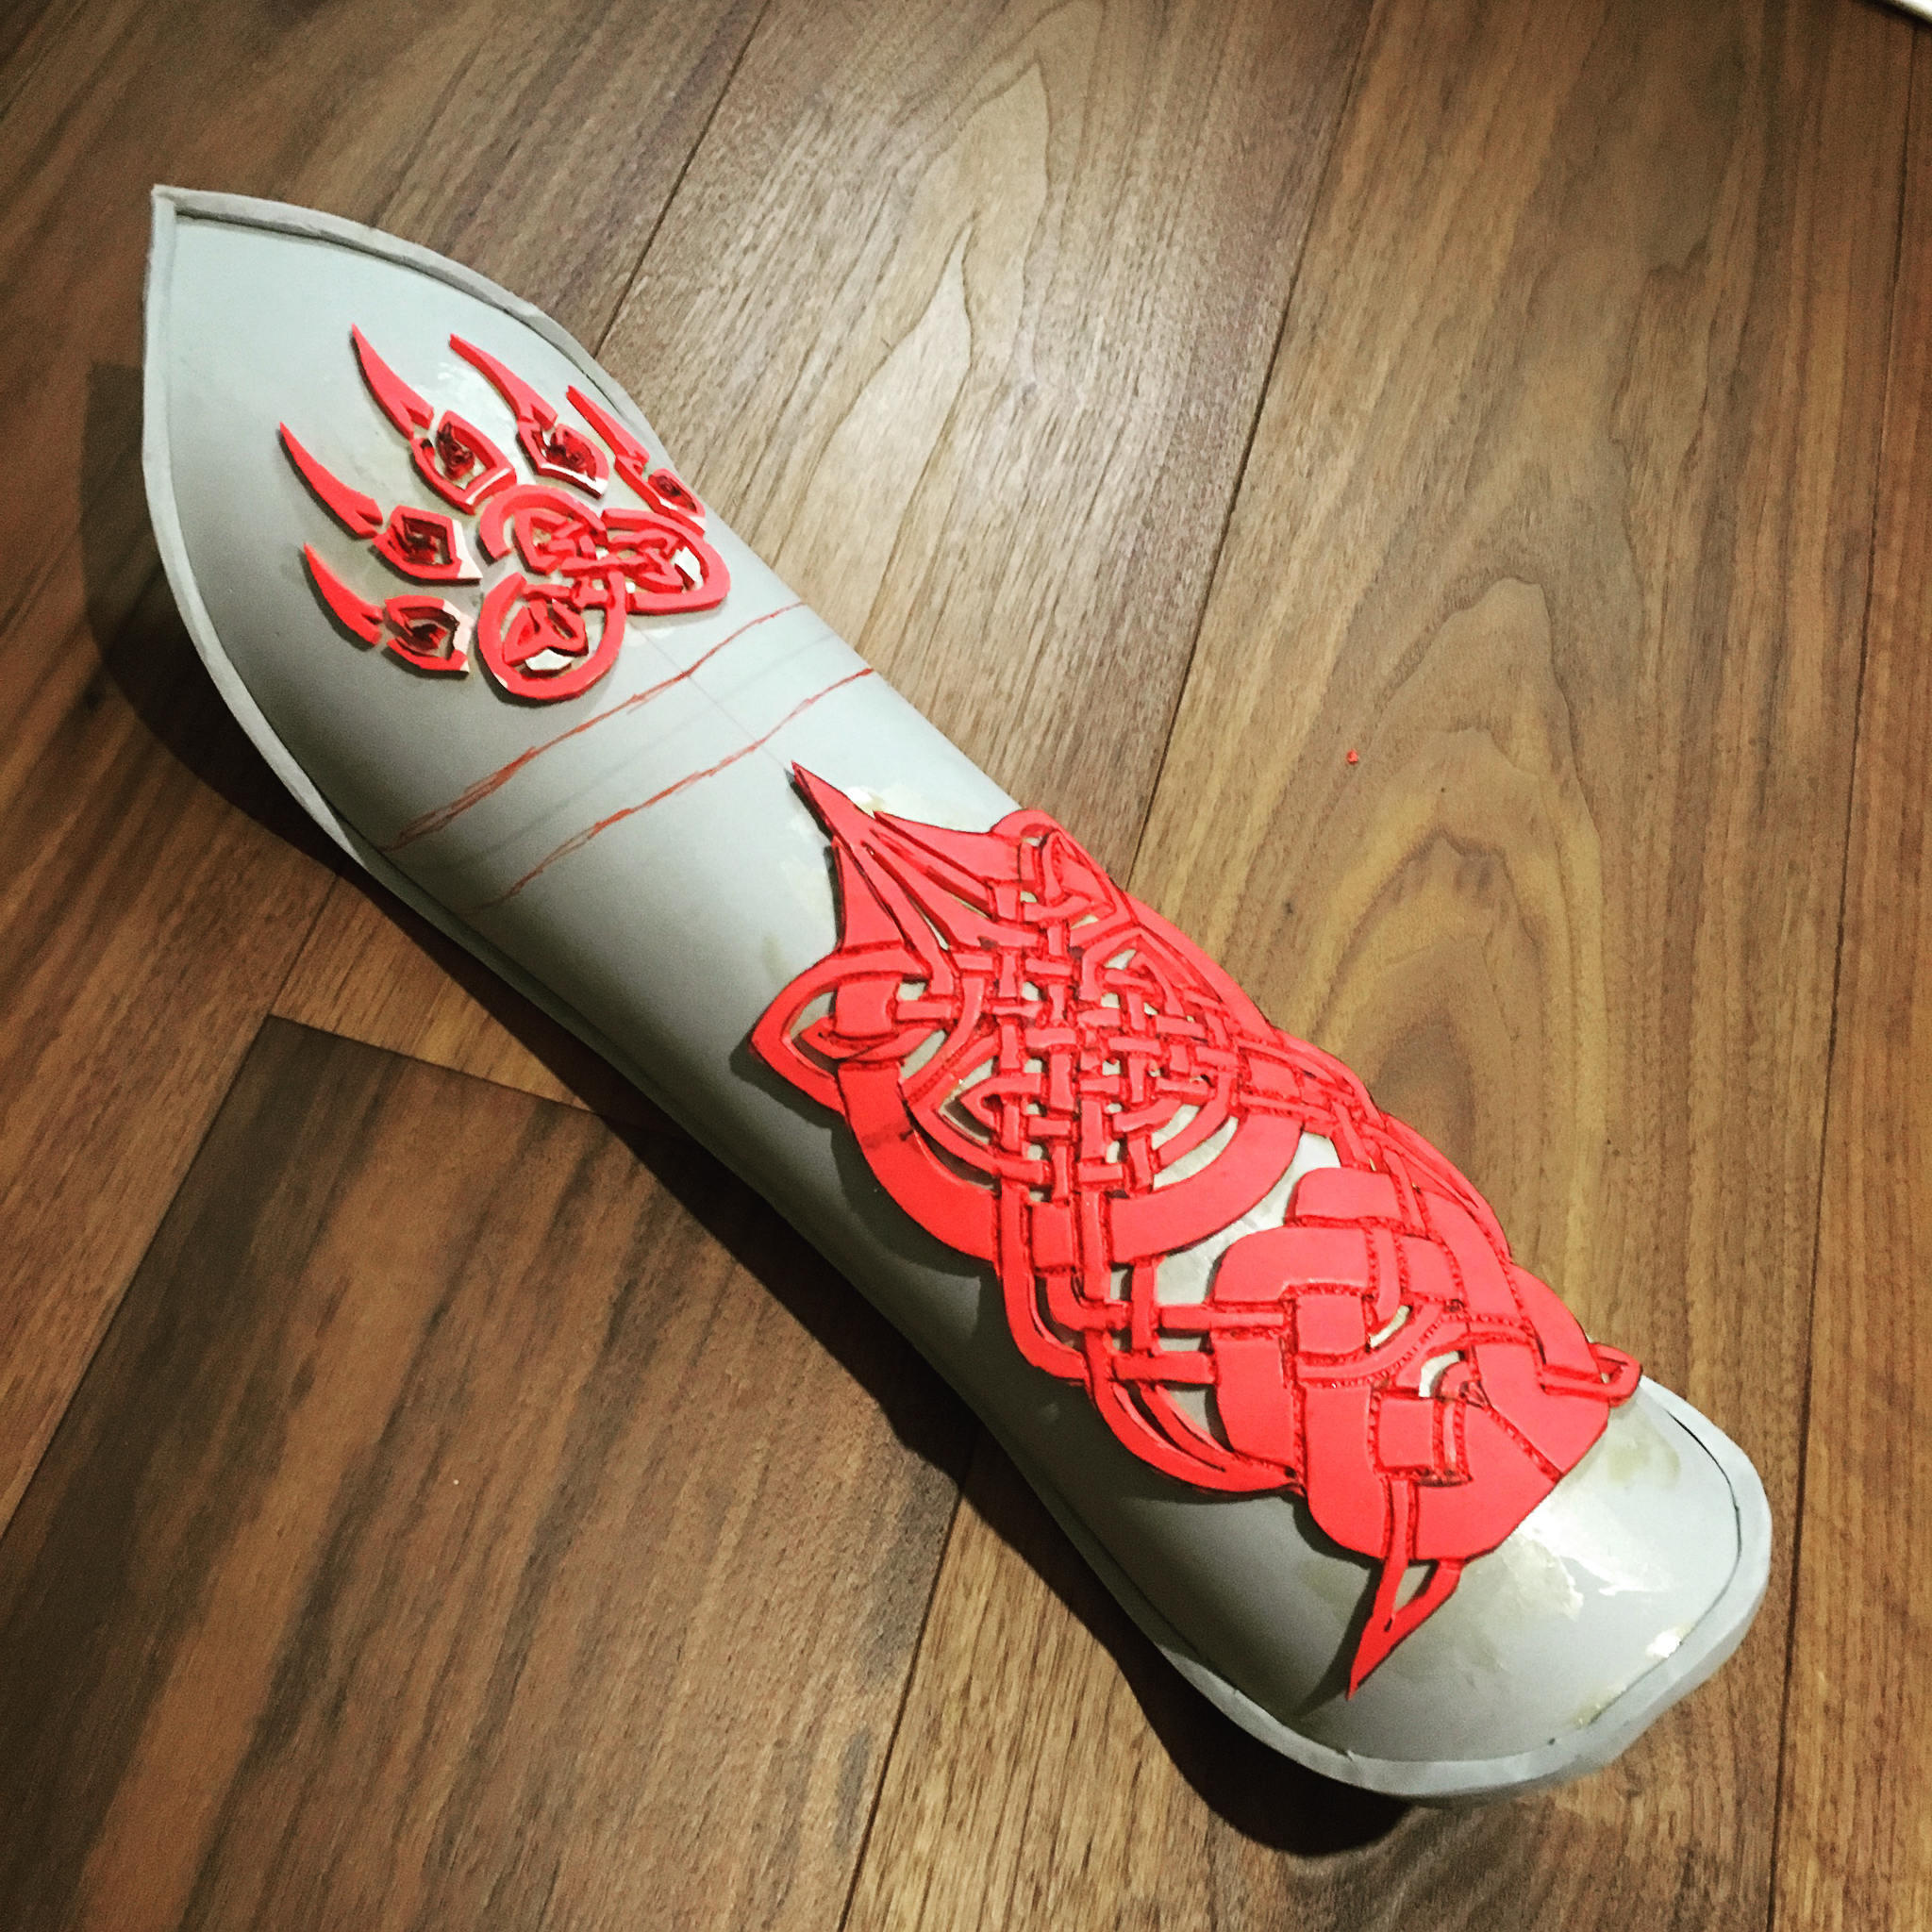
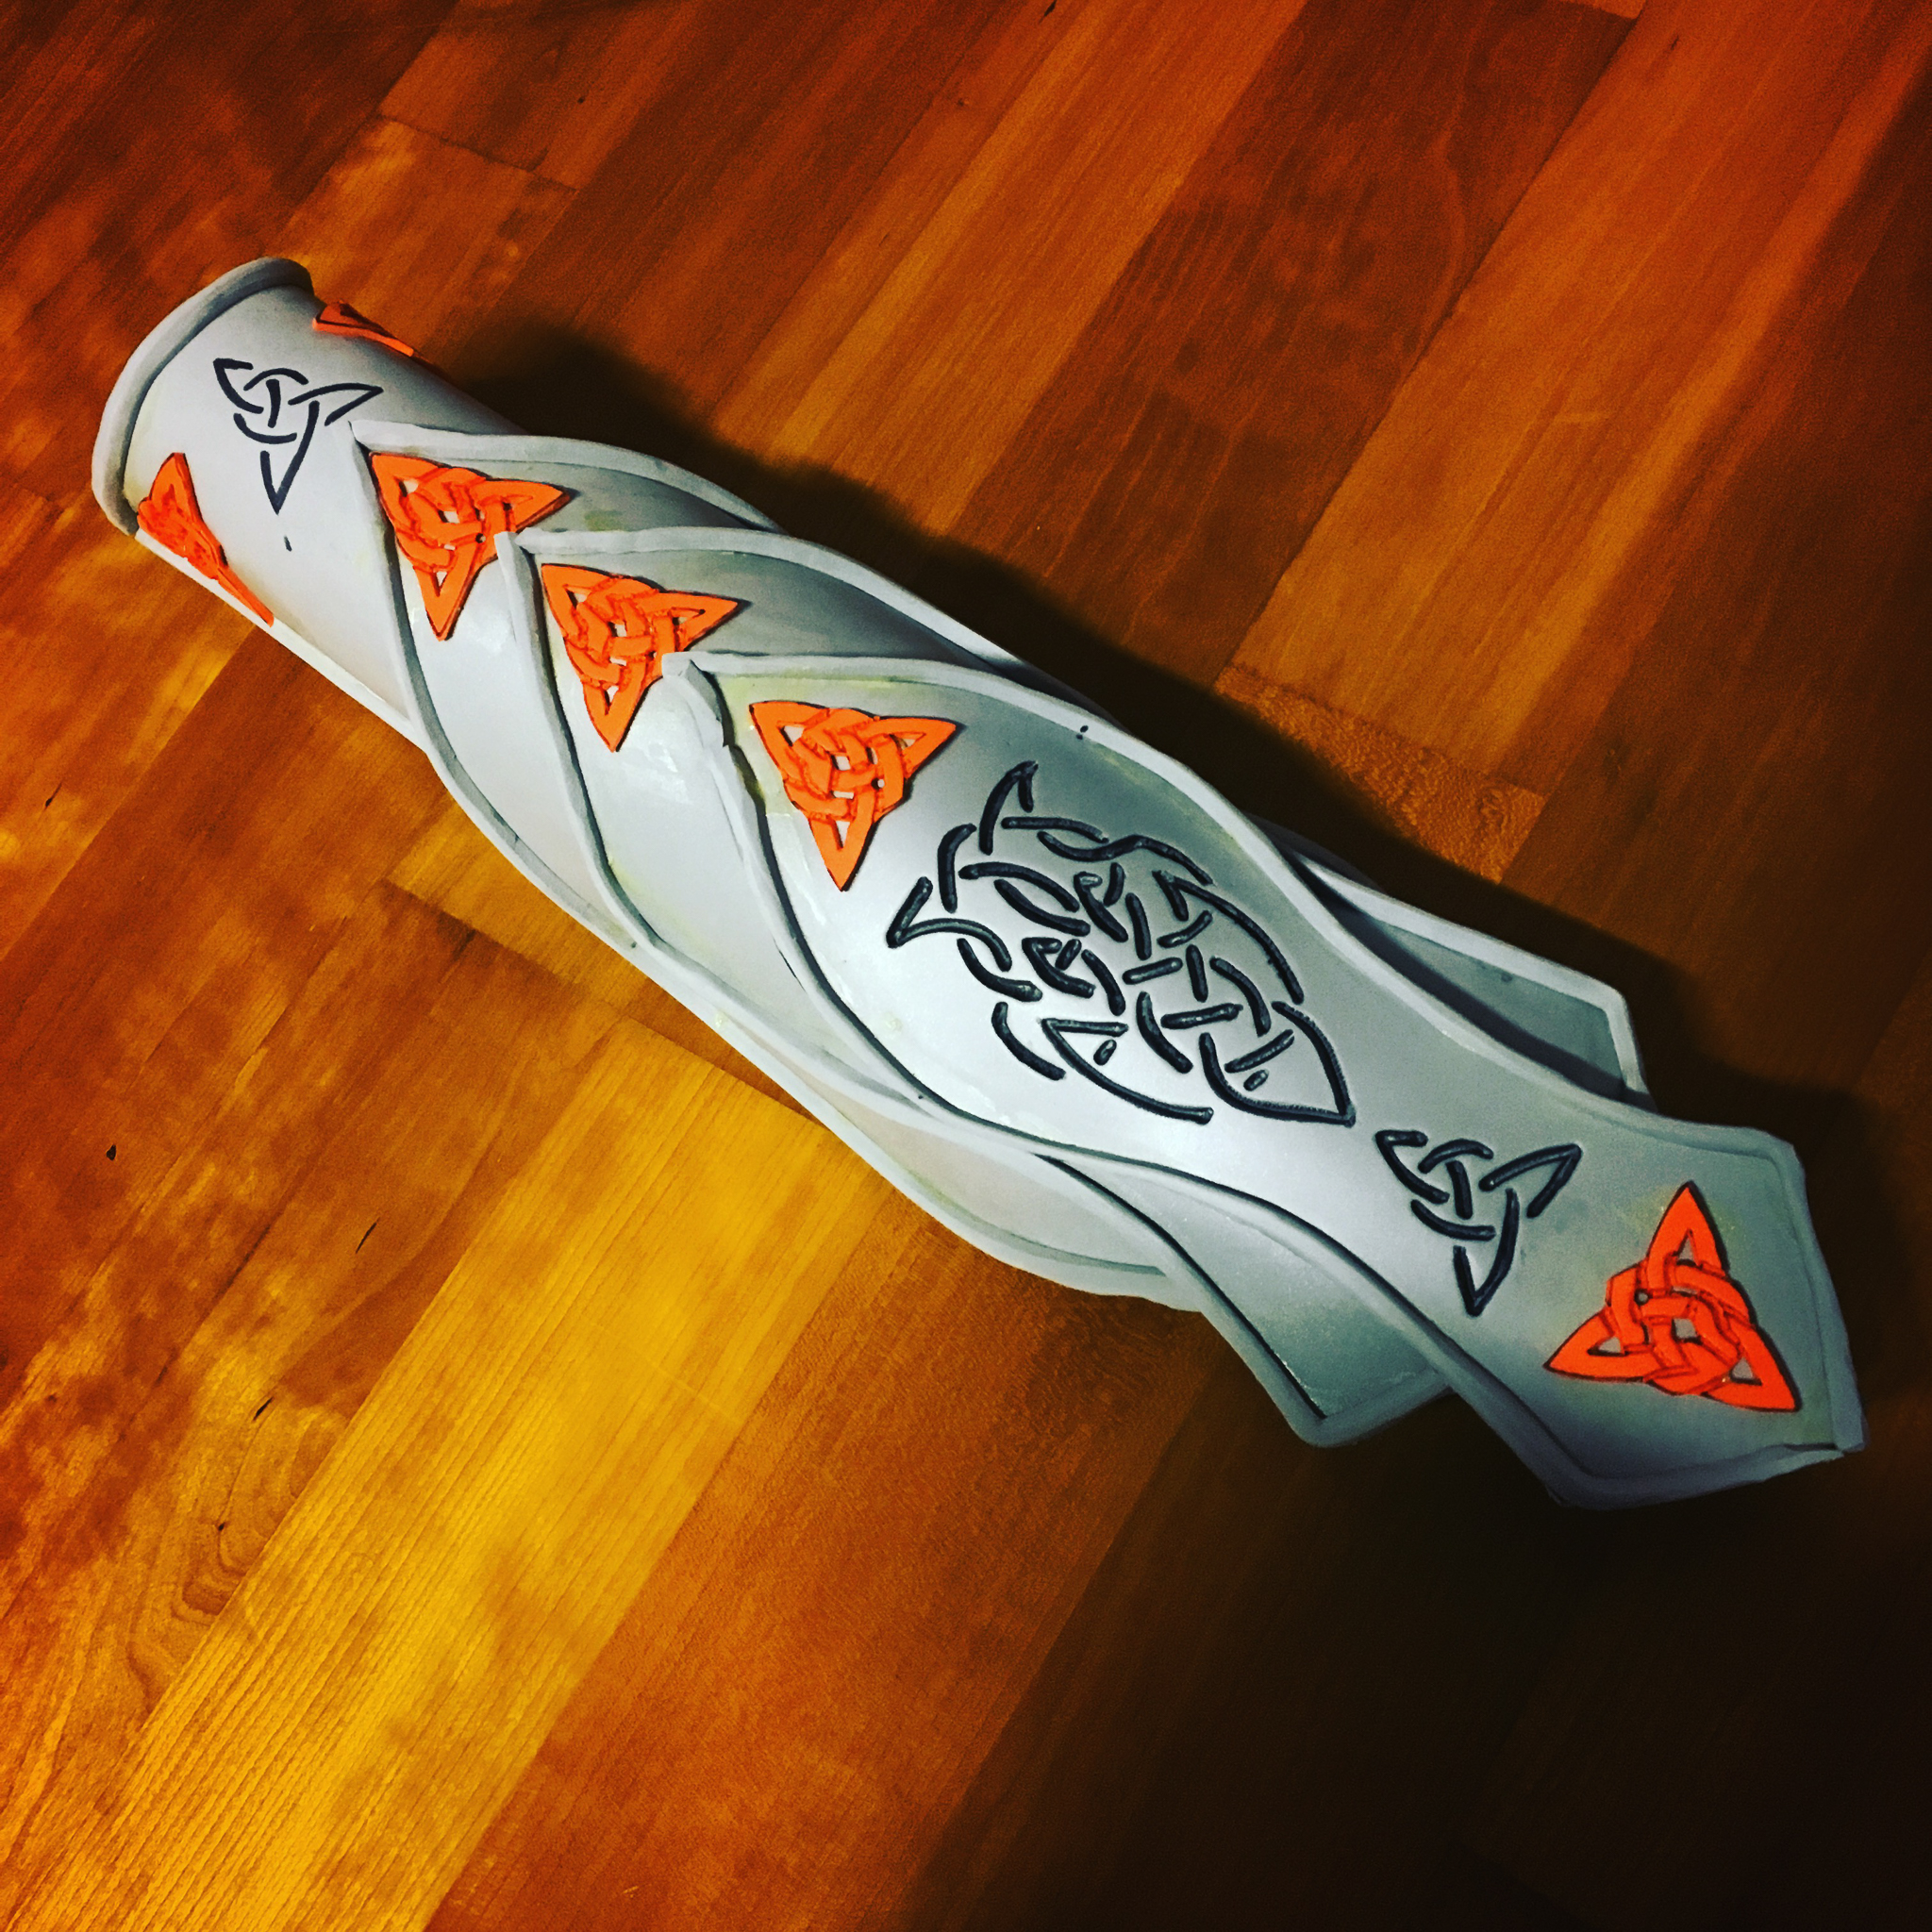
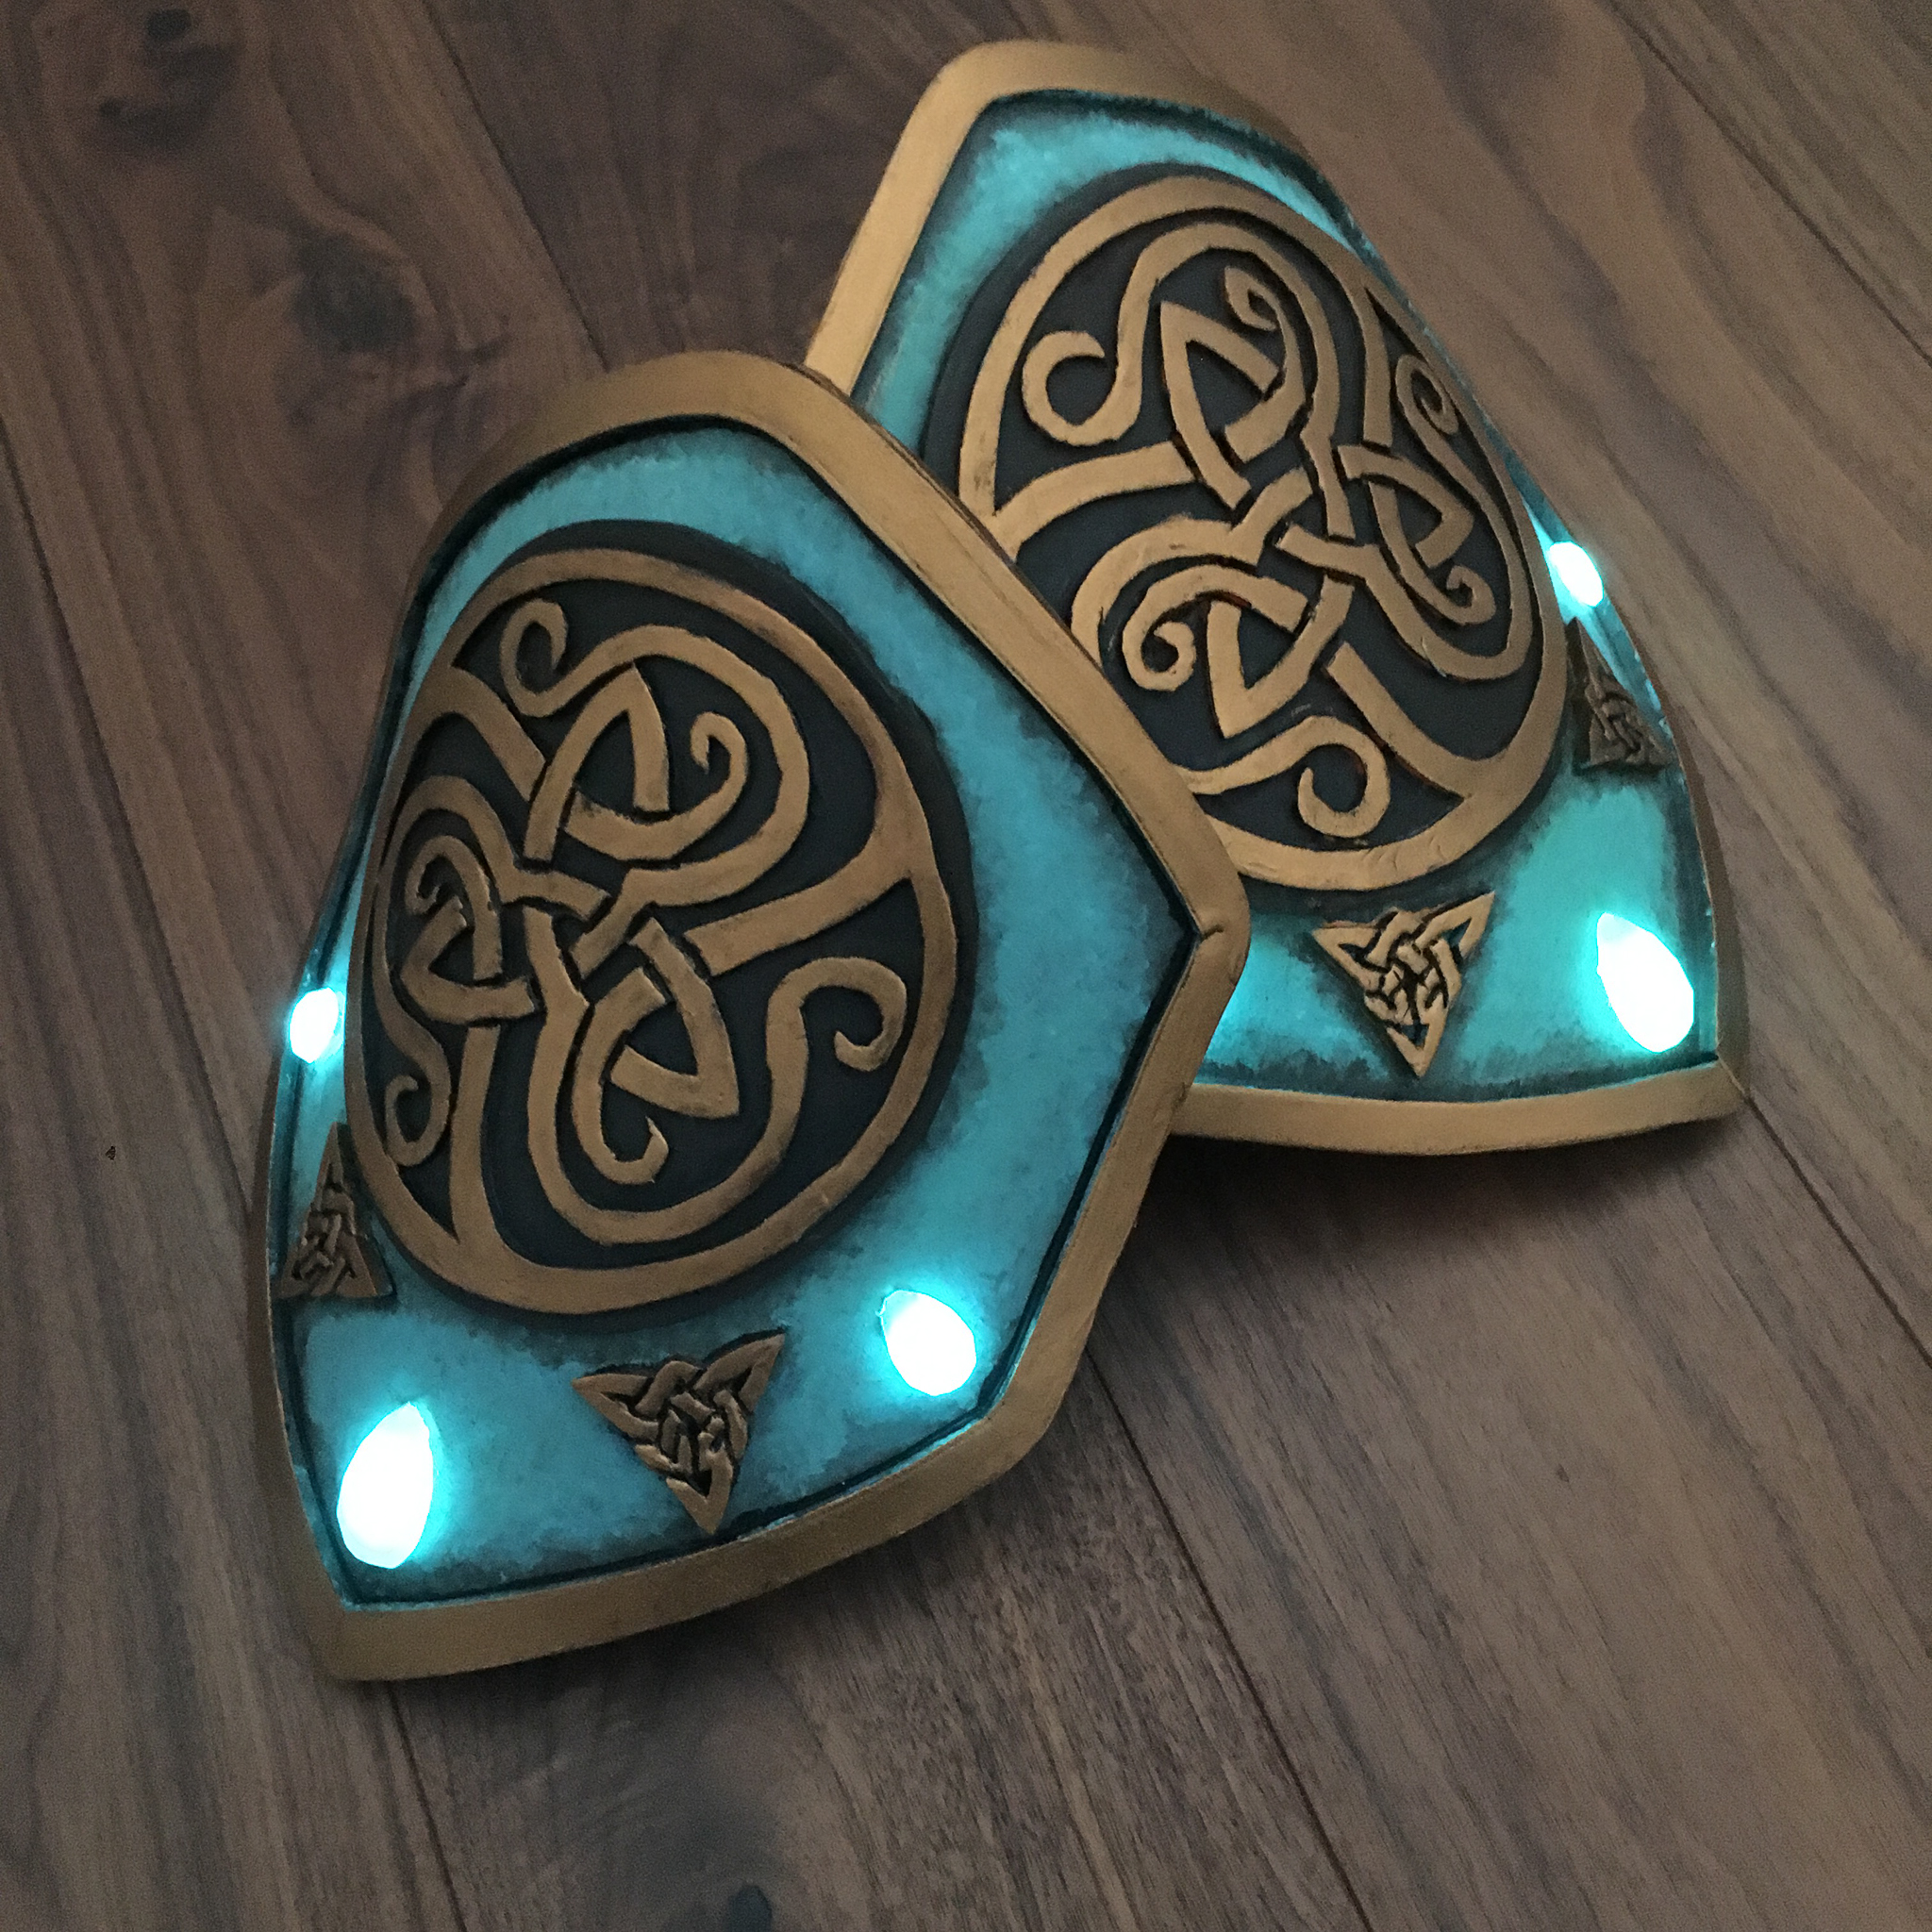
When I build armors I tend to always start with the arm bracer. It’s the one part that is the easiest for me to do, and the one part that helps me decide on colour, texture, design etc.
I knew right away that I wanted something Celtic looking on the bracer, but since this would be a part that I move around a lot since it’s on my arm I wanted a bigger design with it. The base Idea was brown and gold to keep it more neutral with the colours and a simplistic version of Mother and daughter hugging.
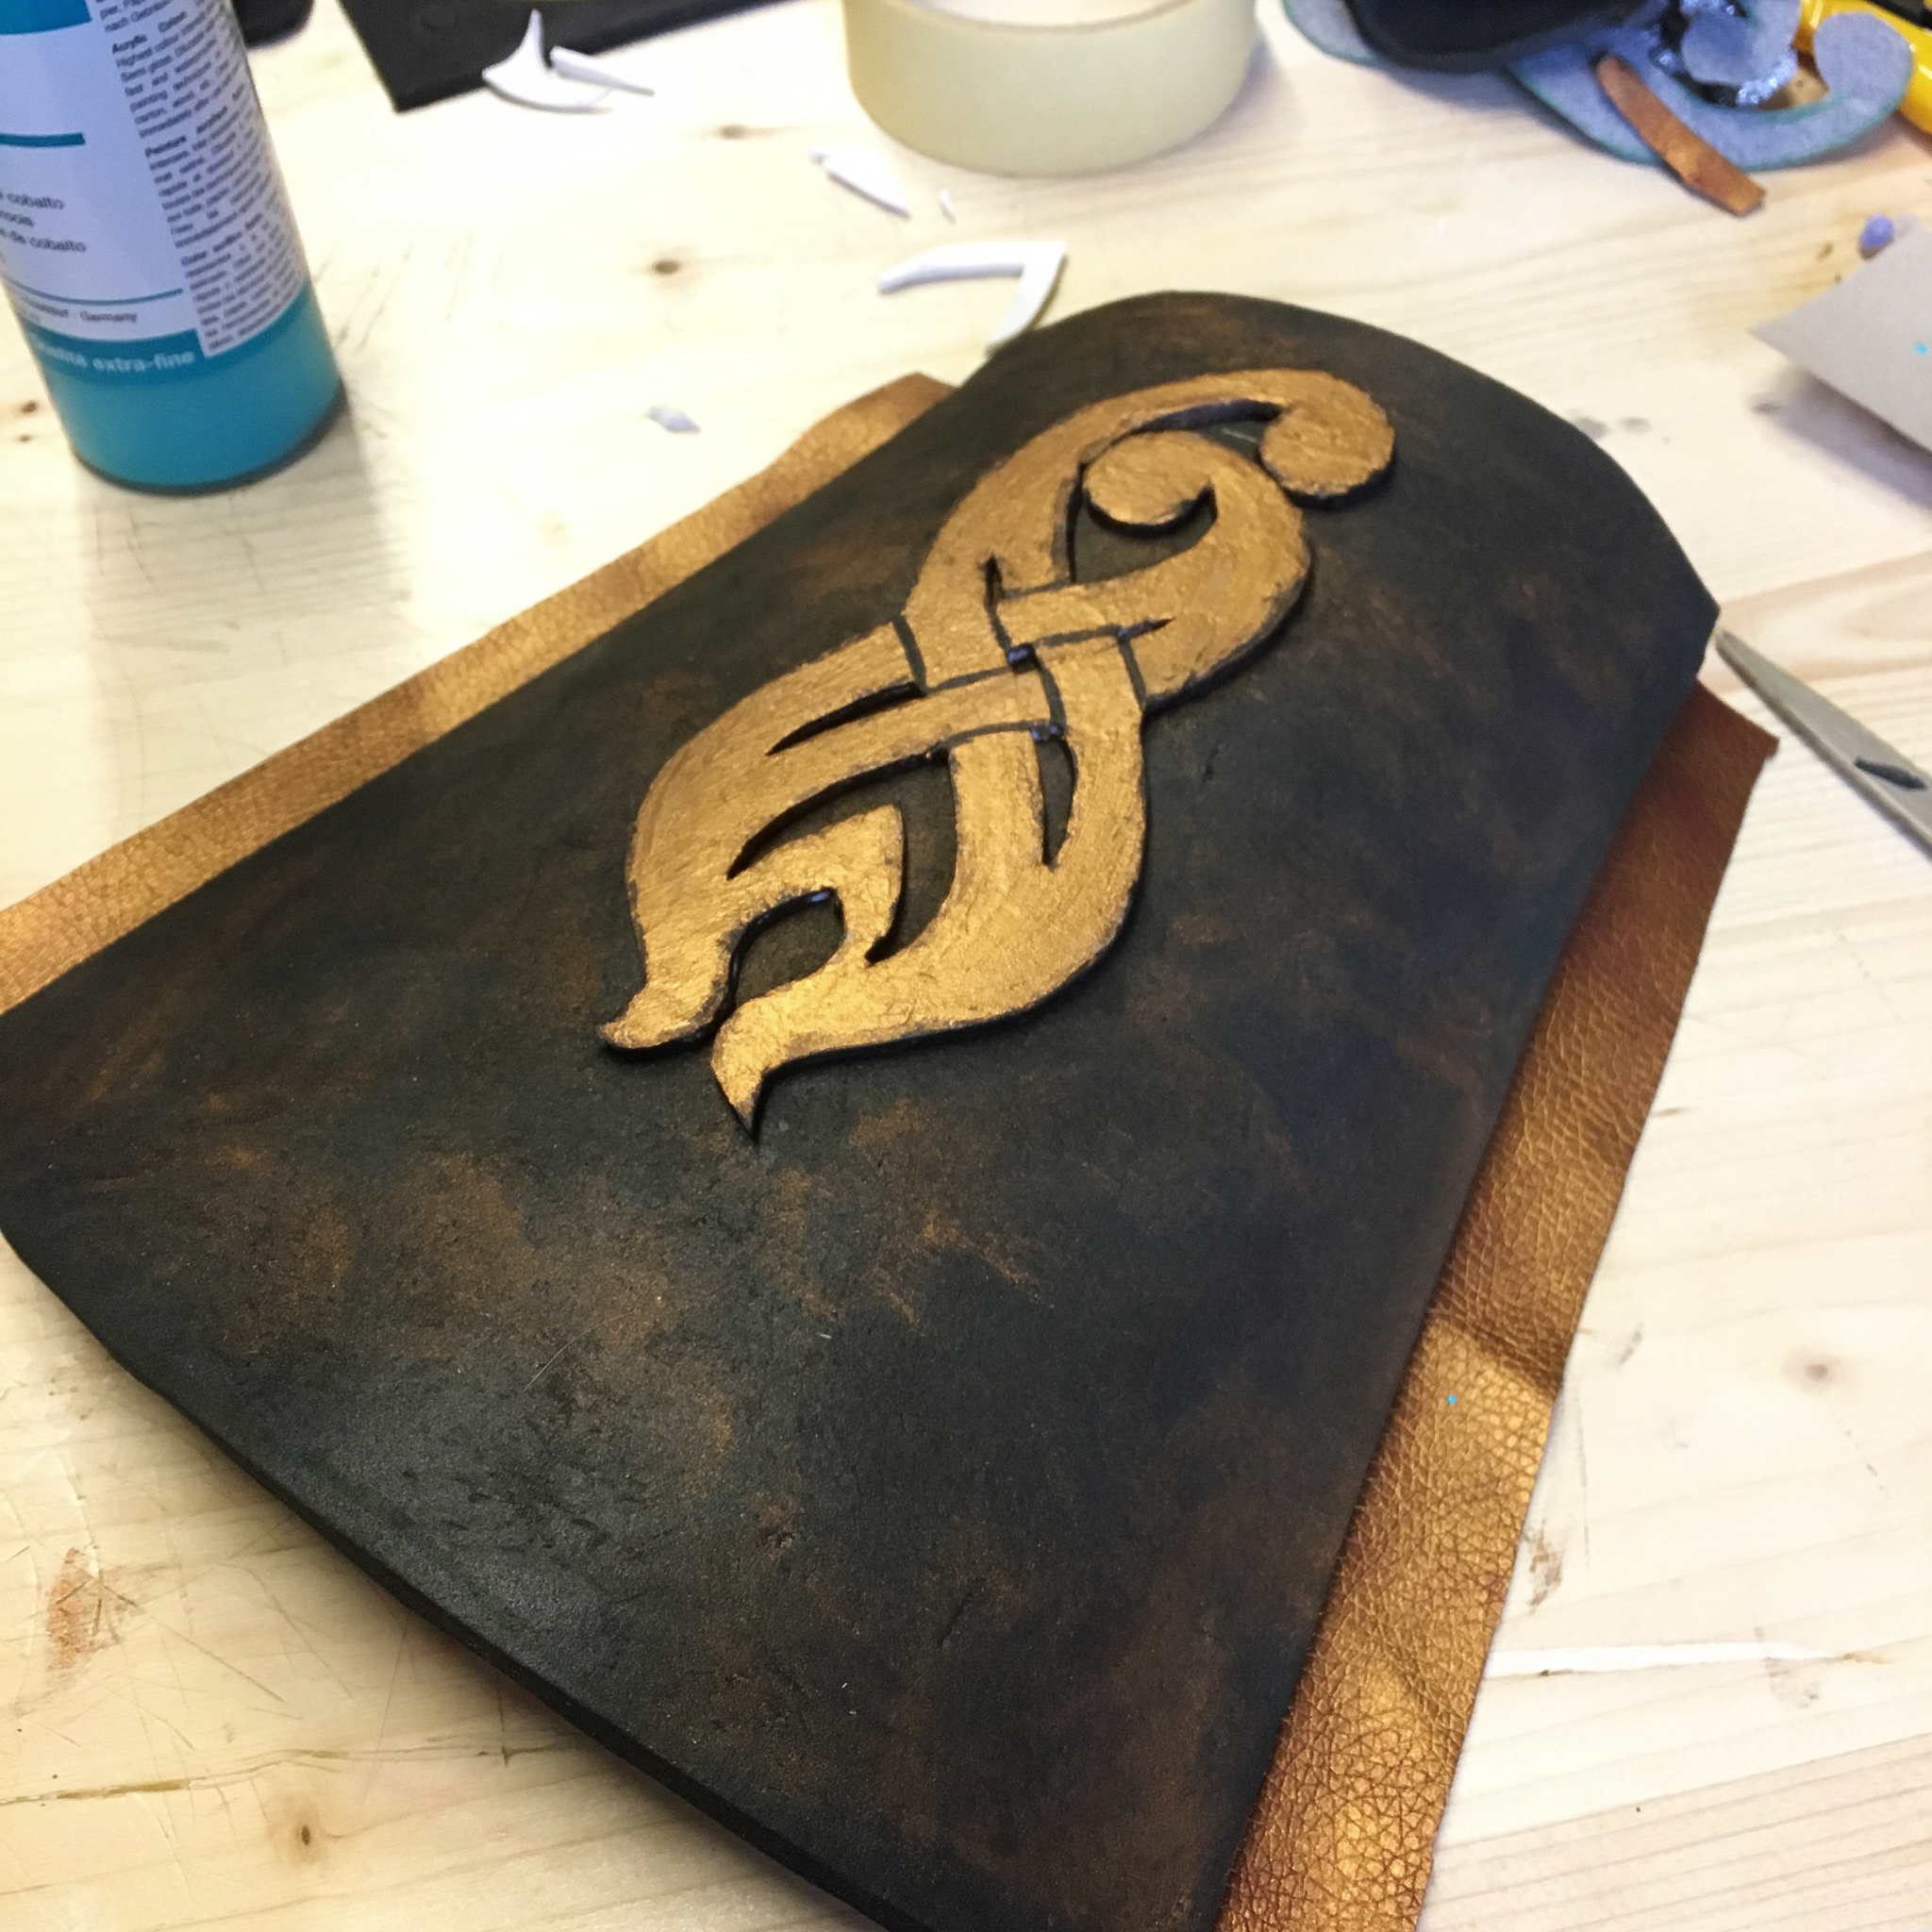
I also tried to make it look more leather-like, as you saw I didn’t go with the base idea but I wanted to give it a shot to see how it looks like.
Base
Base
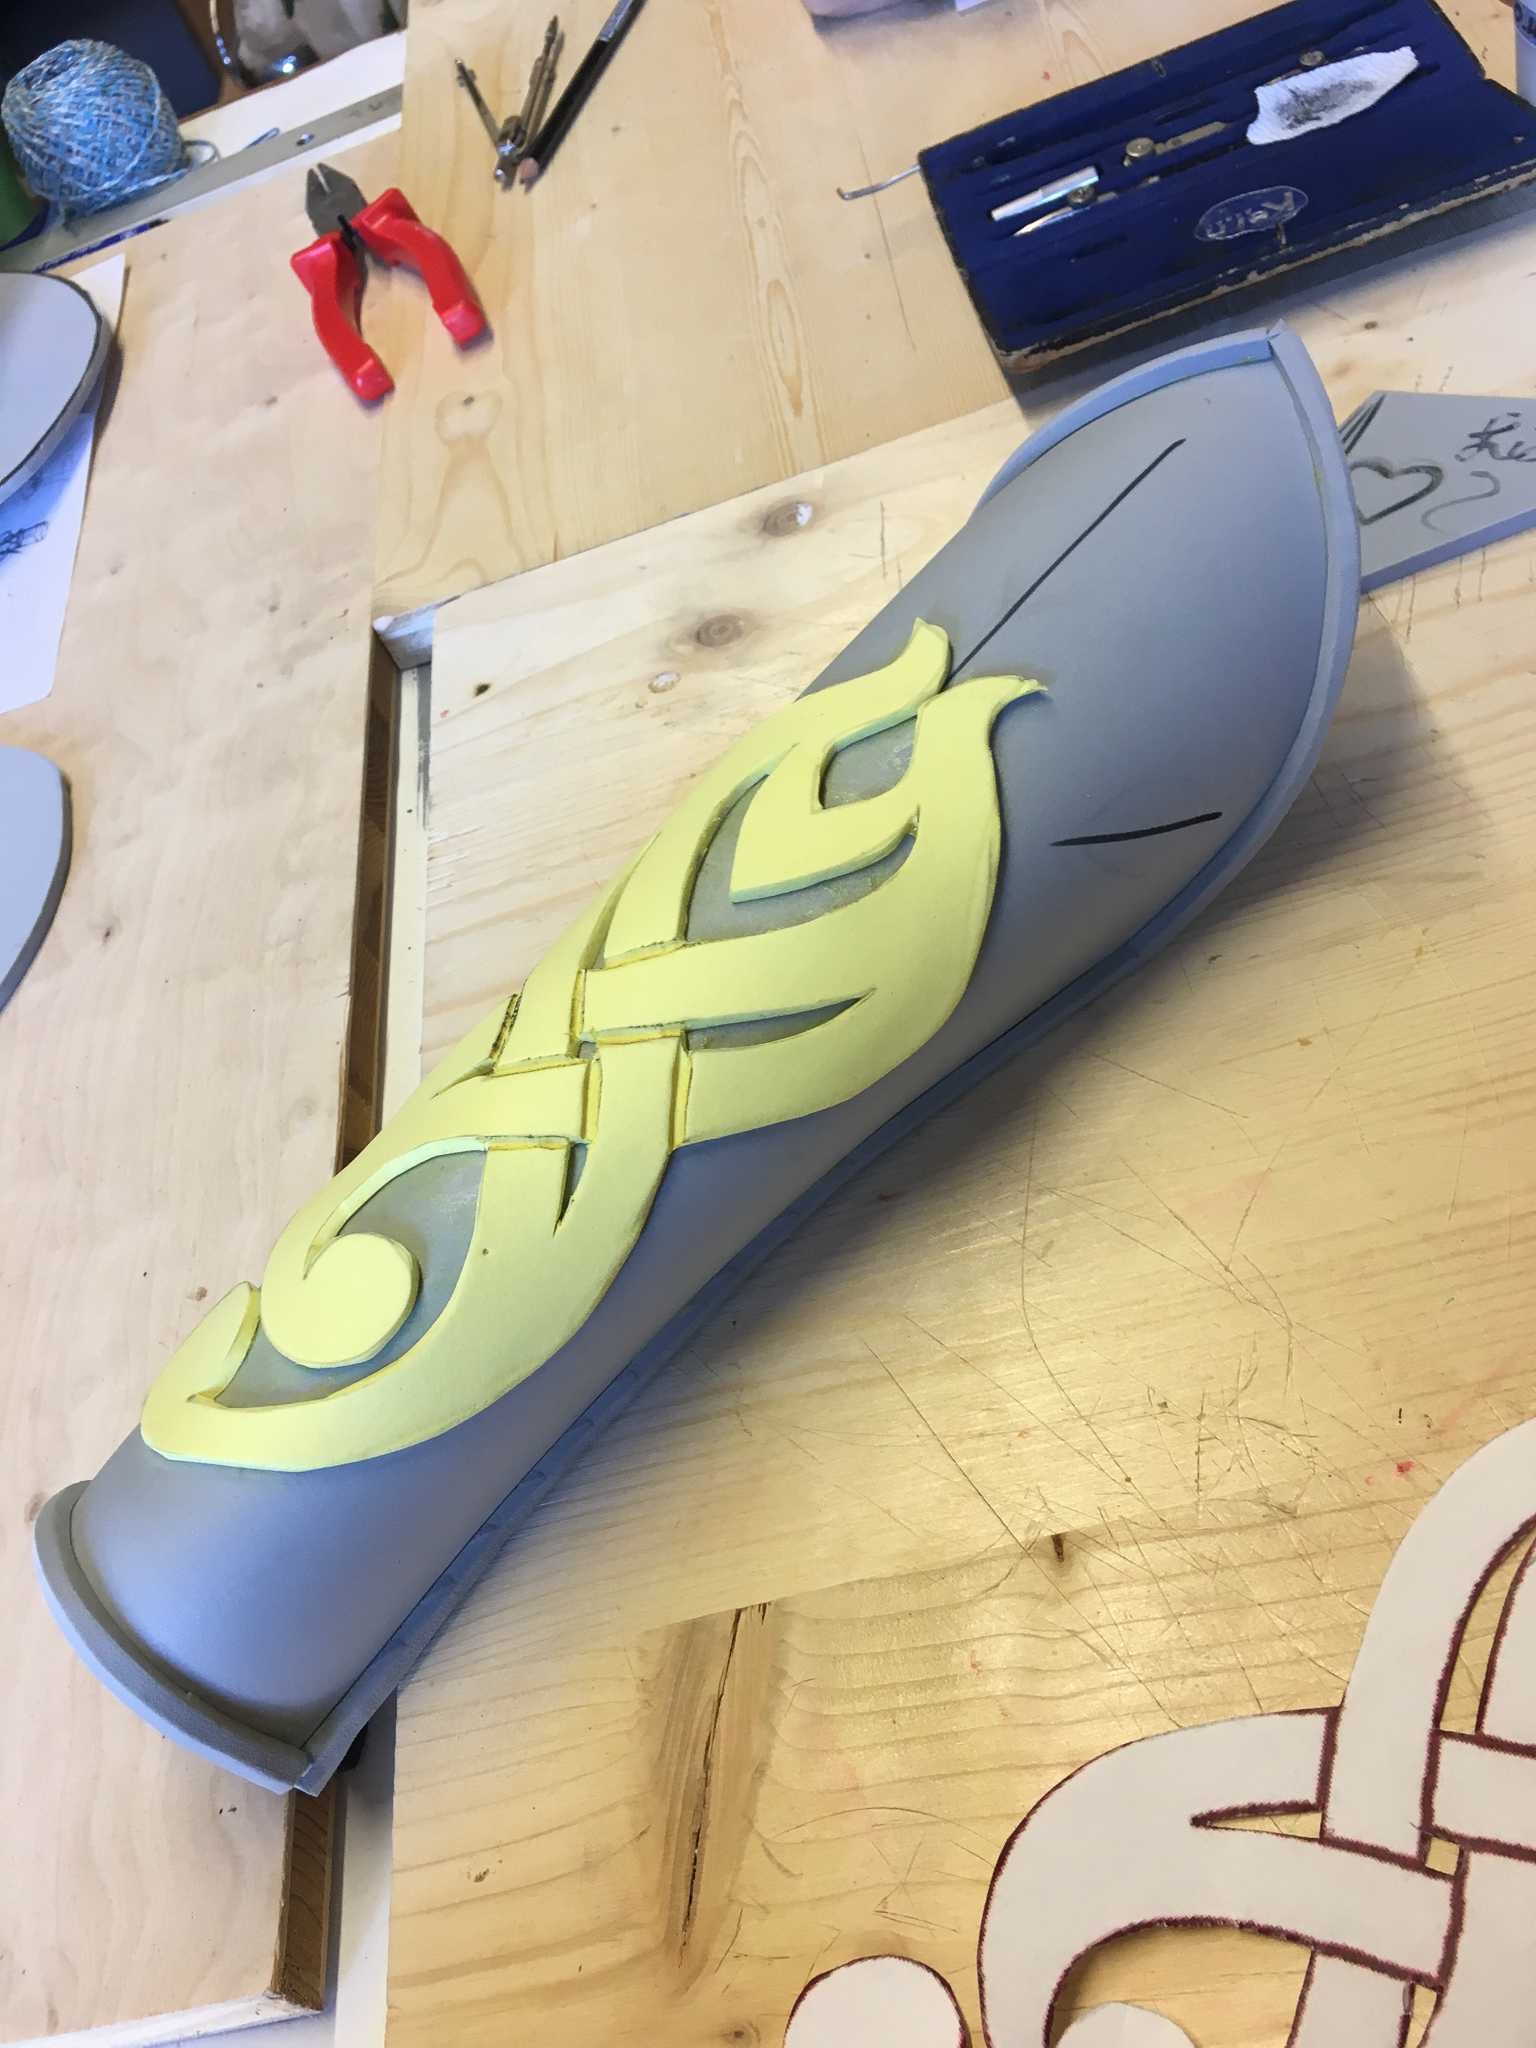
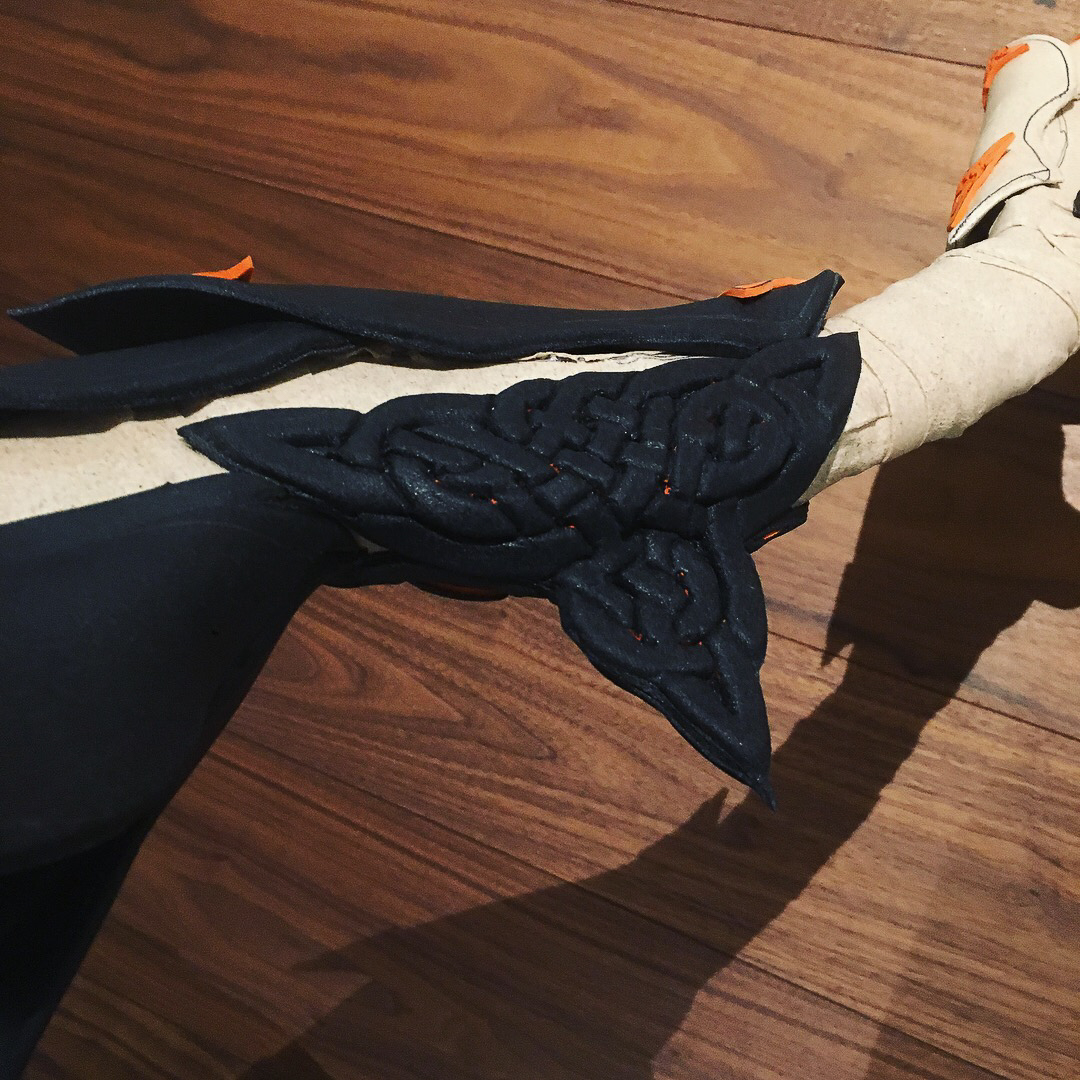
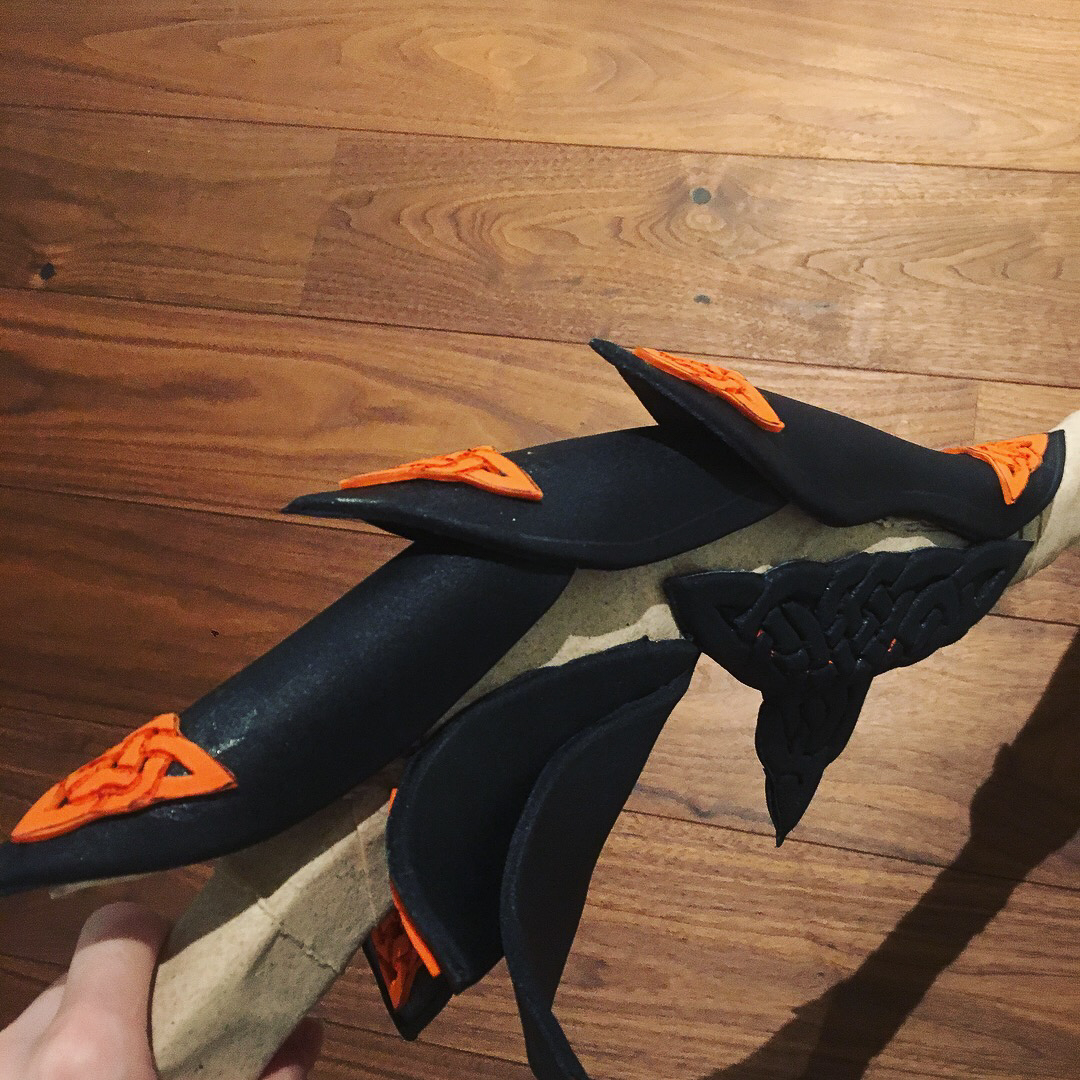
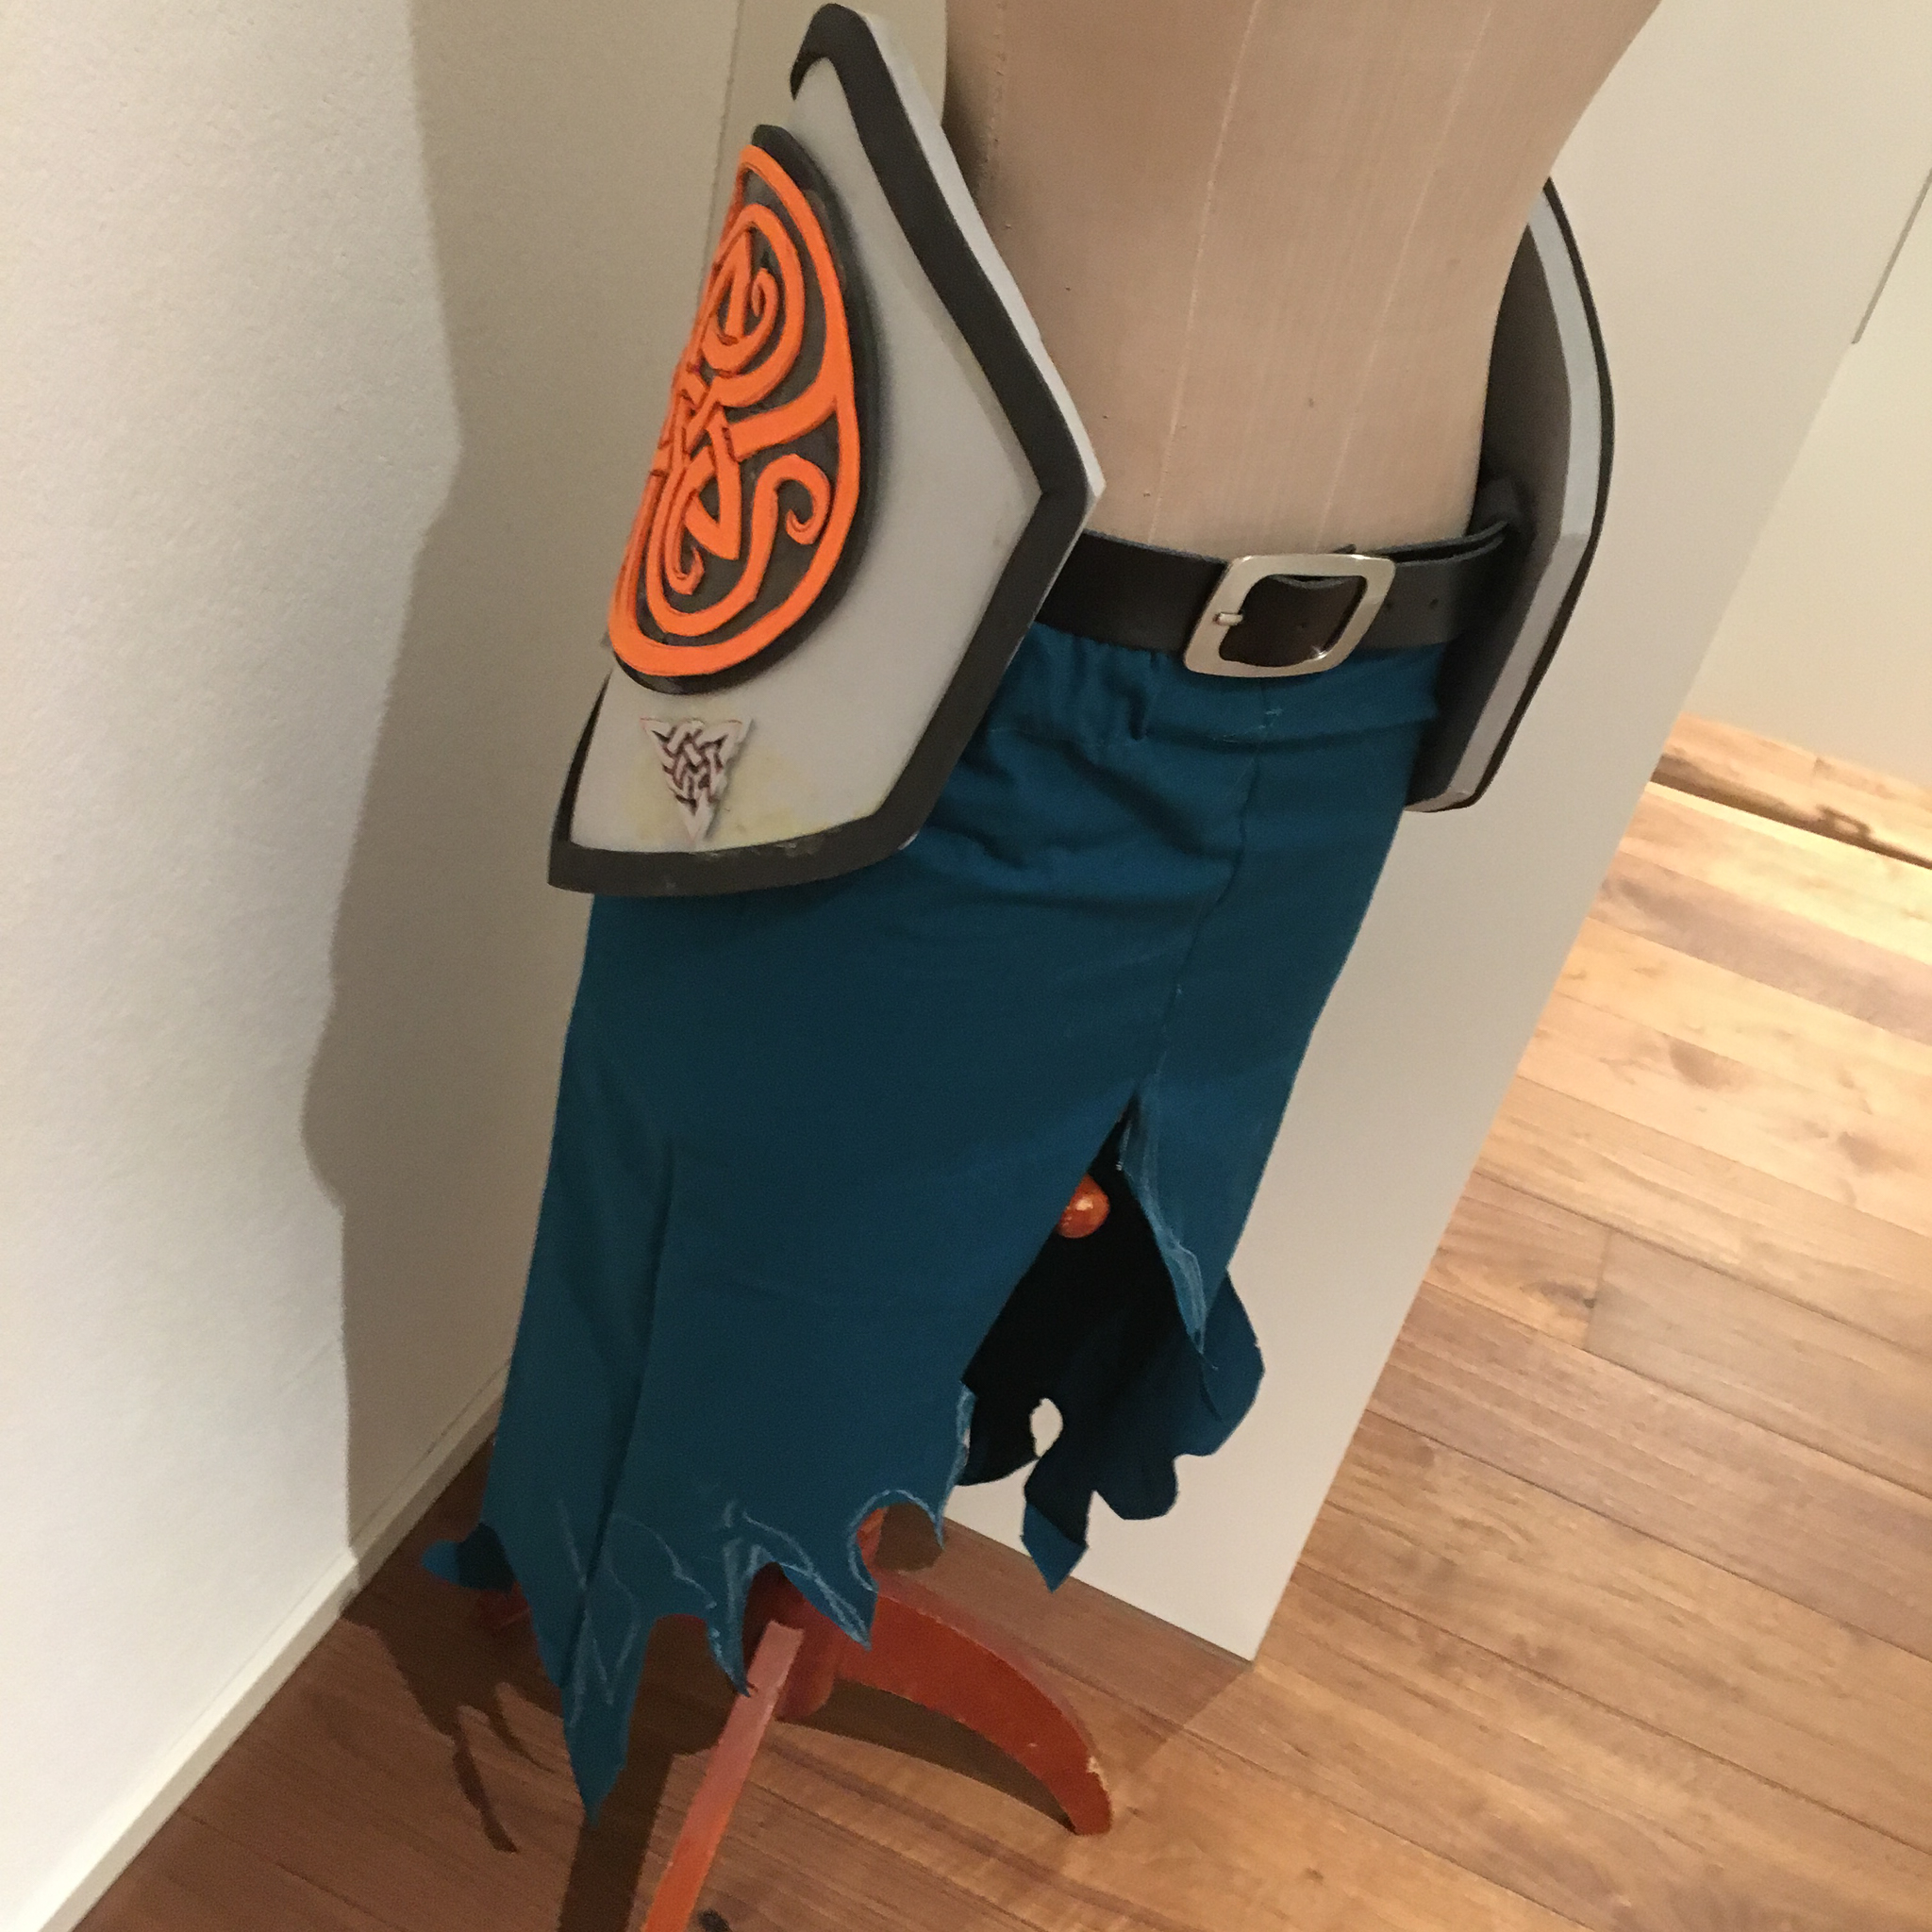
After the design and materials were set I started on the base. As you can tell I used 5 mm EVA foam for the base as well as craft foam for the details. ( It’s also a good way to save money) And with a permanent marker, I drew on some of the details, those are also on the inside.
The lines I burned in with a wood burner so the material wasn’t fully cut yet still a difference was visible.
Colour and Priming
Colour and Priming
After the base is done I primed my armor with Plastidip, I don’t use wood glue on here since this is a part that moves a lot and the glue would crack.
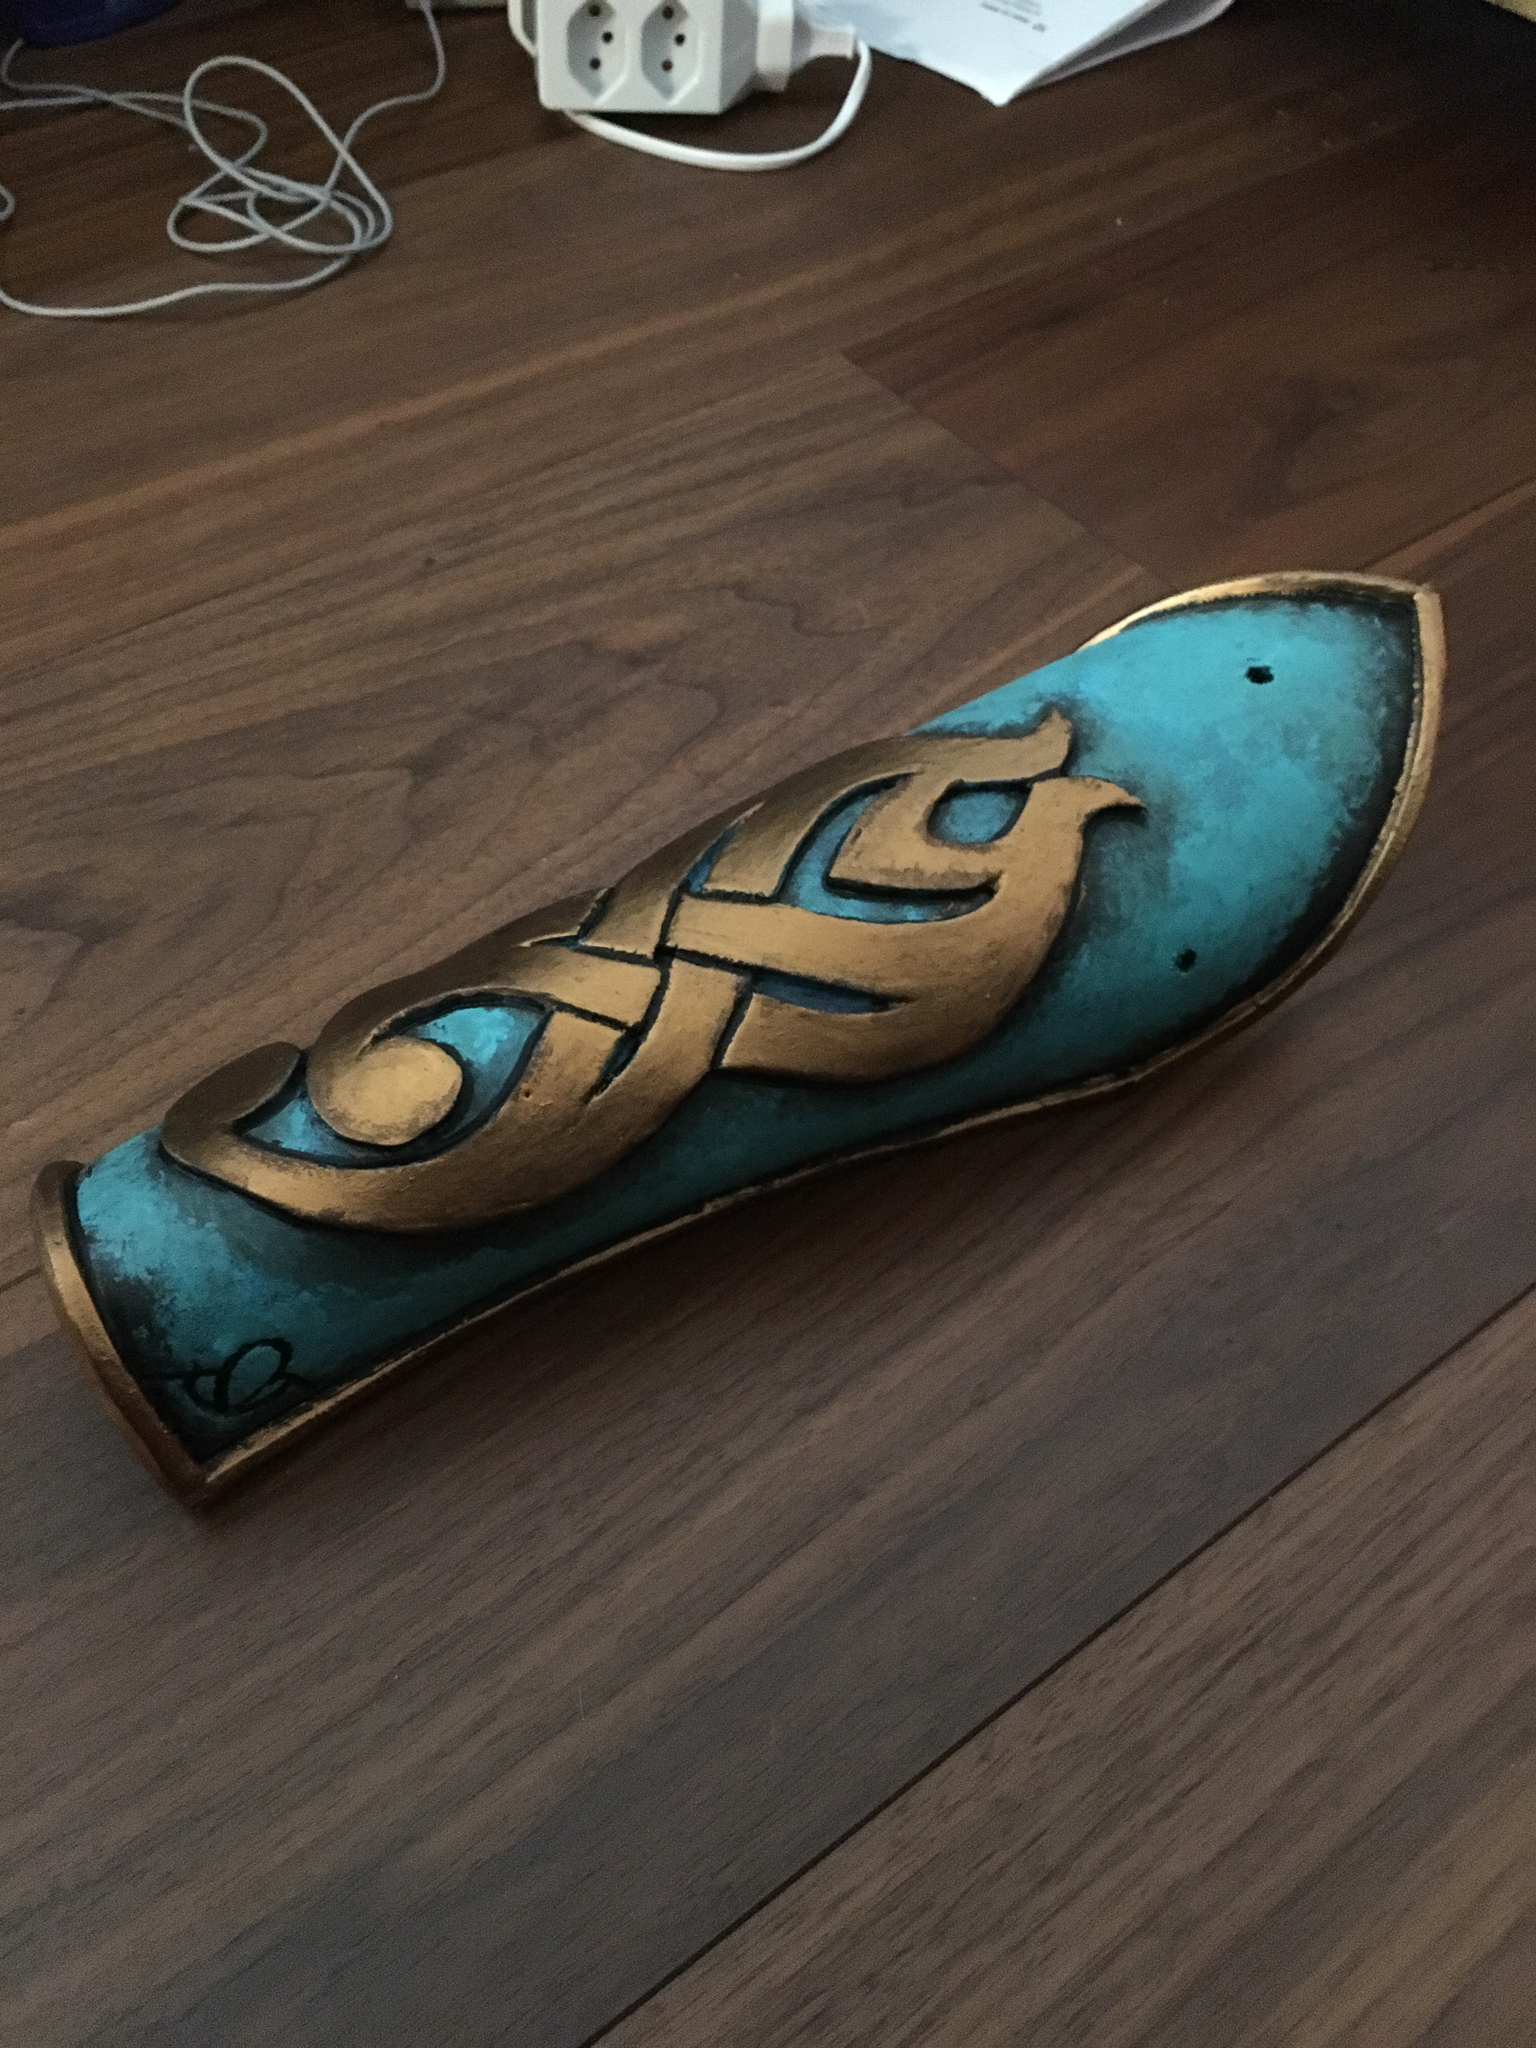
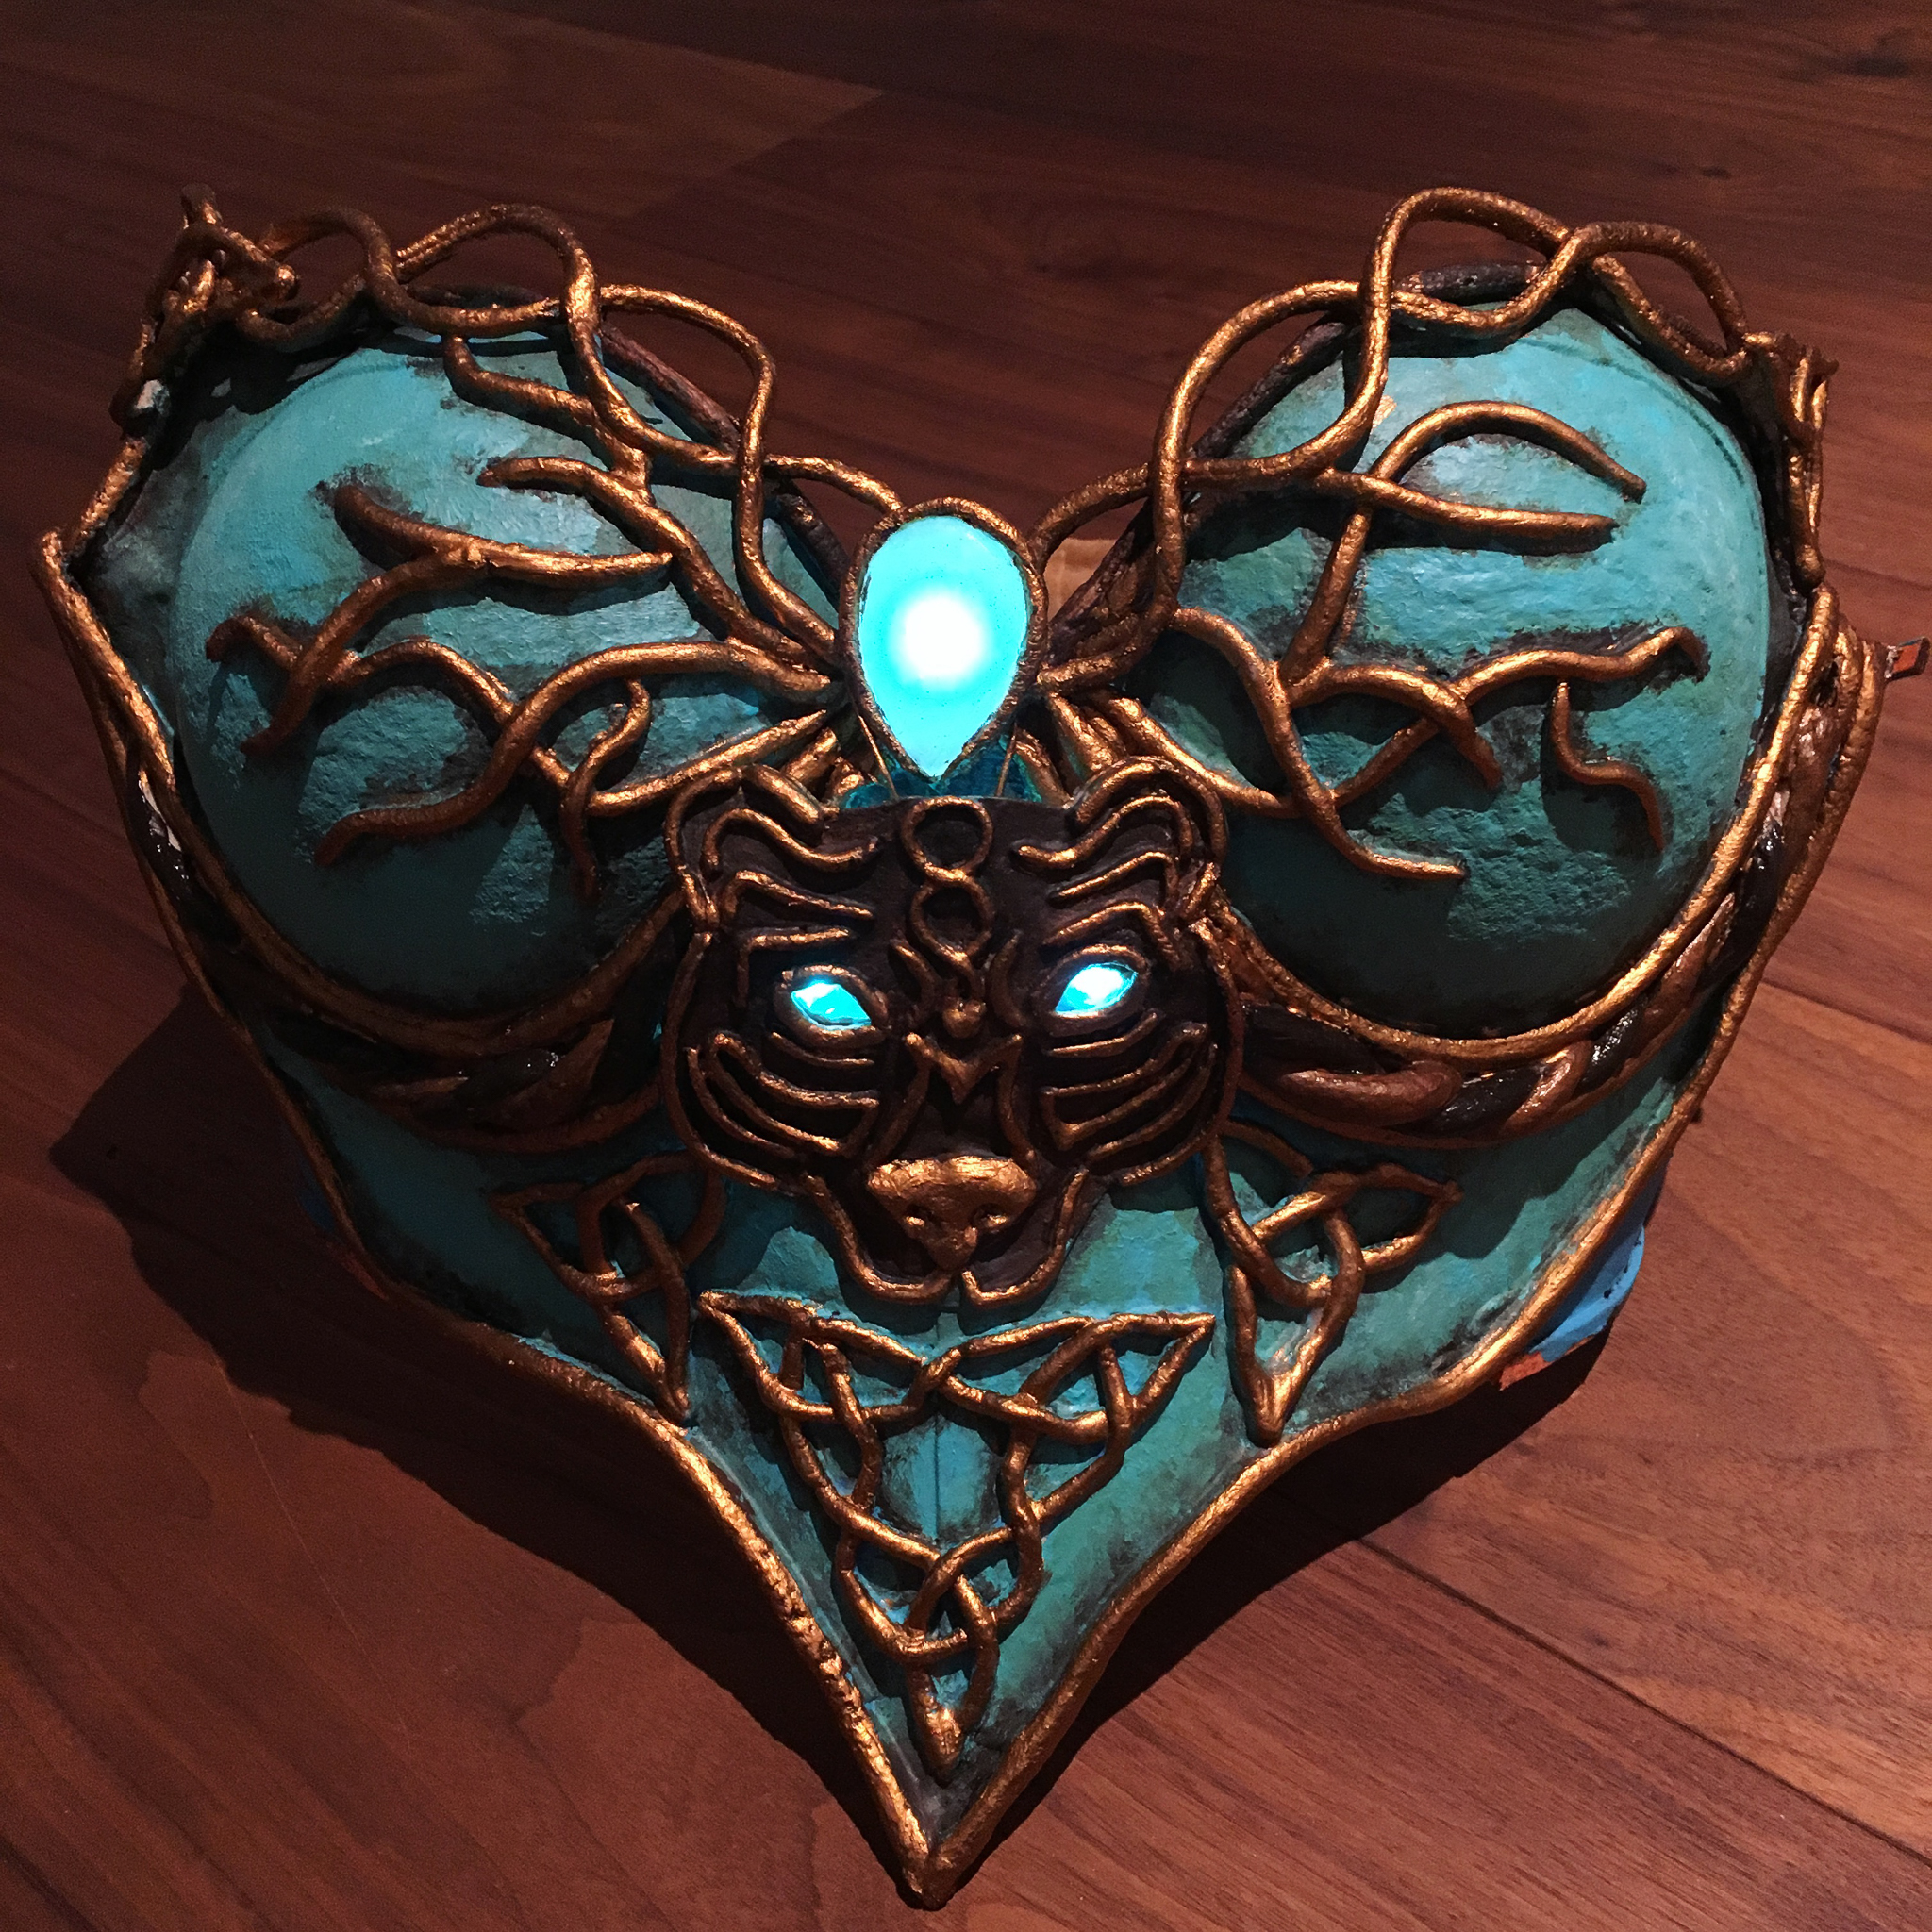
After that, I painted everything with Acrylic colours and brushes. I don’t own an airbrush so everything you see is indeed handpainted. I also switched from the brown to a nice turquoise matching to her dress. I tried to weather the corners a bit with brown and oranges. And then enhance all the spaces where the shadow would be with Black.
Lights
Lights
As marked in the beginning I now drilled 3 holes into the bracer to install the LED. The stones you see are made out of hot glue in a silicone gem mould. Before the glue cools off fully I put in a singular LED light. I feel the need to say I did try out Resin but it was too clear, and with the hot glue it naturally made the stone look milky and it distorted the light as I wanted it to.
Base
Base
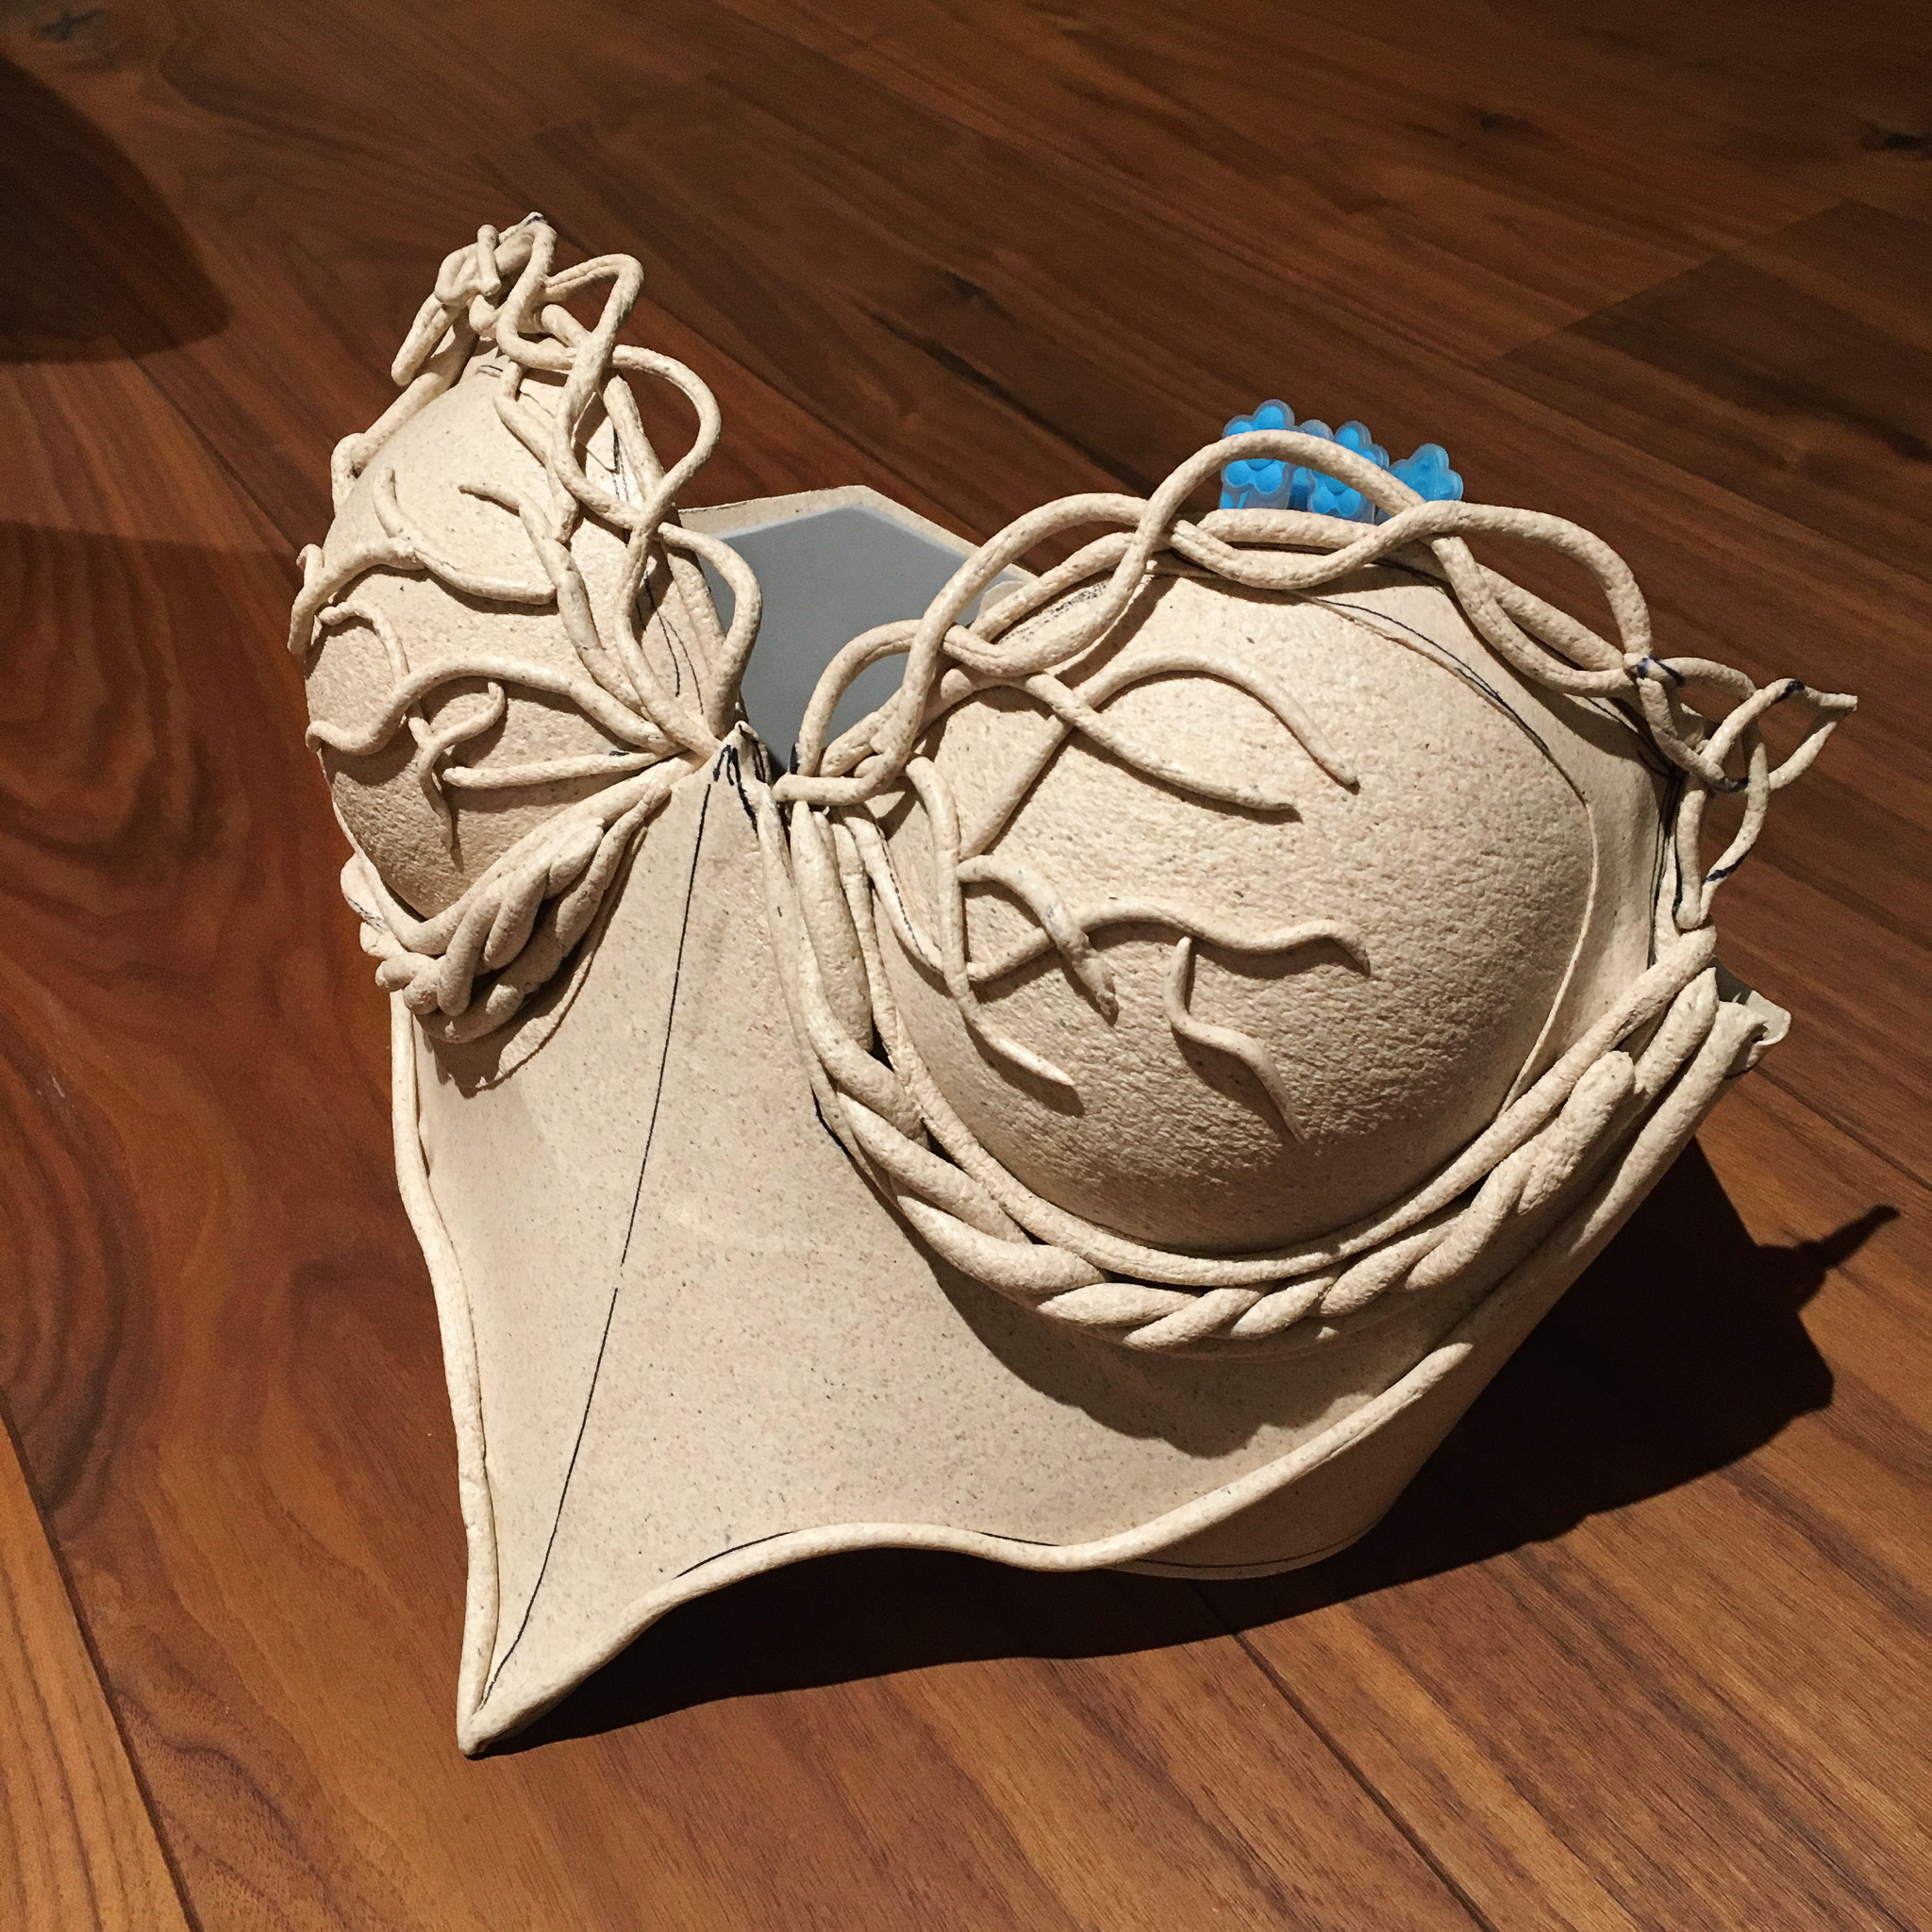
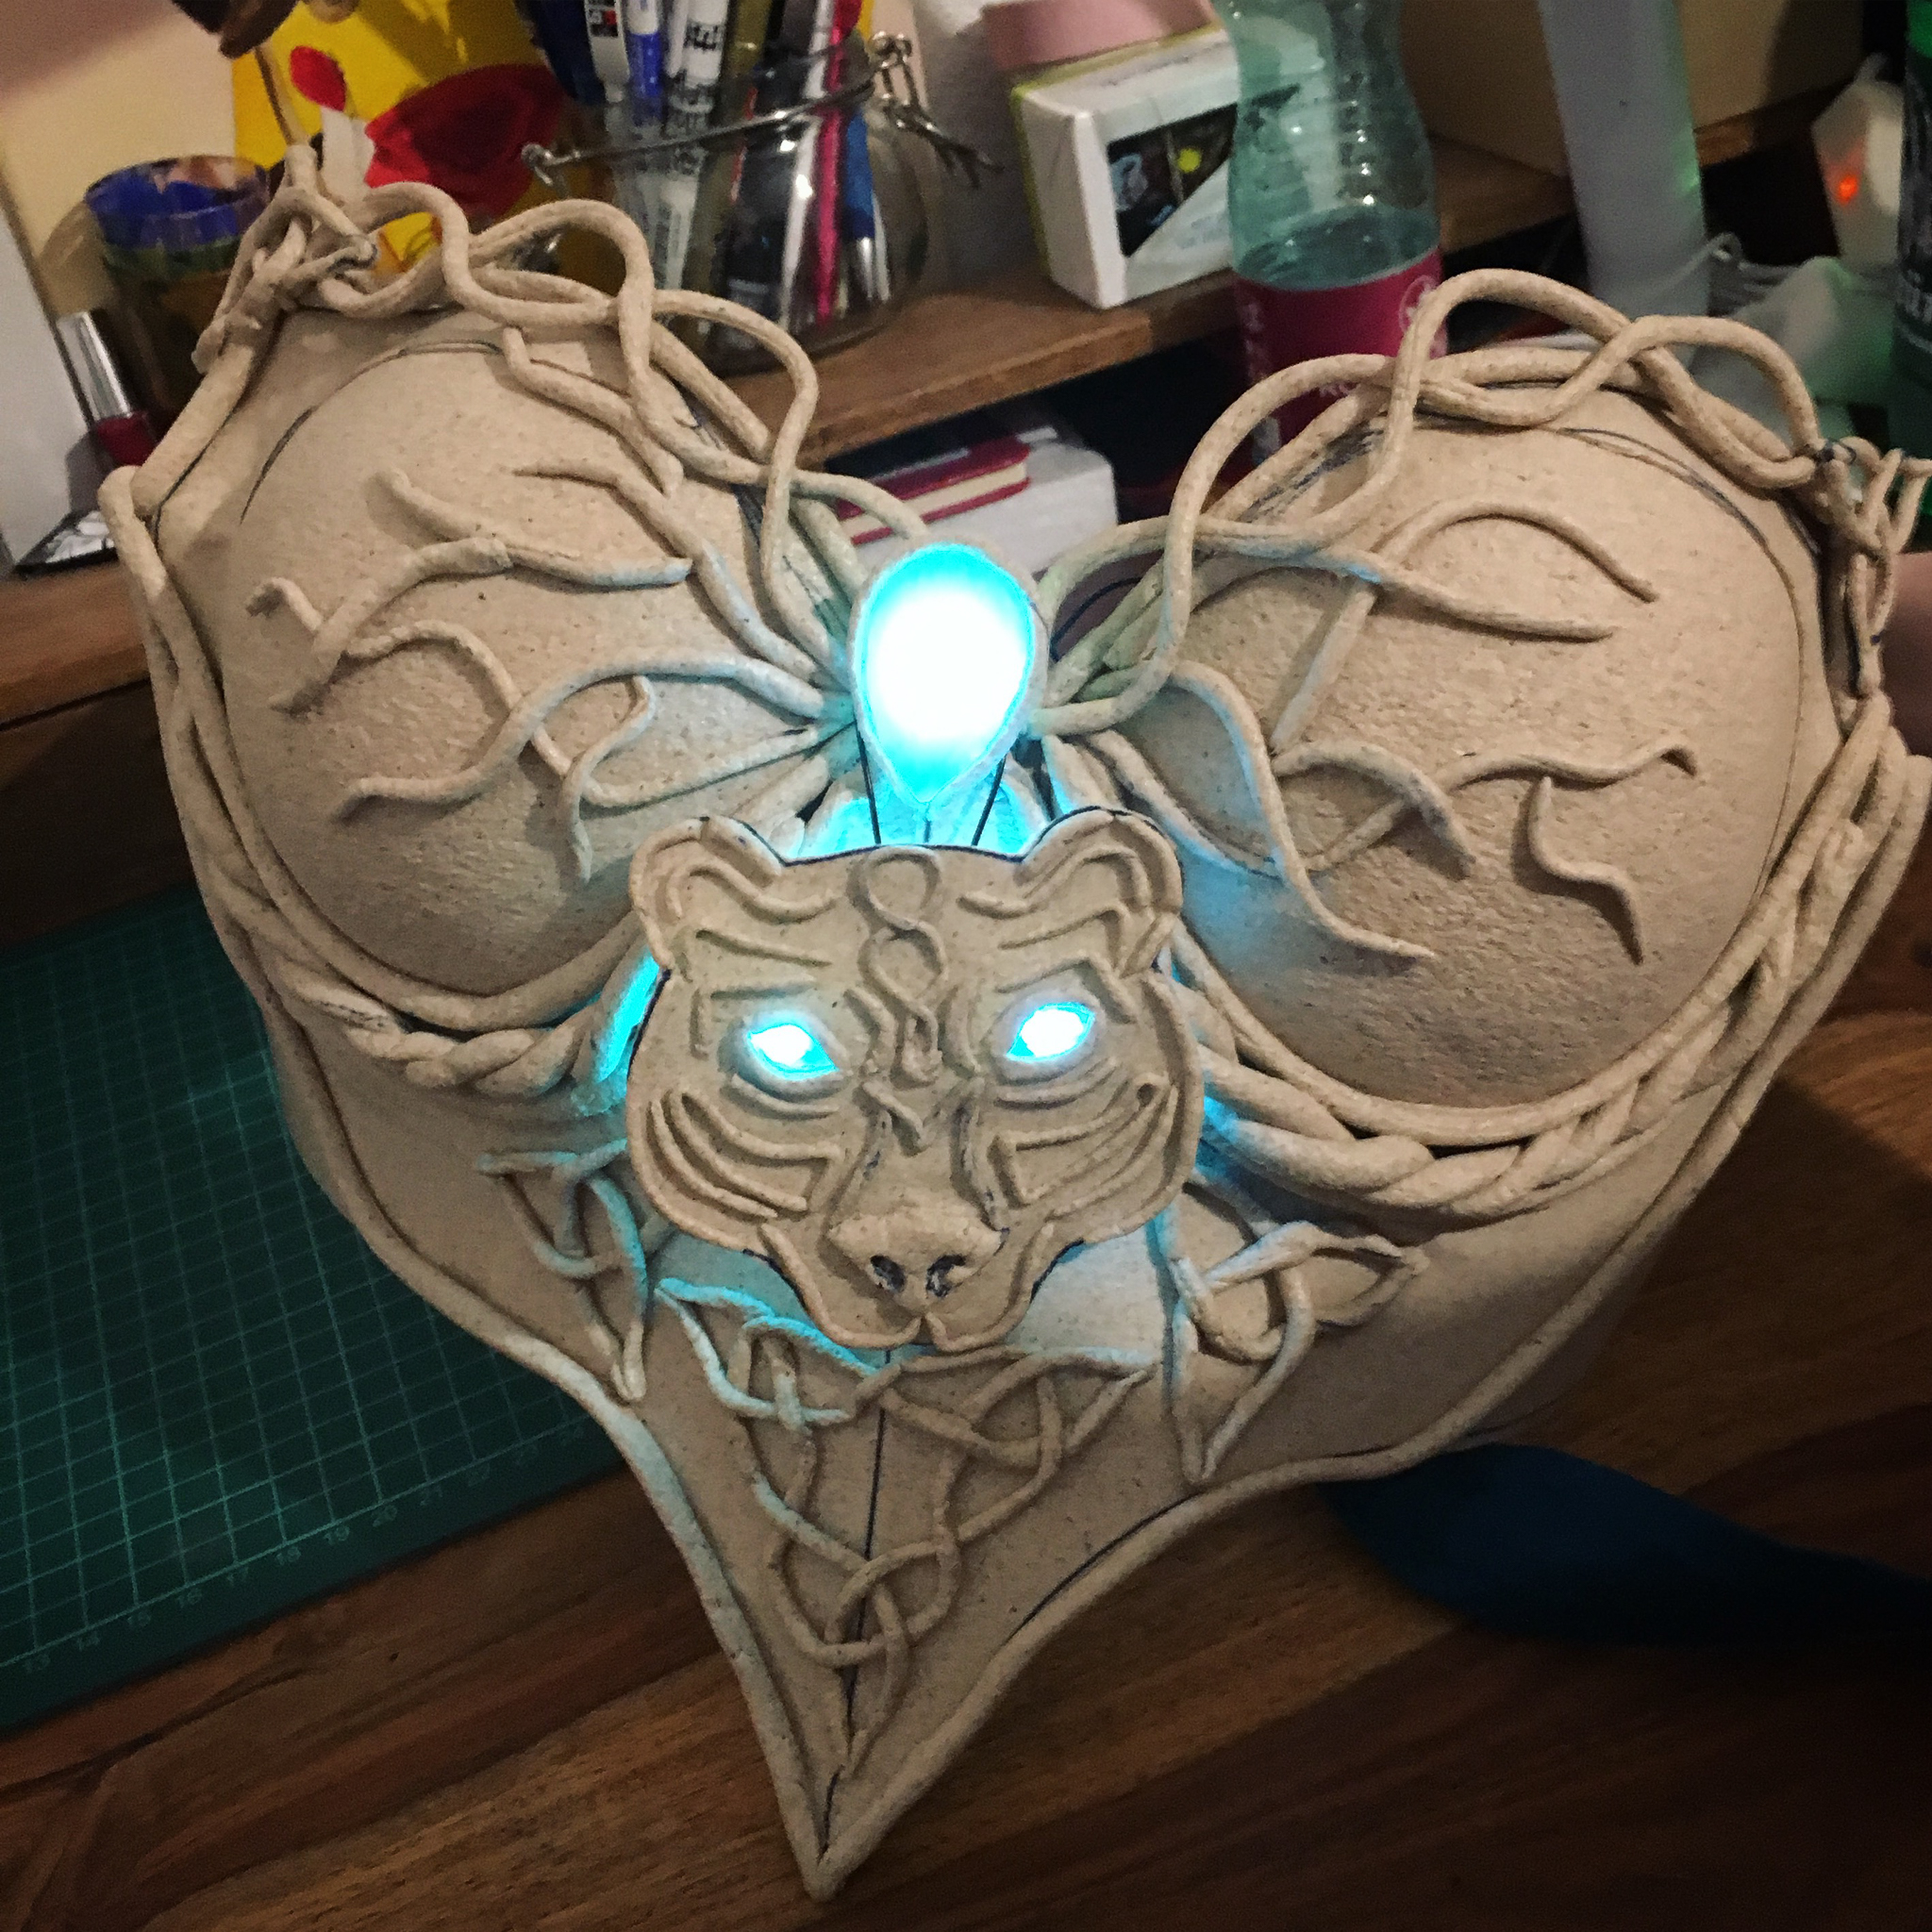
For the base, I needed to switch to a different material than the rest of my armour. I first did build a base out of foam, but after 3 tries it didn’t work out and I also noticed for the details I wanted to make I needed Worbla.
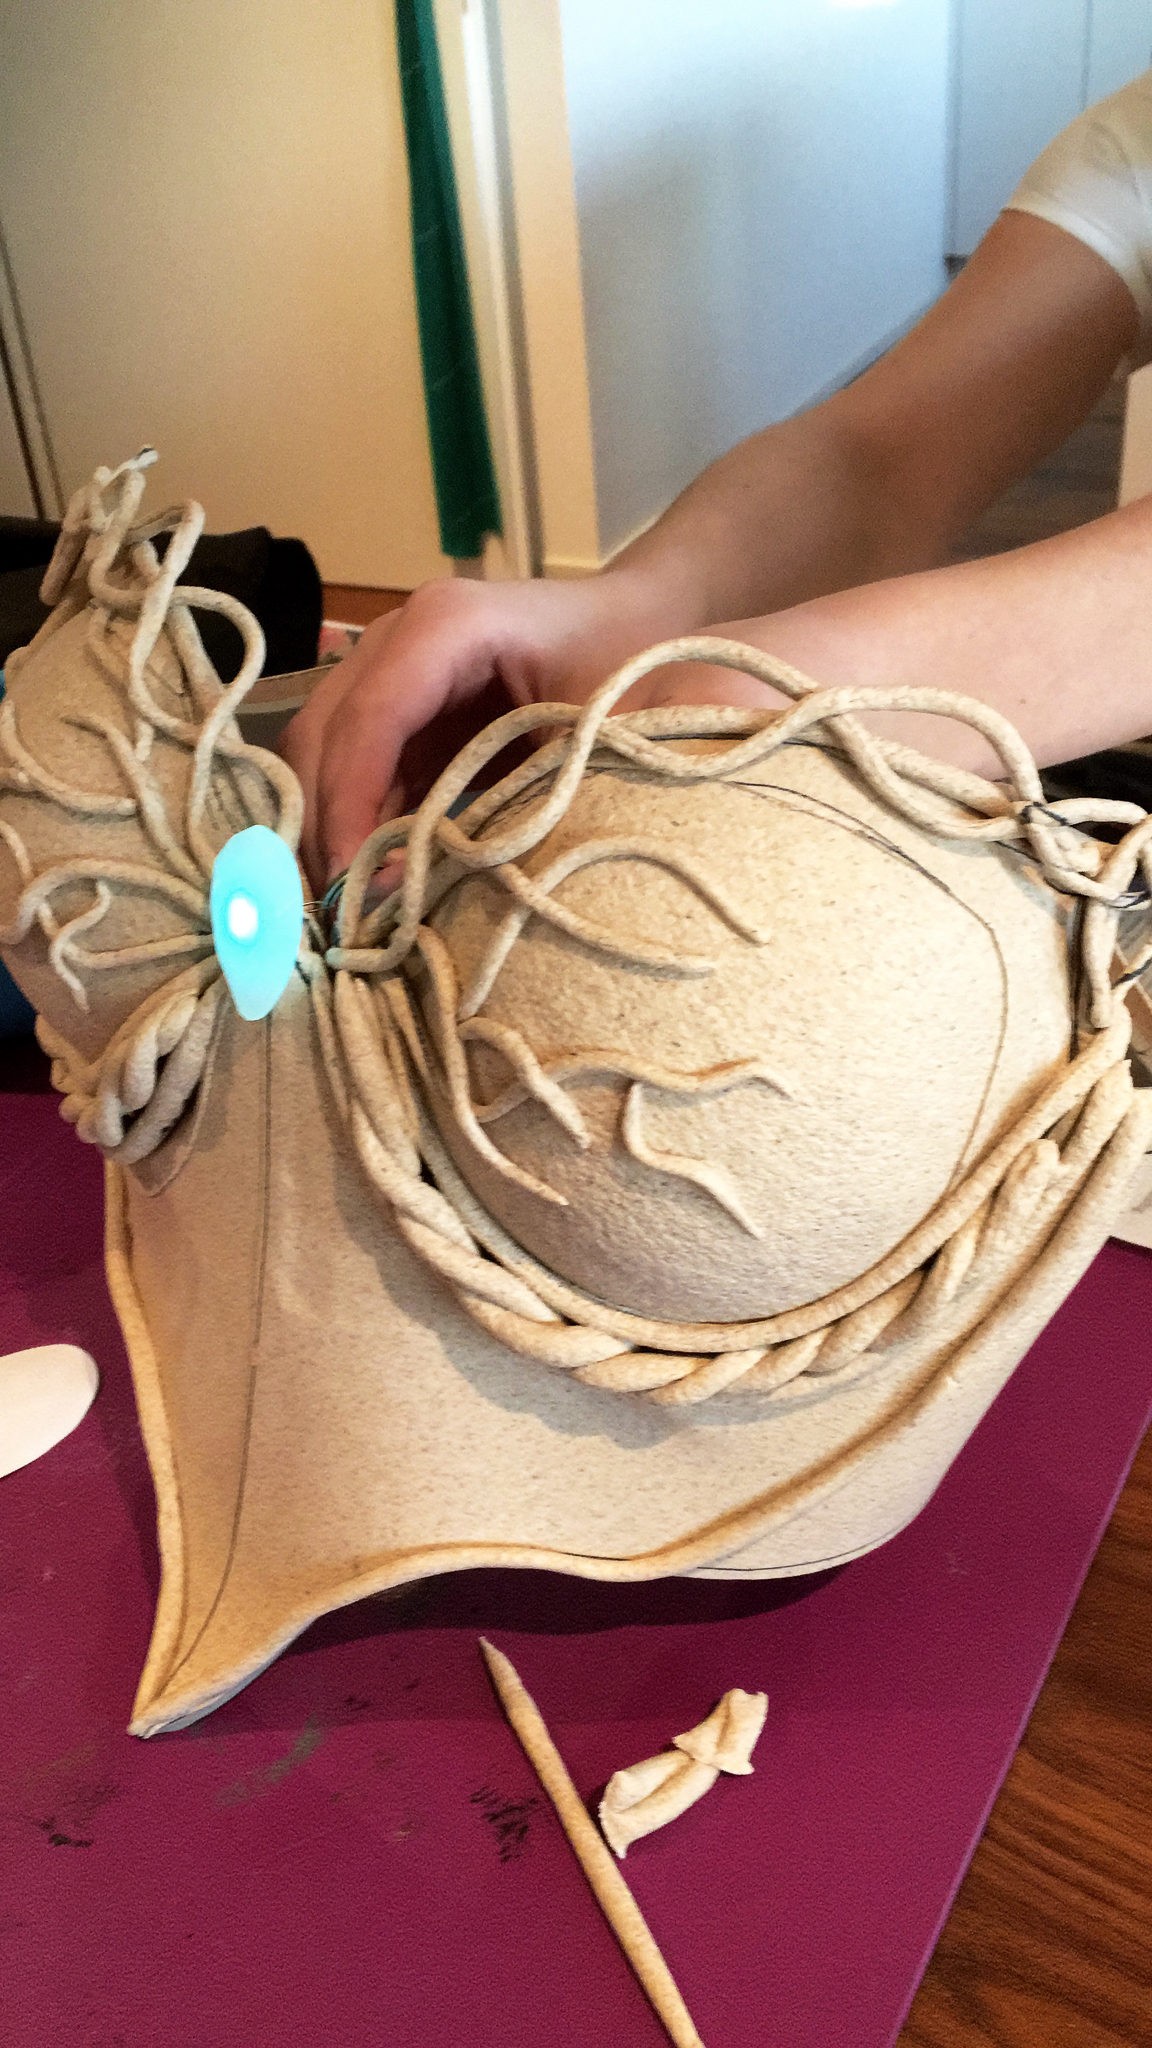
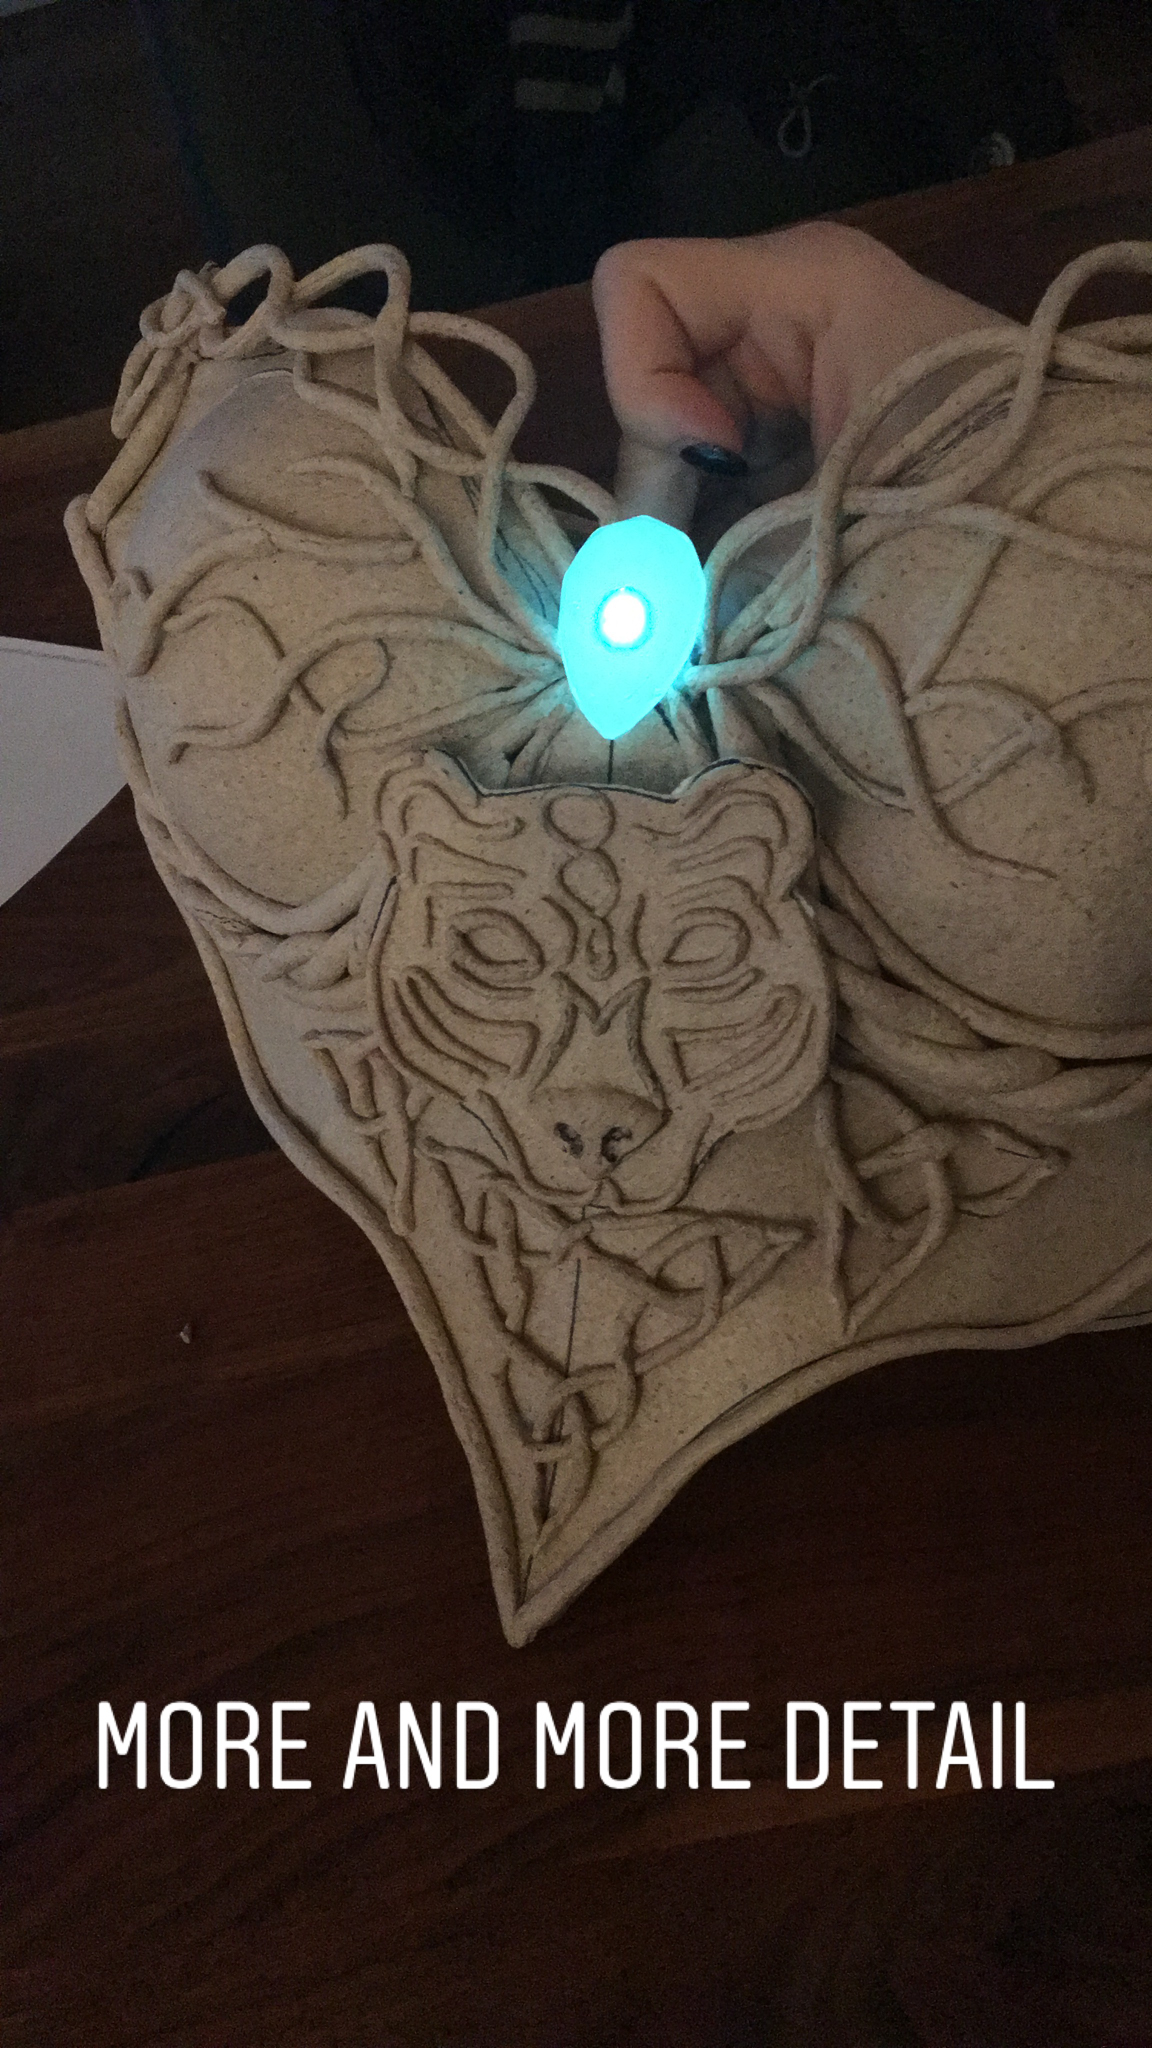
I think in my opinion this is a good example of how you need to trust the process, the more details got added the more the boring looking base disappeared. I wanted to go with a wooden and root feel to it since Merida is playing also a lot in the woods.
Finish
Finish
After I put all the details down I made sure to add the lights. Of course, the Bear had to stand out it is after all the centre of the movie.
After that, I coated the whole build with about 3 layers of wood glue. After that, I painted everything with brushes.
Design
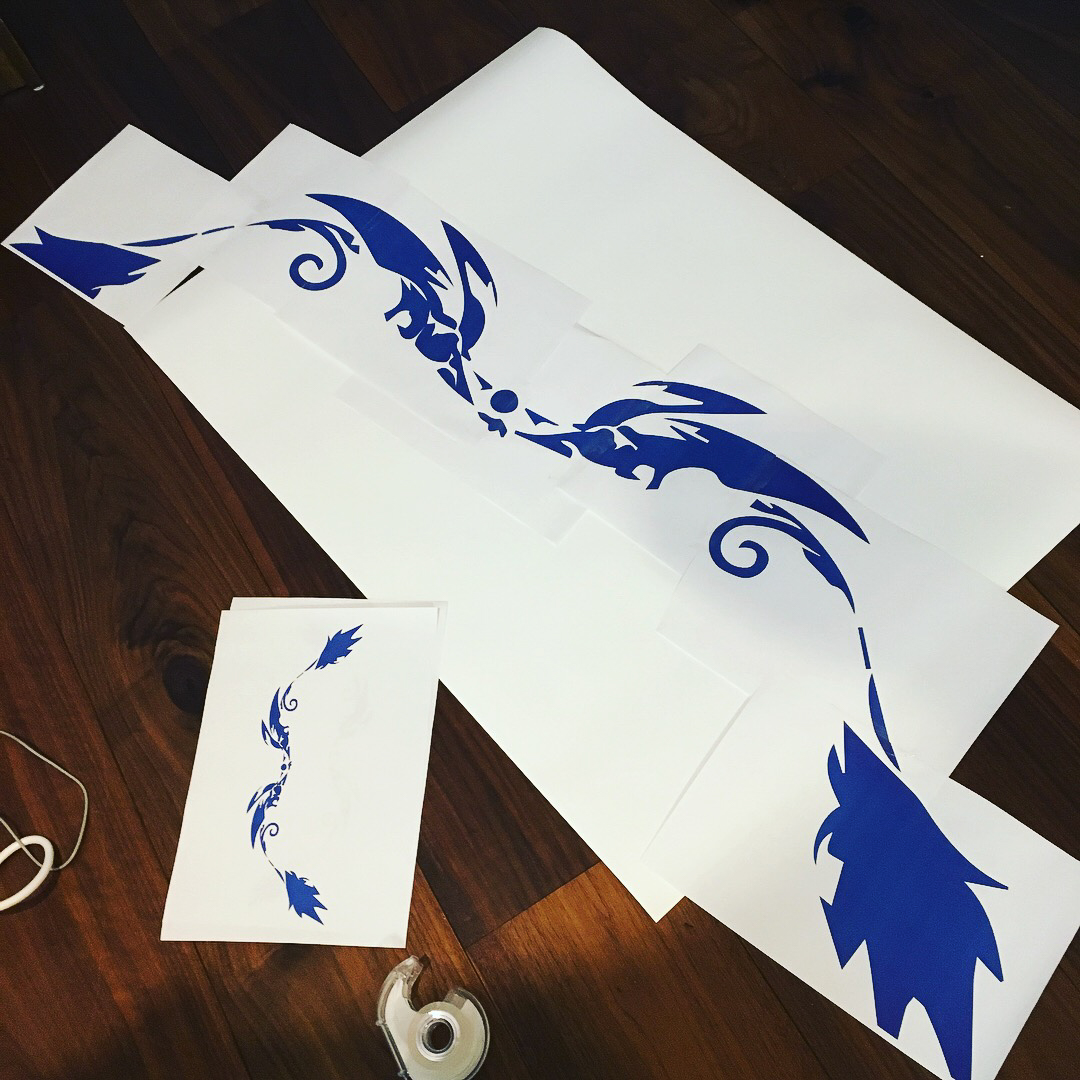
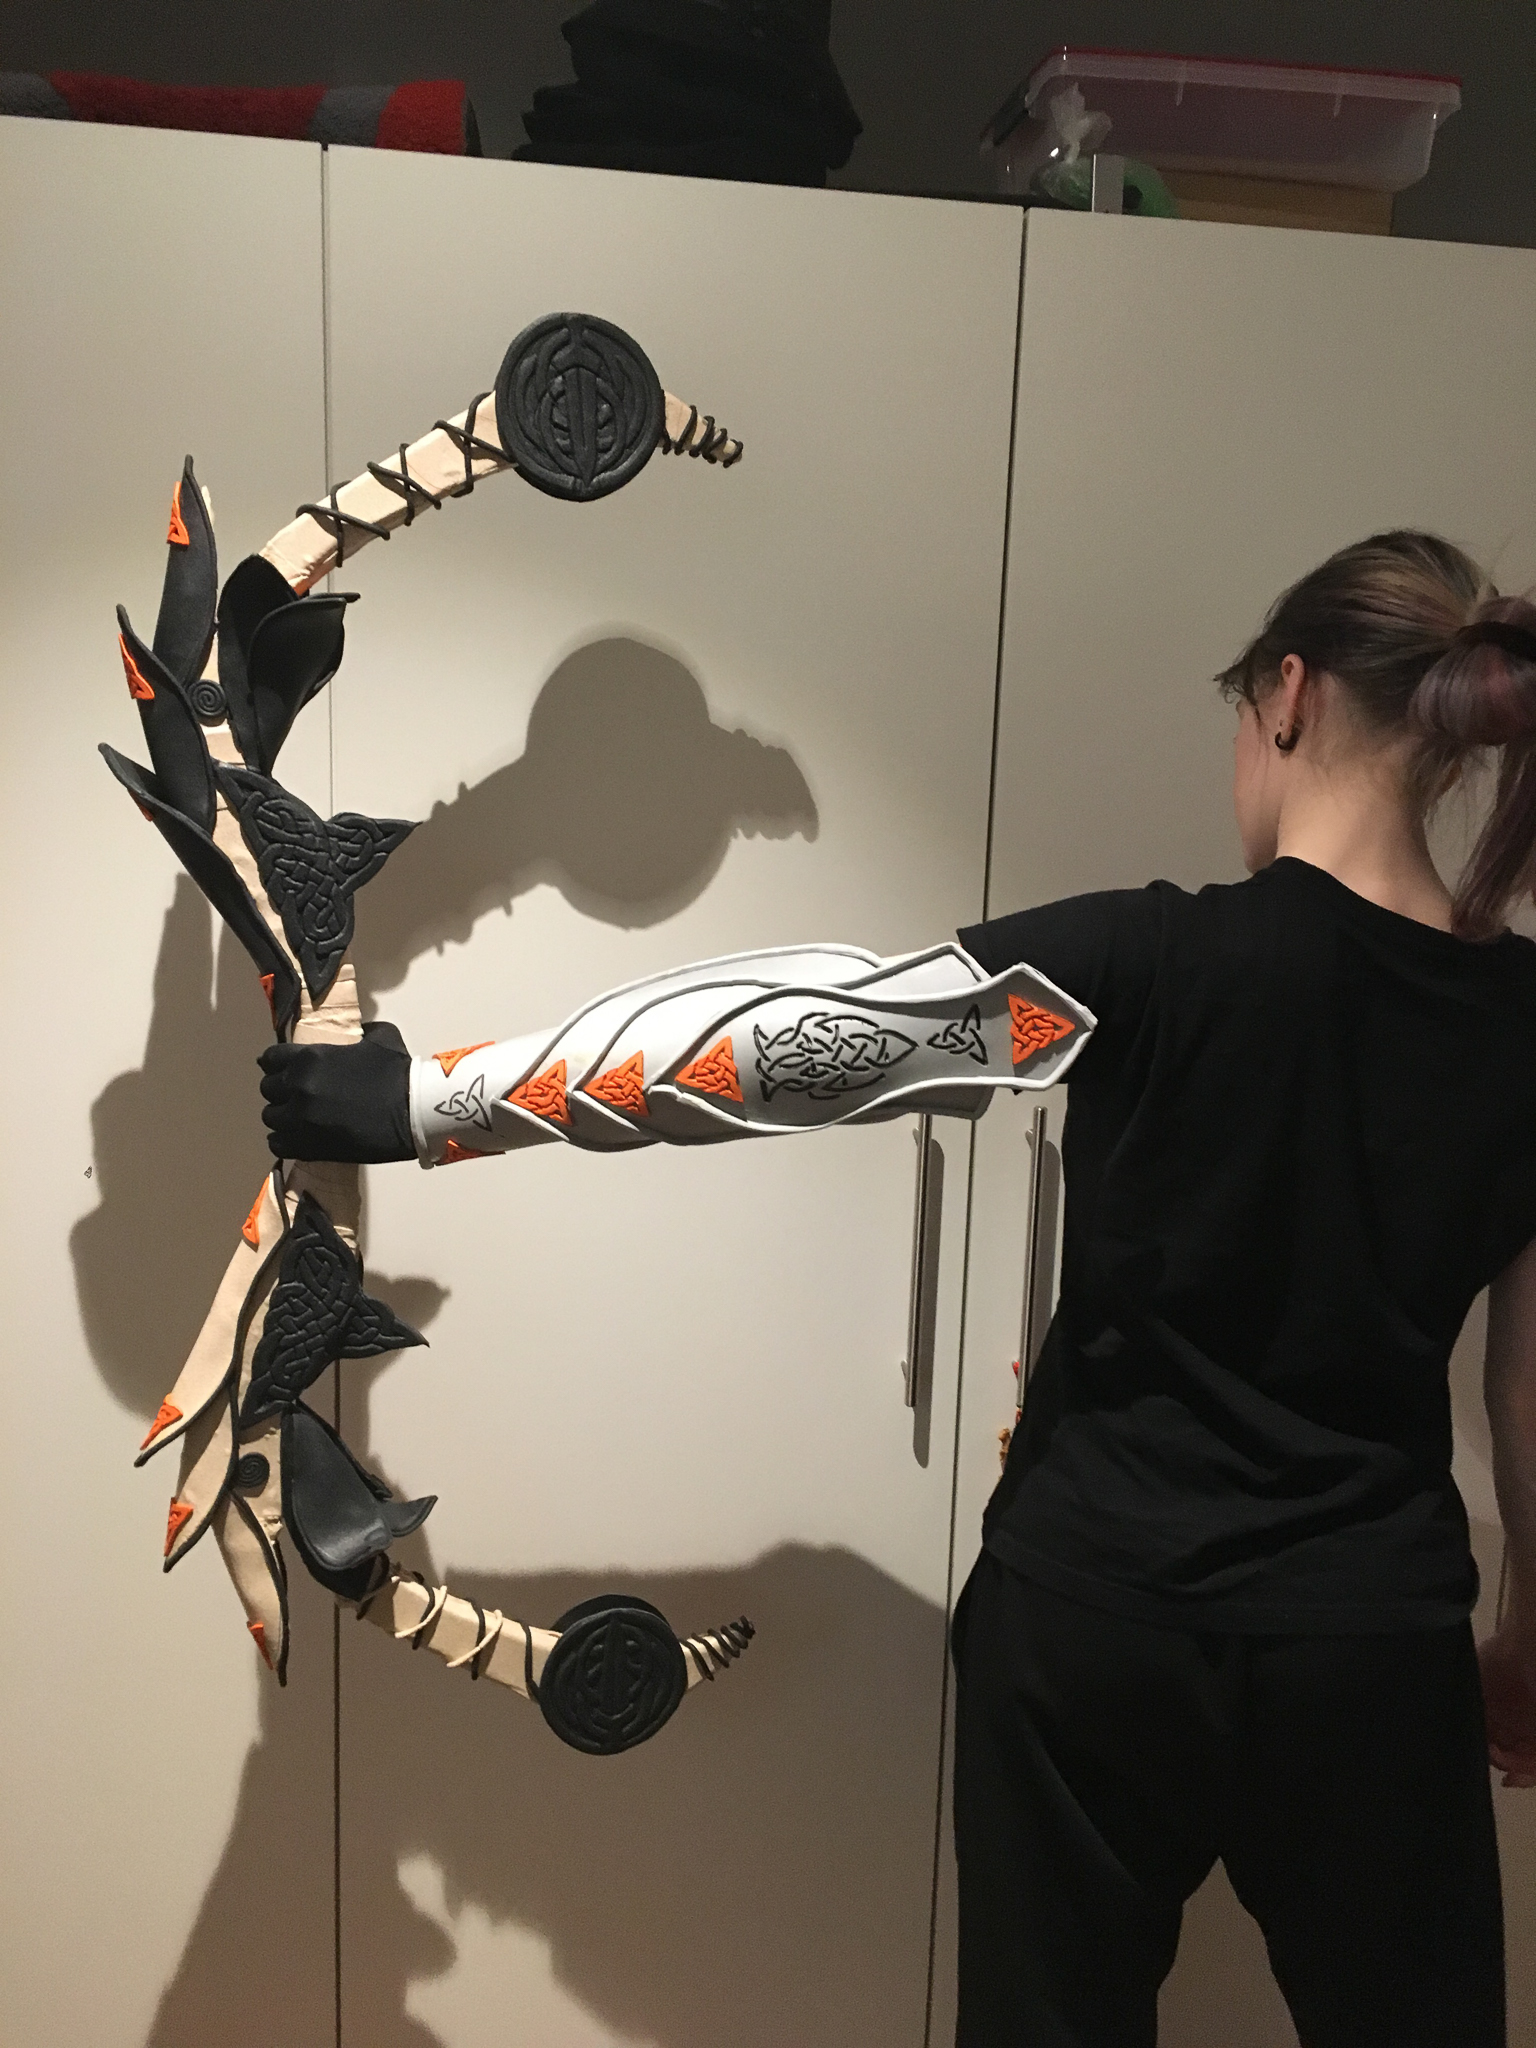
I started with designing the general shape I wanted to go within Illustrator I didn’t put details in just now, for two reasons. I didn’t know how good my skills were since I never built anything like that and because I wanted to see how it would go when I started building it.
Details
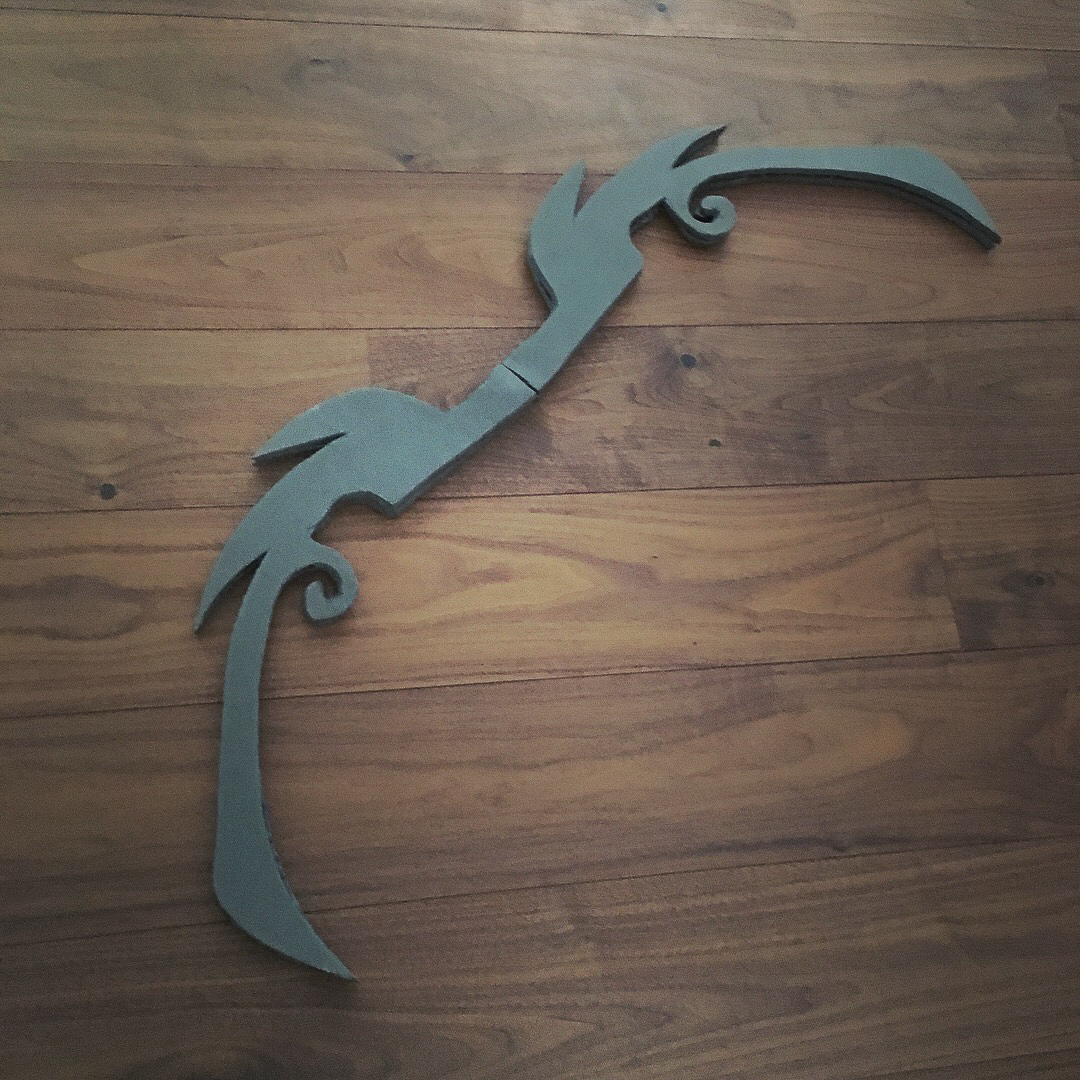
I tried to cut the shape out of two 10mm thick foam plates and glued them together. I need to say I did not own a Dremel back then, so this was the best I could do. After this, I wrapped the whole thing with Worbla to stabilize it noticing that I needed to put a ton of details on to cover my mistakes. And a ton of details I was about to make.
After that, it was just adding all the details with heat or glue and then we had the shape.
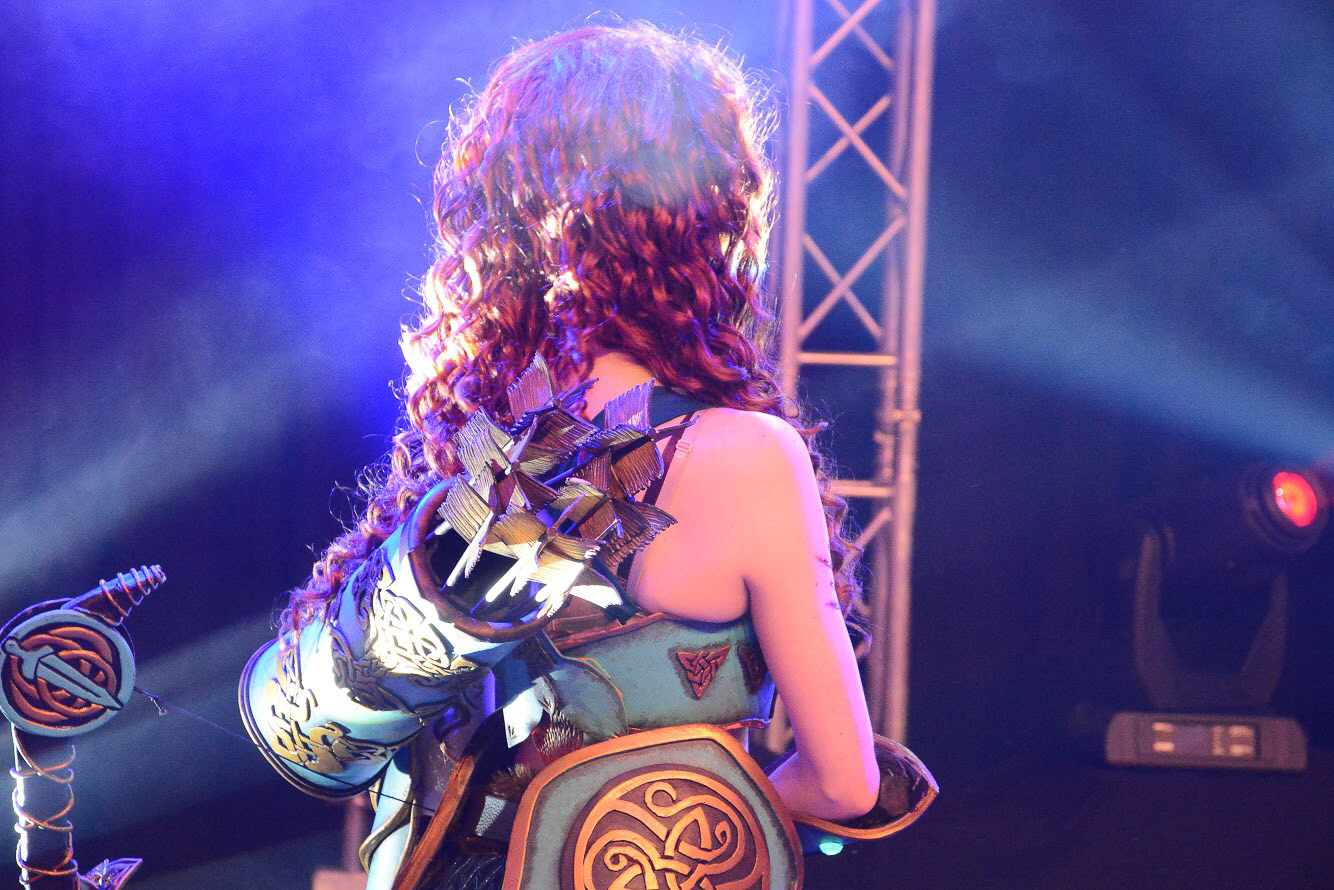
Quiver
The base for this piece was very simple, I just cut a sheet and rolled it up, covering the bottom with a circle piece and then again adding foam details. I made sure to put the seam on the part that would be on my back so it looked even better.
Arrow
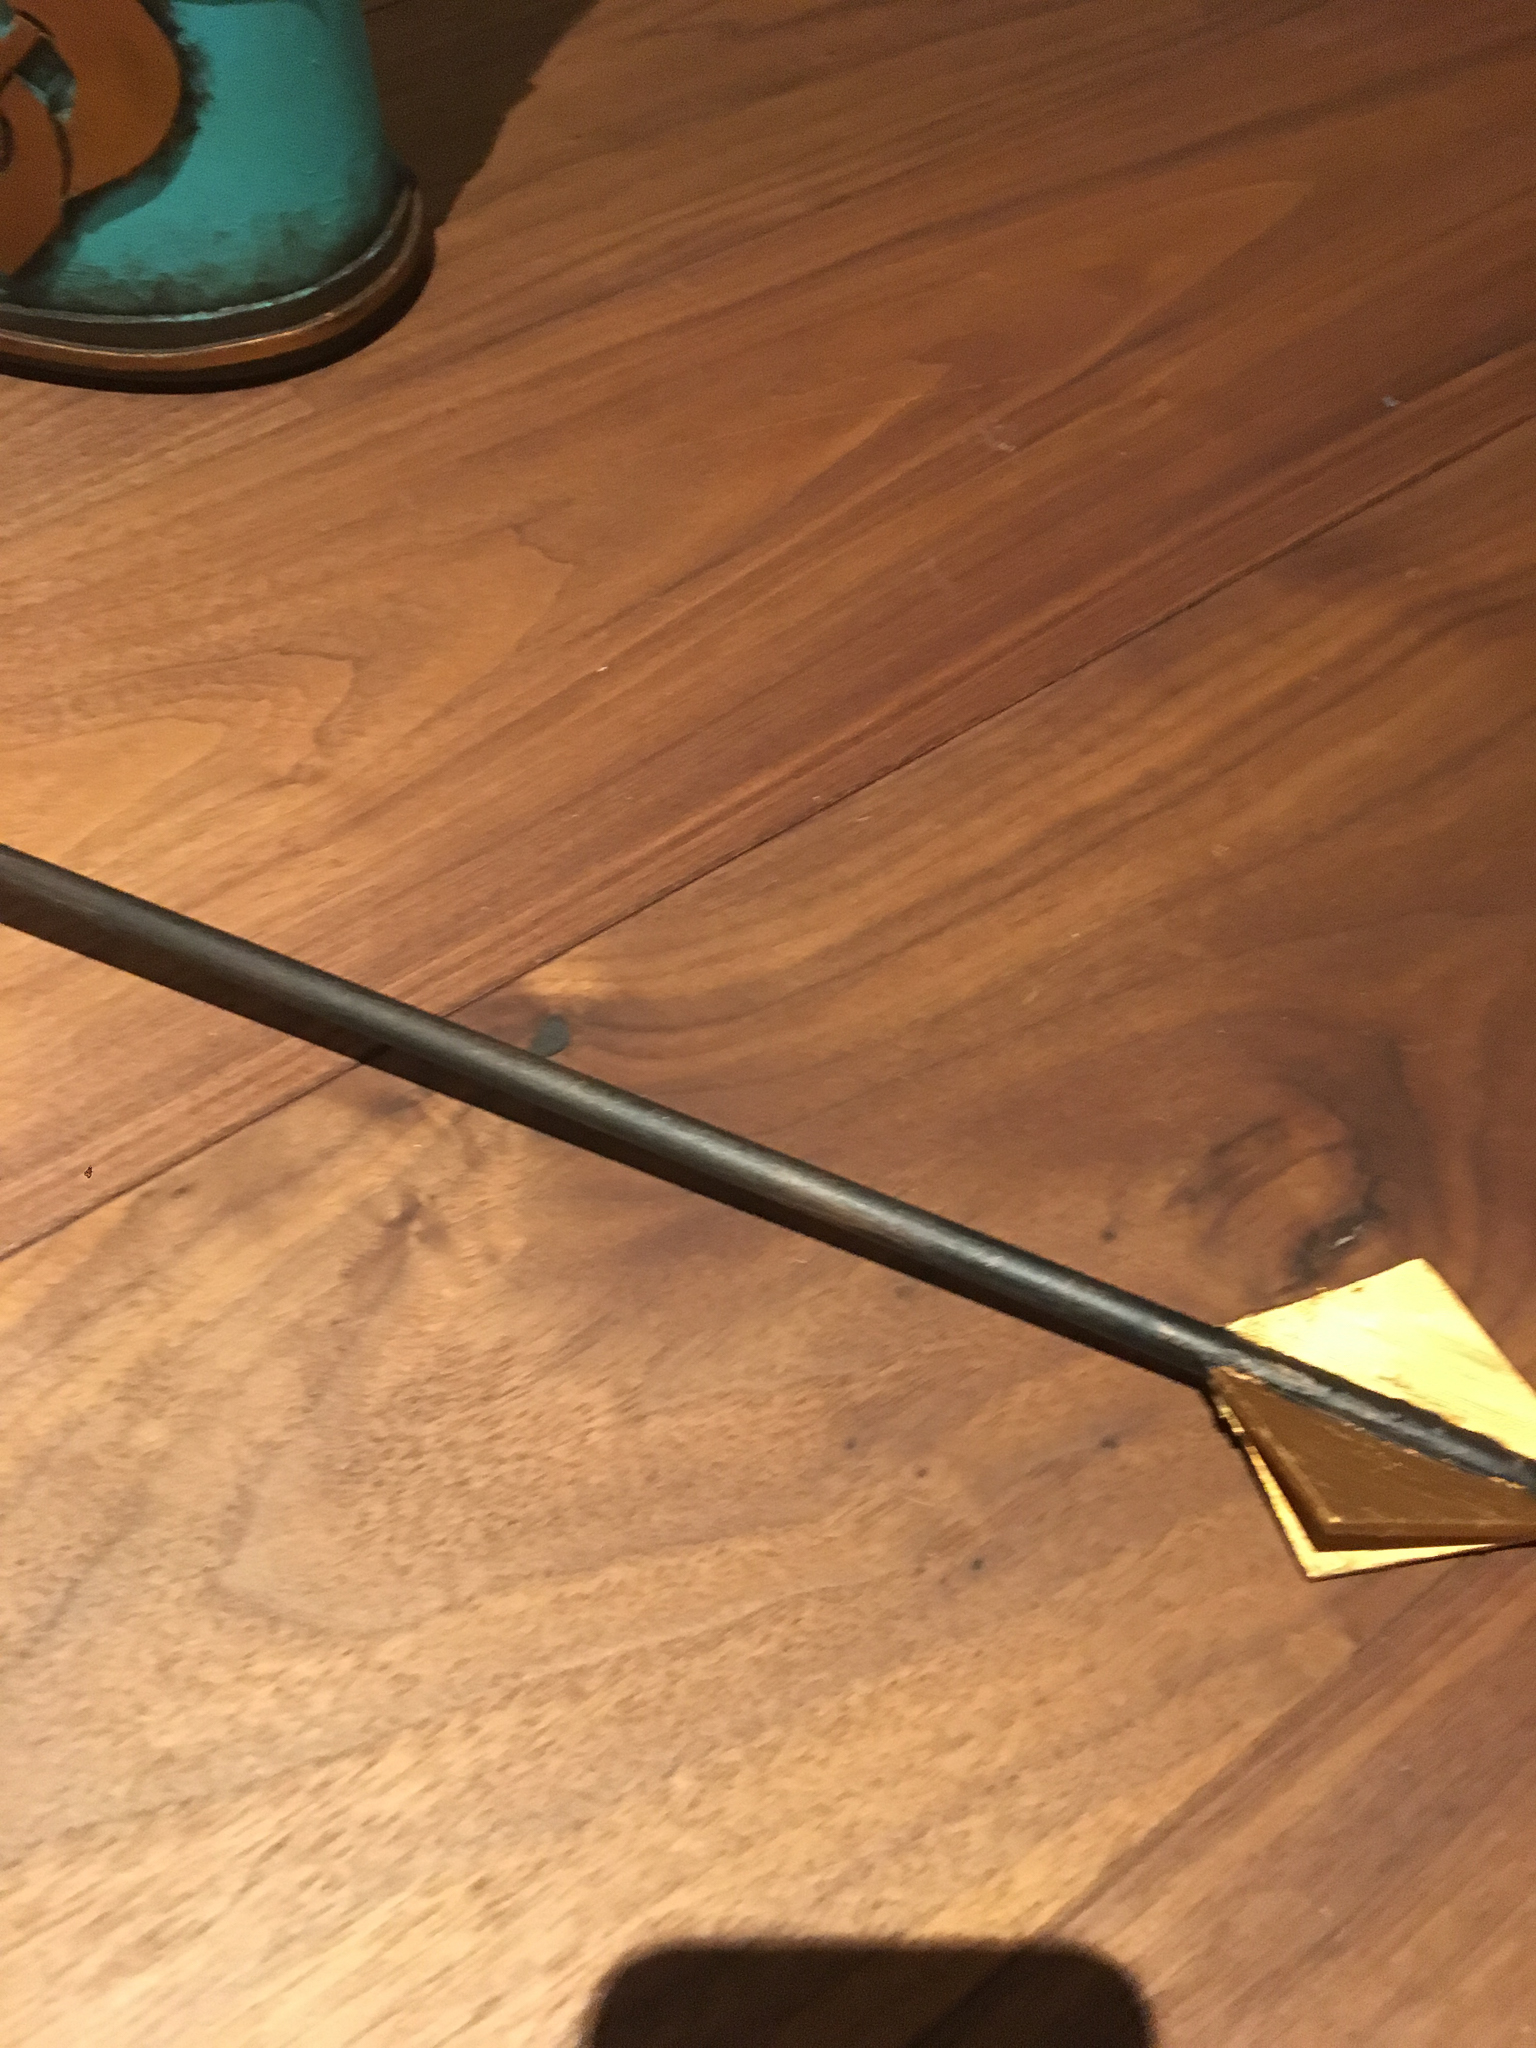
The arrows were made out of wood in the centre and added foam. For the feathers, I added foam and burned them with a wood burner to give them the texture I needed.
Closer look on the details
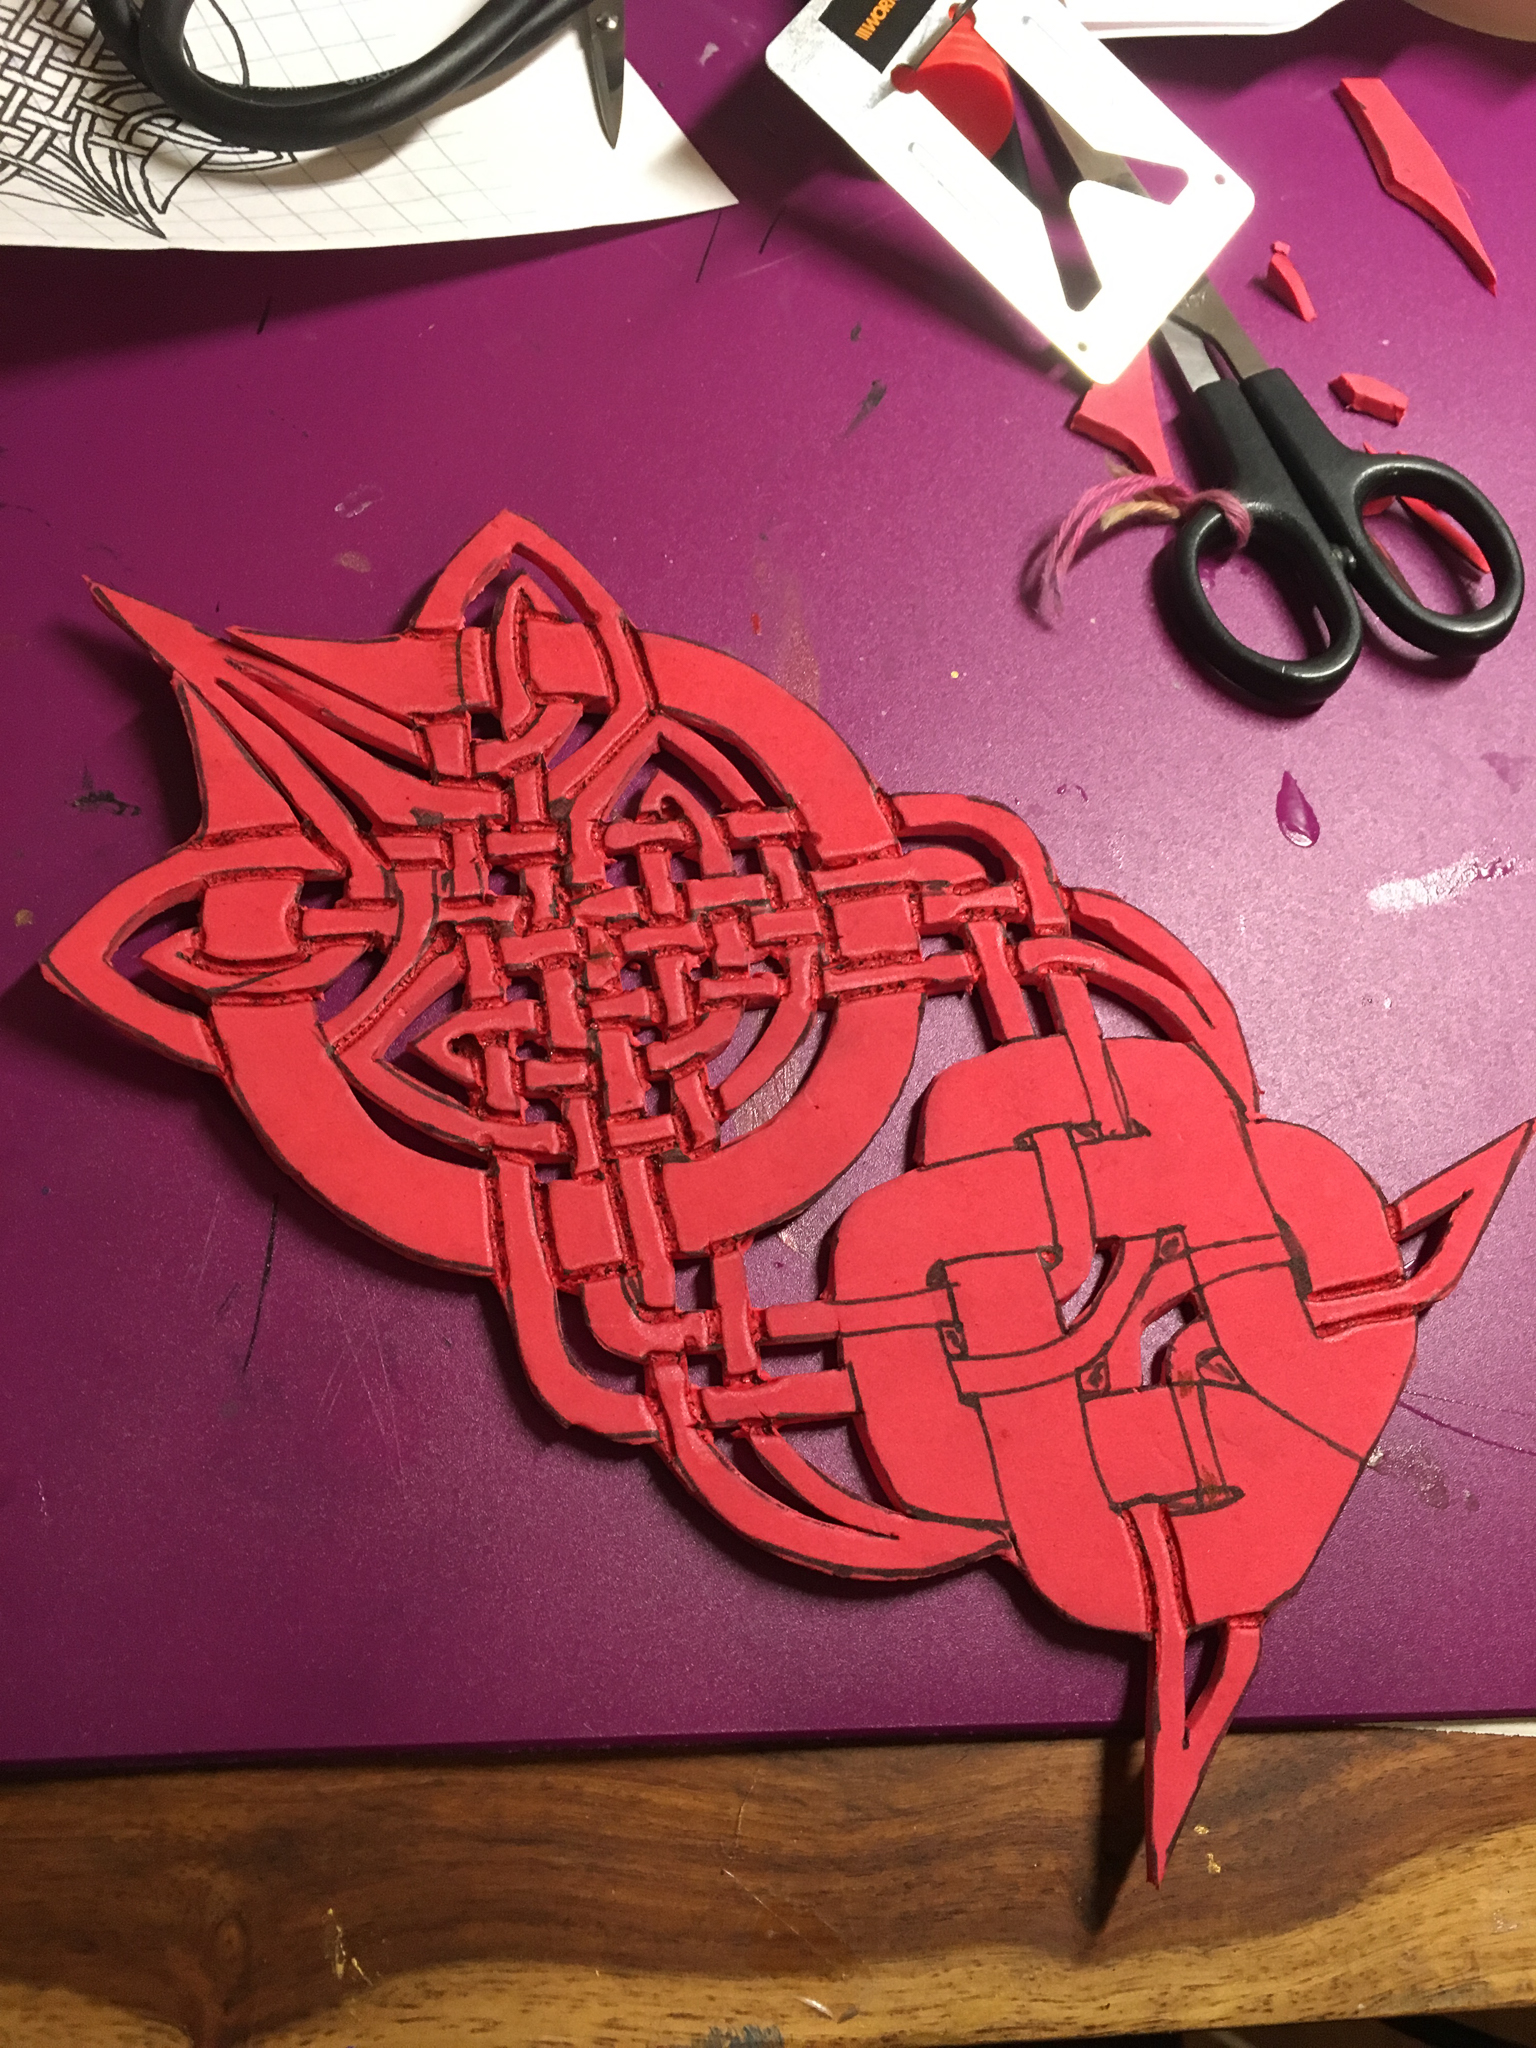
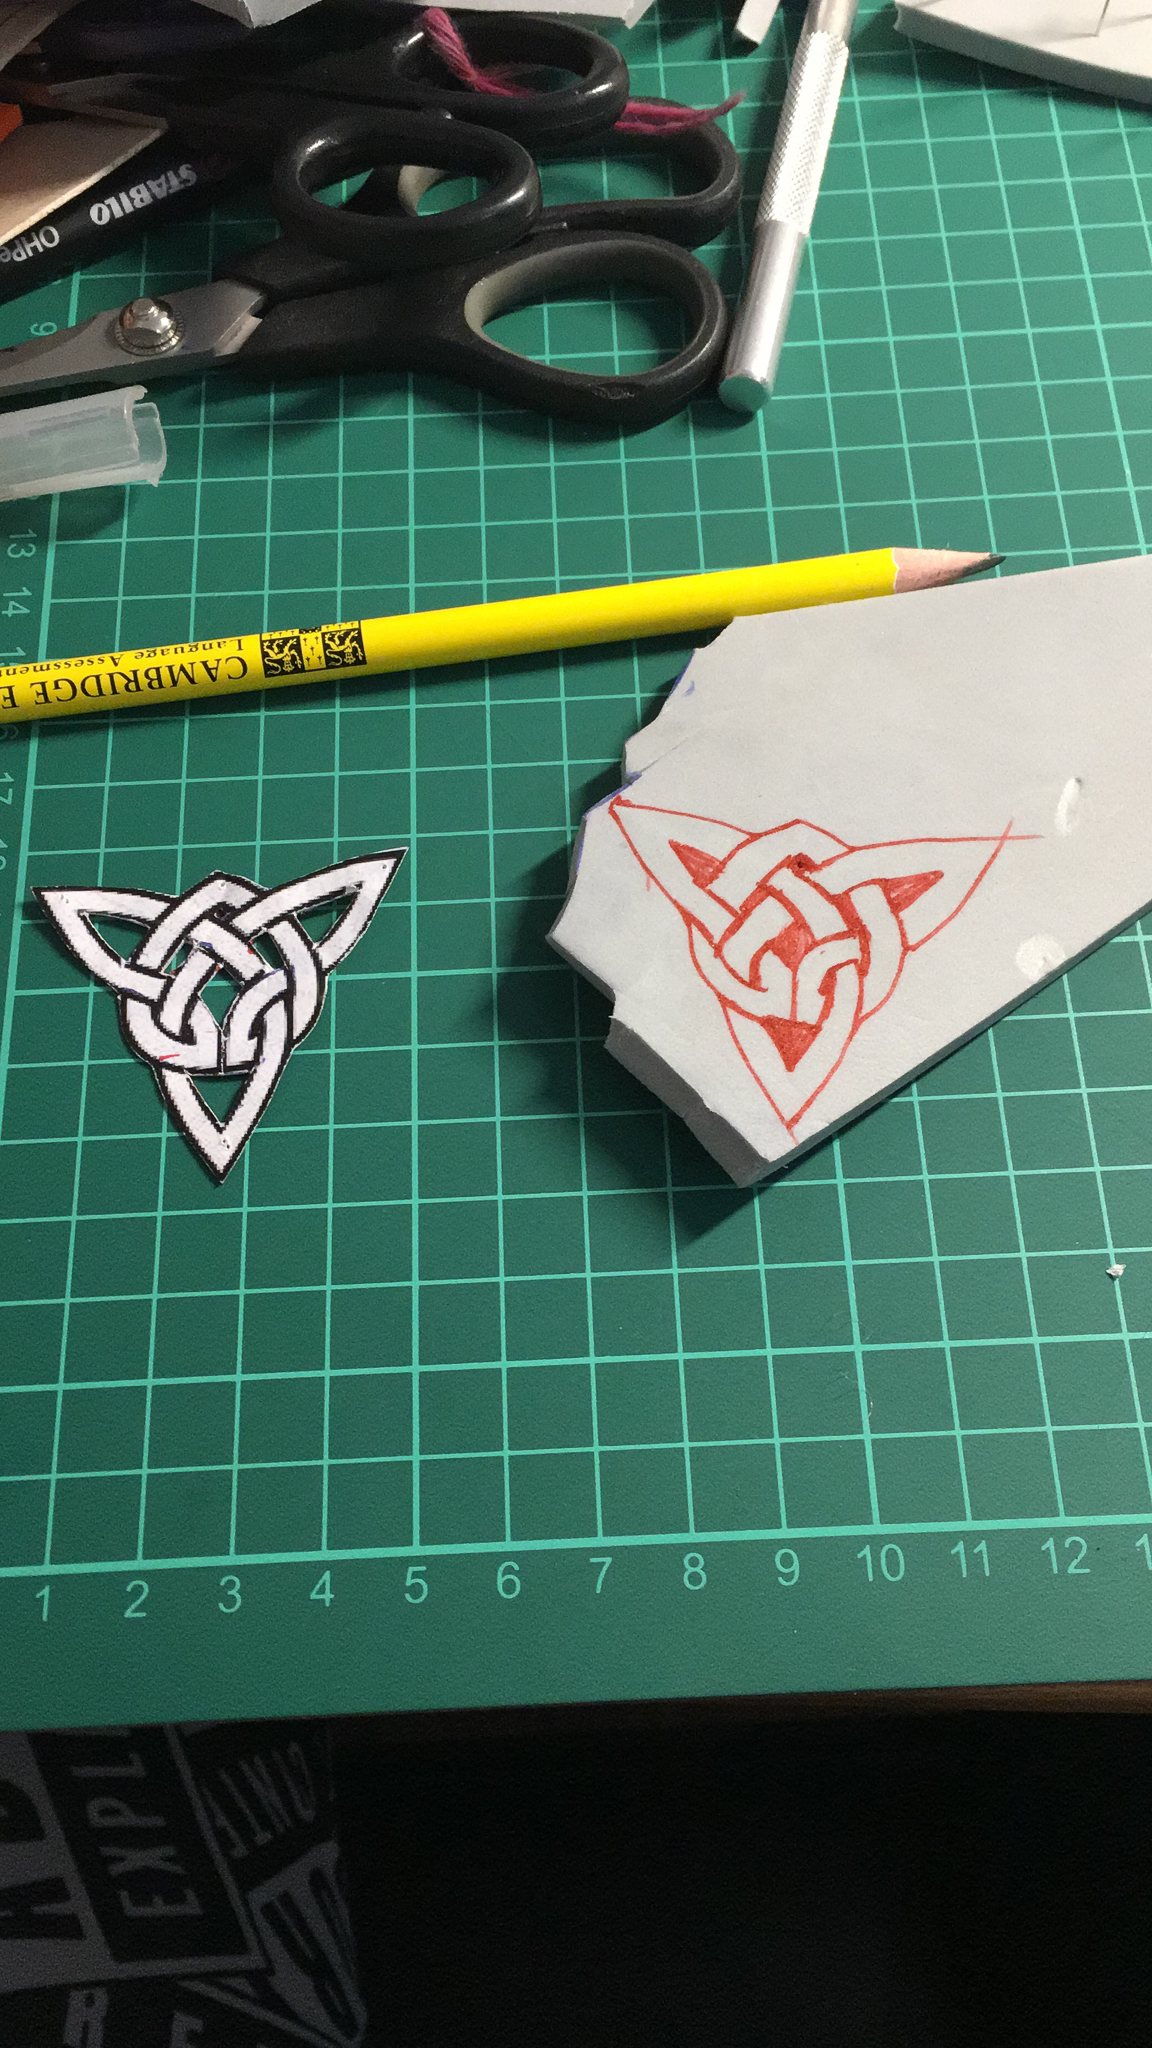
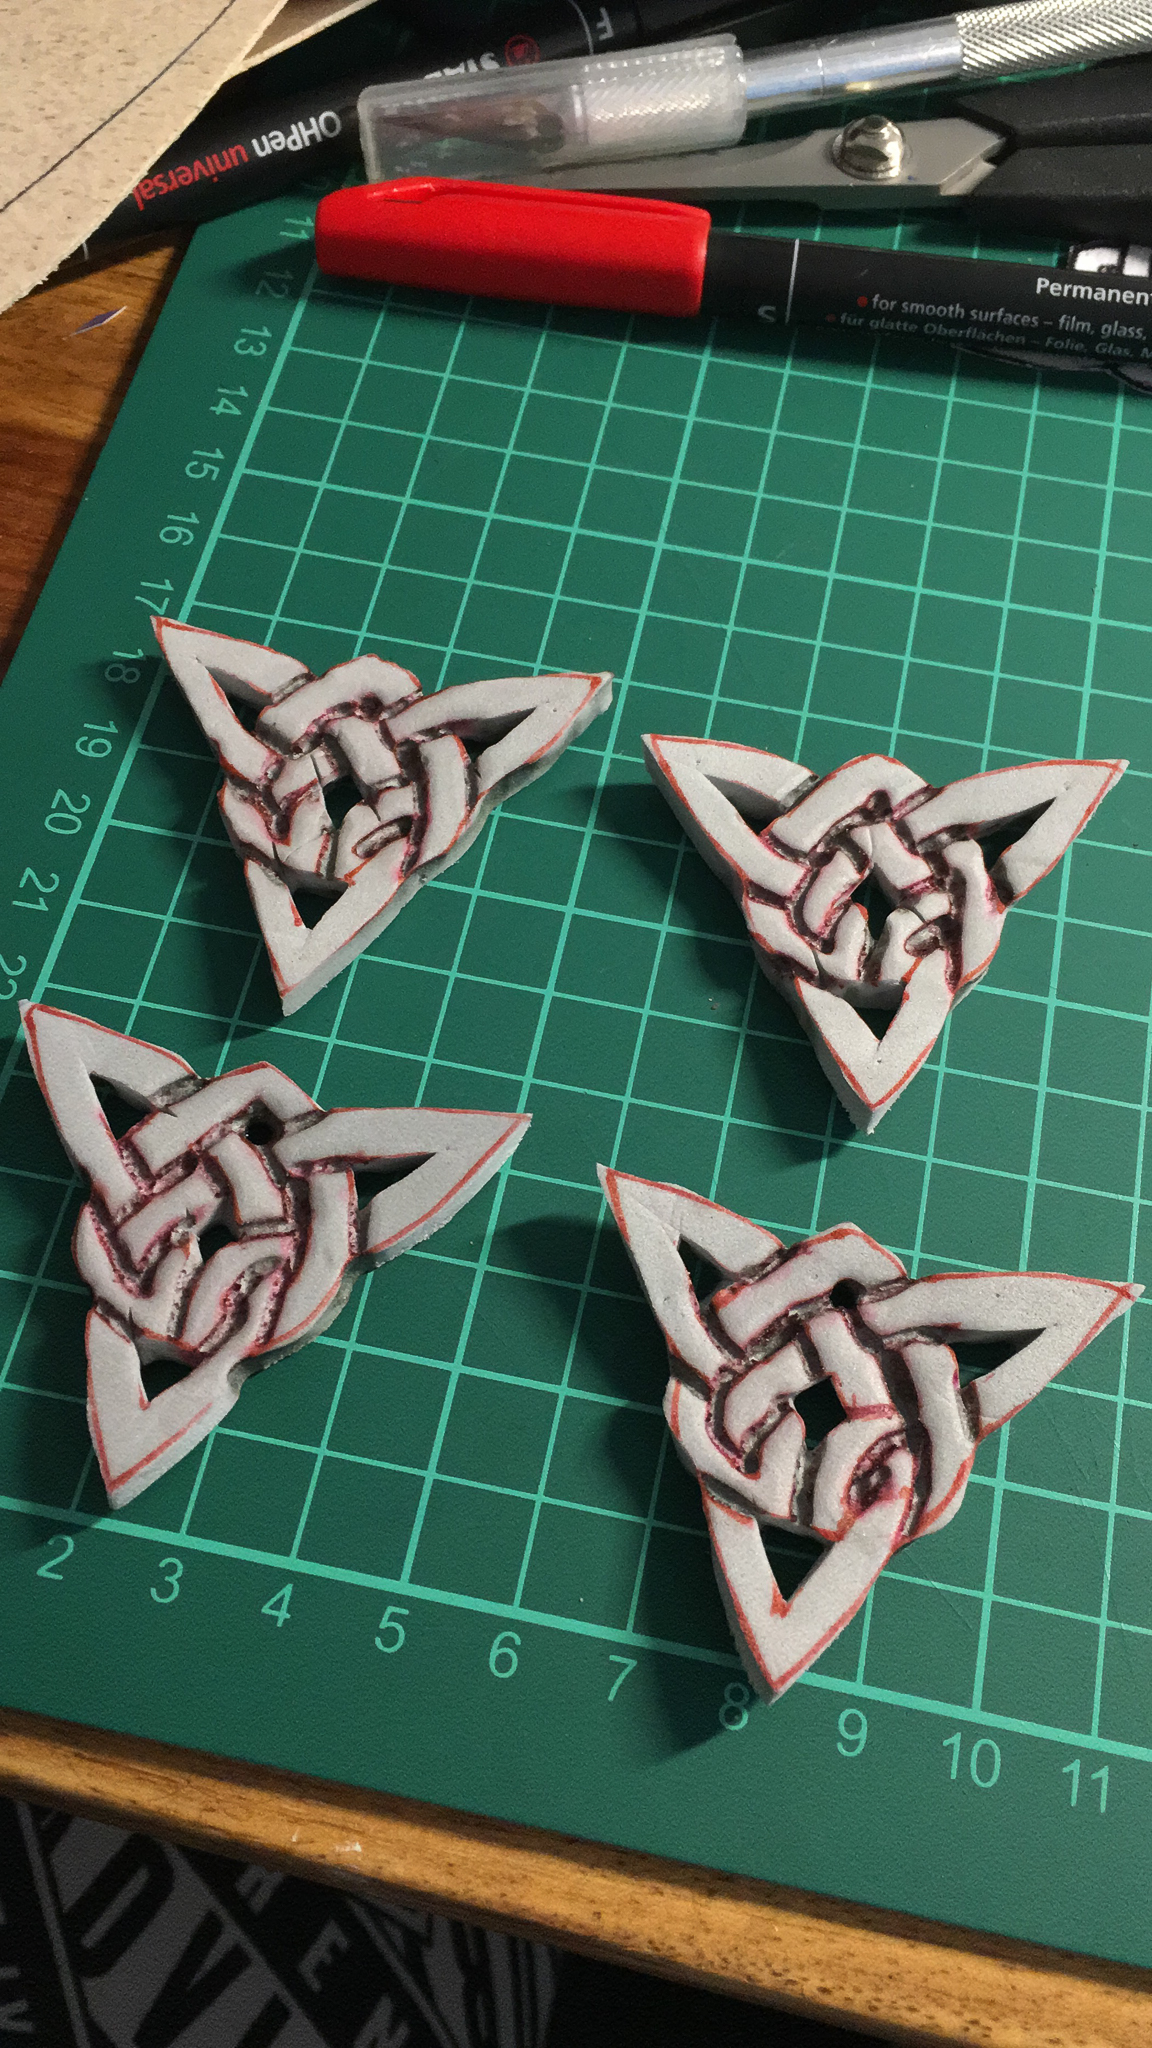
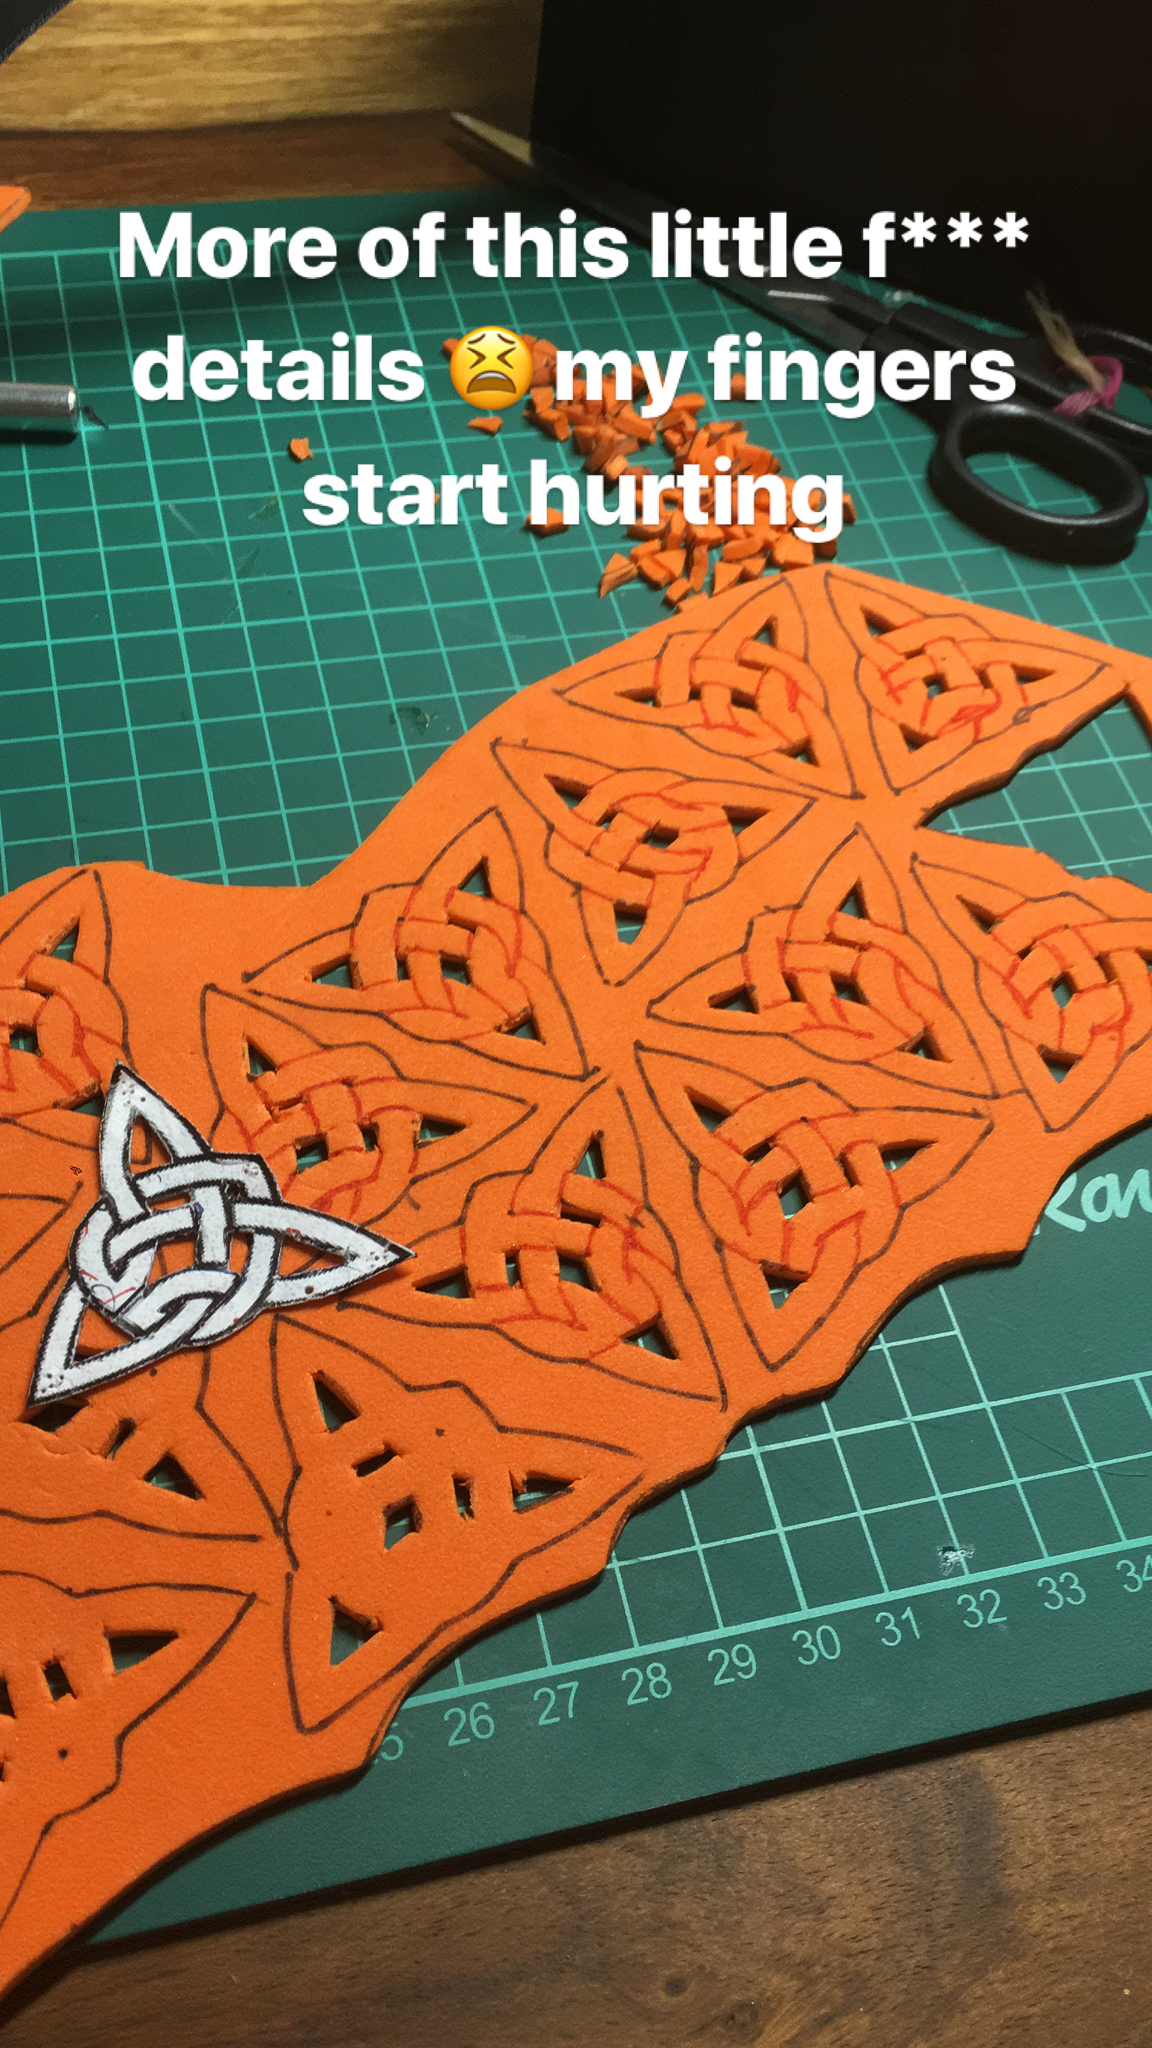
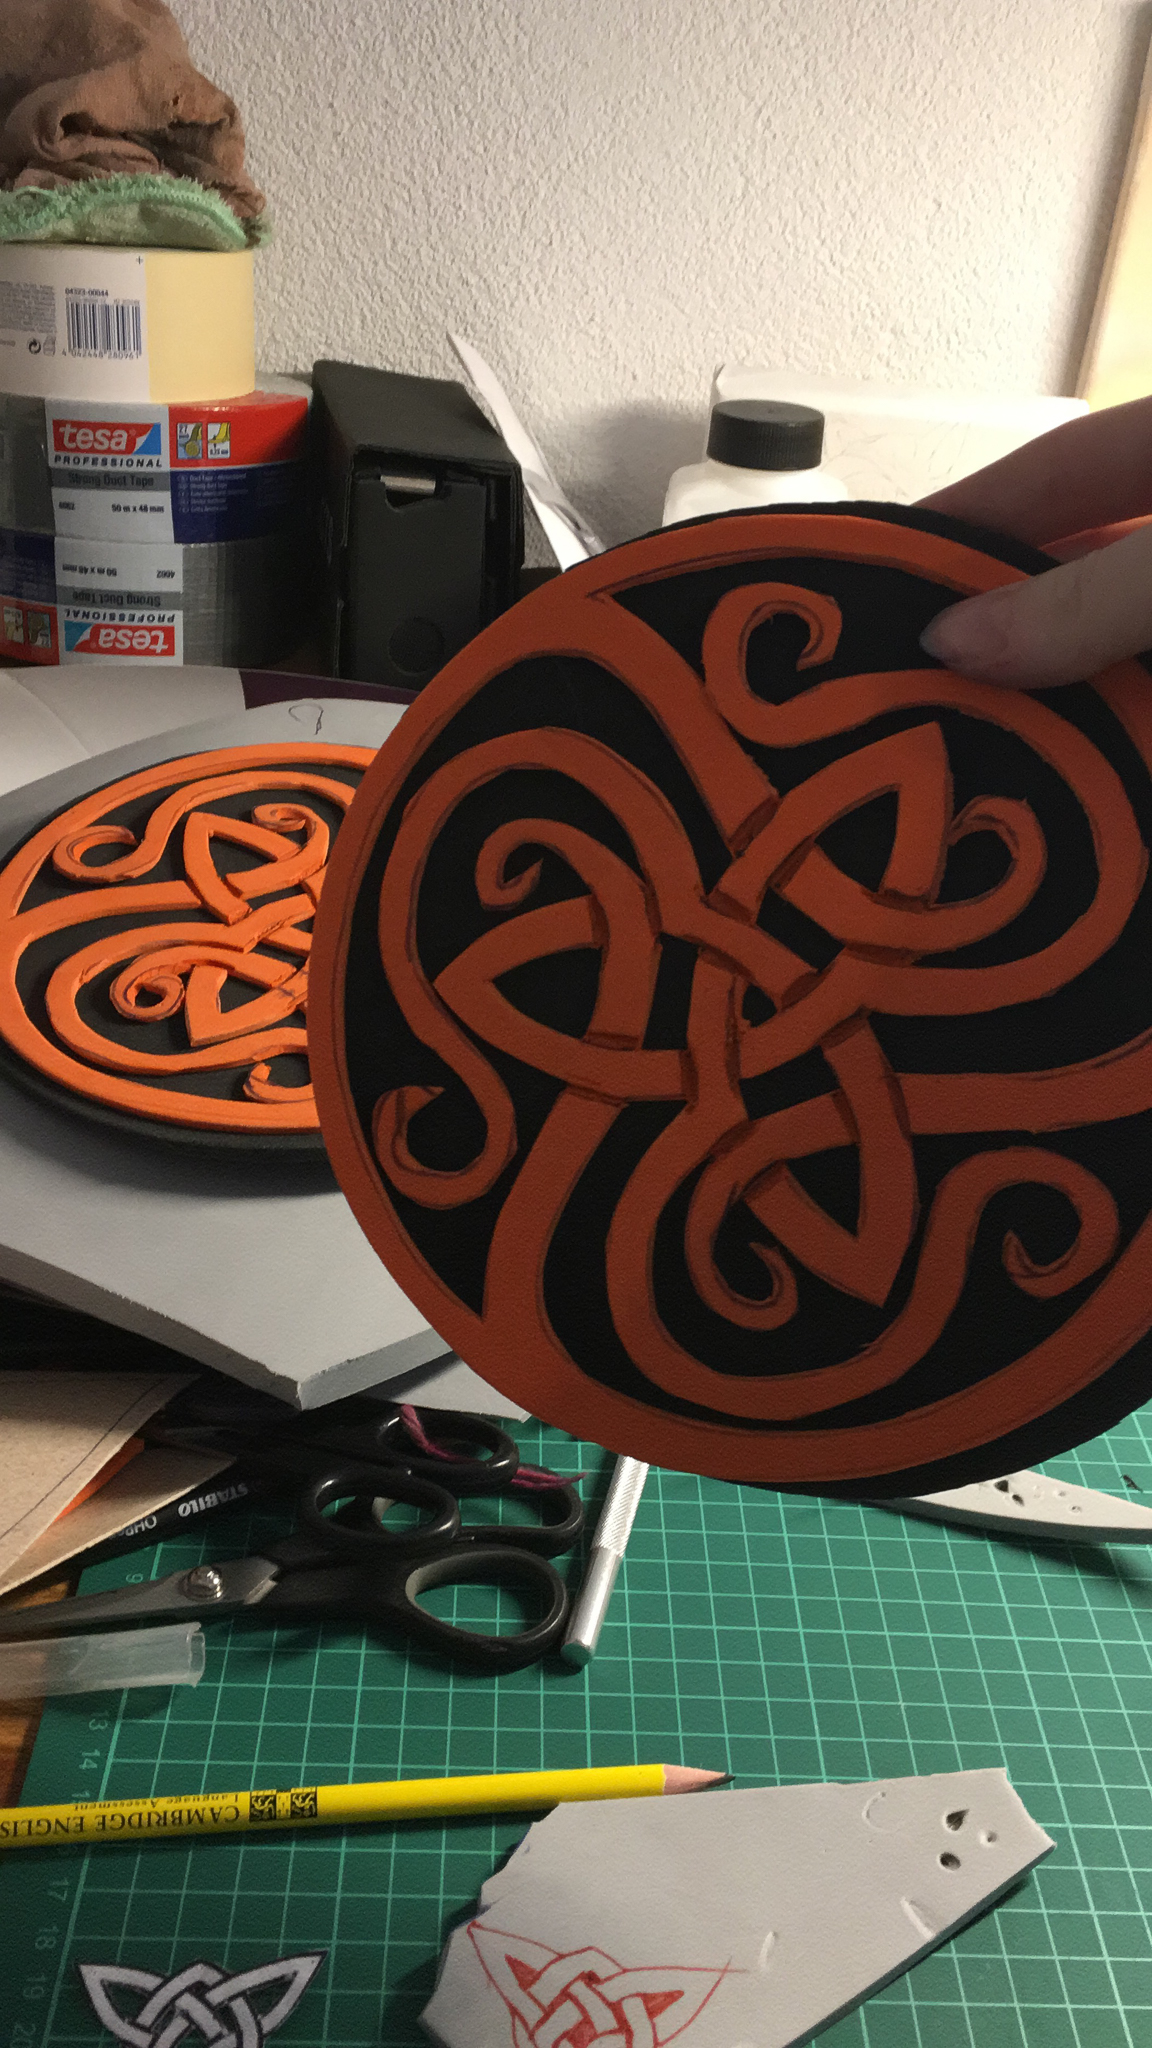
On here you can take a closer look at how I made the details, how in a small tedious process everything was cut out and burned so it would give the tribal designs the look I wanted to. I also learned that the easiest way to work like this is with different colours of waterproof pens. So I knew where to cut and where to burn.
I also learned that with details you can hide mistakes and make them look beautiful like they were supposed to be there all along. I learned to trust the process and not give up even if it doesn’t look good right away.
I did put sweat, blood and tears into this design and I still love it more than everything.
